My Camera >
Display icons
43
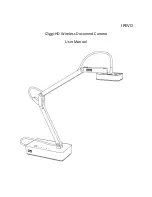
In Playback mode
Viewing photos
London
Information
Mode
F No
Shutter
ISO
Metering
Flash
Focal Length
White Balance
EV
Photo Size
Date
Icon
Description
Continuously captured file
Current file/The total number of files
Folder number - File number
File with location information
London
Location information
RAW file
Protected file
Print information added to file (p. 115)
3D file
Display type button
Playback/Editing menu
Delete files
Edit photos
Trim a video
View image thumbnails
1
2
3
London
No.
Description
1
Captured photo
2
RGB histogram (p. 150)
3
Shooting mode, Metering, Flash,
White Balance, Aperture value,
Shutter speed, ISO, Focal length,
Exposure value, Photo size, Date,
Location information
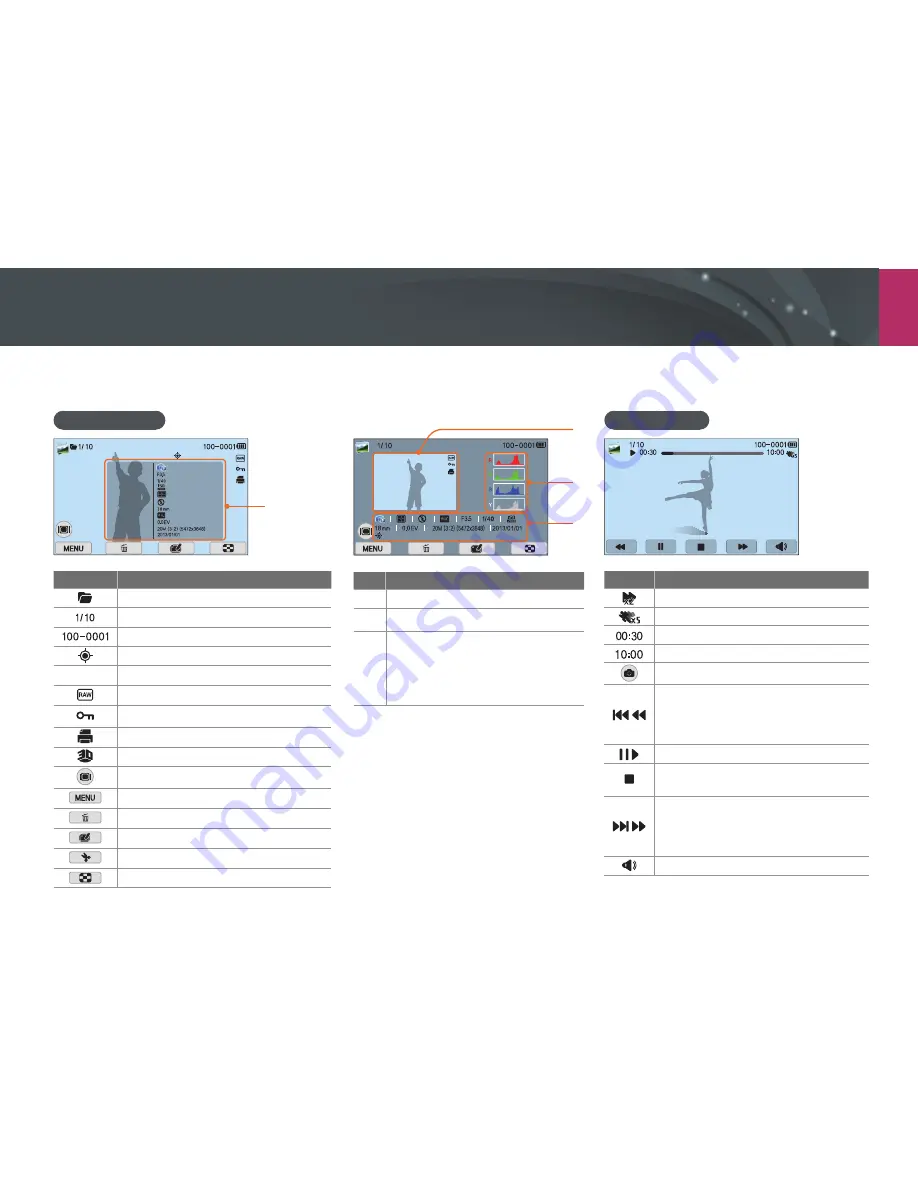
Playing videos
Icon
Description
Playback speed
Multi Motion
Current playback time
Video length
Capture an image
/
View previous file/Scan backward. (Each
time you touch the scan backward icon,
you change the scan speed in this order:
2X, 4X, 8X.)
/
Pause or resume playback.
Stop playback and return to the
previous screen.
/
View next file/Scan forward. (Each time
you touch the scan forward icon, you
change the scan speed in this order:
2X, 4X, 8X.)
Adjust the volume or mute the sound.