background image

57

Listening to a Cassette

Always treat your cassettes with care; refer, if necessary, to the section entitled
“Precautions When Using Audio Cassettes” on page 70.

Insert a cassette with the
recording/playback side facing
the cassette holder, and then
push the cassette door shut.

2

1

3

Press TAPE on
the player to
select the Tape
function.

Switch the system
on by pressing
STANDBY ON.

Rewind the cassette         / DOWN
button.

Fast-forward the cassette UP /  
button.

5

4

Side A : Tape (       ) button once.

Side B : Tape (       ) button twice     
Press Tape 1/2 button to select the   

cassette to be played.

Press the PUSH
EJECT 
(     ) of the
cassette deck to open
the cassette door and
insert a cassette.

Press the        , 
button if necessary.

6

When you have
finished playback,
press STOP button.

Press the
button. The cassette
starts playing.

58

Press REVERSE MODE until the appropriate
symbol is displayed.

One side of the selected cassette and then stops.

One side of the cassette.

The other side of the cassette and then stops.

Both sides of the cassette indefinitely until you

press stop.

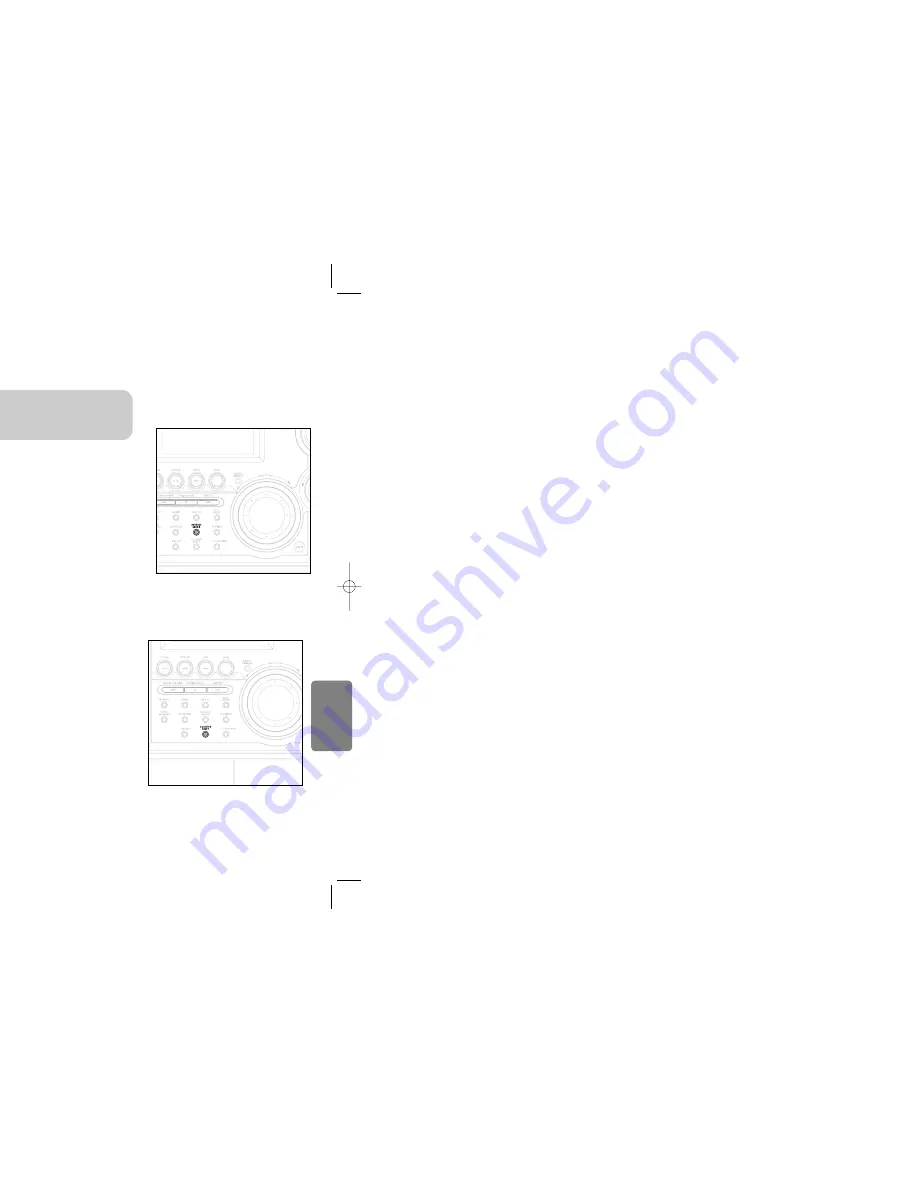
Before starting to record a cassette for which you wish to take

note of the counter values at the beginning of each track, reset
the counter by pressing COUNTER RESET 

Each cassette deck has a separate counter.

T

APE DECK

Your mini component system has three cassette playback modes which
enable you to listen to both sides of a cassette automatically. .

When playing a cassette in one of the cassette
decks, a counter is displayed to enable you to
take note of the counter value at the start of
each track to start playback at the 
beginning of the track to which you wish to
listen.

Selecting the Cassette Playback Mode

Tape Counter

 29P~60P(DS990)- NO GB  12/2/04 10:20  Page 52

Summary of Contents for MAX-DS990

Page 1: ...L AUDIO COMPACT DIGITAL VIDEO Instruction Manual OPEN CLOSE DISC SKIP ZOOM SLOW REPEAT REMAIN SUB TITLE TUNER VOLUME MU TE MENU INFO RET URN ENTER TESTTONE TIMER CLOCK TIMERON OFF LOGO SLIDEMODE EZ VIEW NTSC PAL CANCEL DIGEST TUNING TAPE AUX BAND SLEEP DIMMER SOUNDEDIT P SCAN AH59 01379B ...

Page 2: ...y when left unused for a long period of time m moisture i e vases and excess equipment creating strong magnetic or electric Disconnect the power cable from the AC supply if ns Your player is not intended for industrial use for personal use only cur if your player or disc have been stored in cold yer during the winter wait approximately 2 hours hed room temperature before using Phones ms disconnect...

Page 3: ...k 31 33 nu 34 ge 35 type 37 ontrols Rating Level 39 ord 40 per 41 de 43 44 r Mode 45 ne 46 me 47 Quality 49 Dynamic Range Compression 51 Mode 53 Effect 54 ATION 55 56 ette 57 OUS act Disc 60 Program 62 63 er 64 MODE Function 65 on Mute Function 66 DIMMER Function ECO Function 67 EL Function SUB WOOFER LEVEL Function 68 hones Microphone option 69 ng and Storing Discs 70 Service 71 73 ogy 74 75 PREP...

Page 4: ... 8 6 7 5 2 1 1 SW Antenna Connector Option 2 AM Antenna Connectors 3 FM Antenna Connector 4 LINE OUT 5 Sub woofer Control Jack 6 5 1 Channel Speaker Output Terminals 7 Voltage Selector Option 8 Component Video Output Connectors Connect a TV with component vide input jacks to these jacks 9 Video Output Connector Connect the TV s video input jacks VIDEO IN to the VIDEO OUT connector 10 S Video Outpu...

Page 5: ... of emote by sing down and g the cover in irection of the w Insert two 1 5V AAA batteries paying attention to the correct polarities and 2 Replace the battery cover 3 ollow these precautions to avoid leaking or cracking cells Place batteries in the remote control so they match the polarity to and to Use the correct type of batteries Batteries that look similar may differ in voltage Always replace ...

Page 6: ...peaker terminals olors of the connecting jacks e connecting jacks to the DVD player he Main Unit L R LS RS SW Rear Speaker R Speaker R Subwoofer r Rear Speaker L Front Speaker L Blue Gray Violet Red Green White CONNECTIONS ...

Page 7: ... FIELDS The progressive scanning method scans one full frame of video consecutively down the screen line by line An entire image is drawn at one time as opposed to the interlaced scanning process by which a video image is drawn in a series of passes The progressive scanning method is desirable for dealing with moving objects Progressive Scan FULL FRAME is Progressive or Non Interlaced Scanning nct...

Page 8: ...unit Please observe the following cautions for your safety Make sure the unit is well ventilated If the unit has poor ventilation the temperature inside the unit could rise and may damage it Do not obstruct the cooling fan or ventilation holes If the cooling fan or ventilation holes are covered with a newspaper or cloth heat may build up inside the unit and fire may result nnection AM MW antenna c...

Page 9: ...utton is pressed playback resumes from the stop position This function works only with DVDs If pressed twice STOP is displayed and if PLAY PAUSE button is pressed playback starts from the beginning To stop playback press STOP during playback DivX To select a specific disc press the corresponding DISC 1 2 3 button on the front panel or DISC SKIP on the remote control until the required disc indicat...

Page 10: ...he key number input screen appears automatically You can select the desired image from a DVD Audio disc containing still images With some discs you may not be able to select images depending on how the disc was manufactured If you eject the disc switch the power off or unplug the player you will need to re enter the key number Note KEY NUMBER Navigating Pages During playback press the button on th...

Page 11: ...eature Table ntain the audio and video data these must be stored on CD in the ISO 9660 format MPEGs containing DivX can be divided into Video and Audio Video compatibility All versions of DivX later than 3 11 including the latest 5 1 are supported In addition XviD is supported For WMV V1 V2 V3 and V7 formats are possible The initial resolution is 720X480 and may support up to 720X576 Audio compati...

Page 12: ...W button Each time the button is pressed during playback the playback speed changes as follows Slow Playback DVD VCD DivX 22 Reverse slow playback does not work with VCDs and DivX Note During fast playback of a CD or MP3 CD sound is heard only at 2x speed and not at 4x 8x and 32x speeds No sound is heard during slow playback and step motion playback OPERATION ...

Page 13: ...ss Cursor button to move to ANGLE display 1Press INFO button Each time the button is pressed the angle changes as follows 3 Press Cursor buttons or numeric buttons to select the desired angle The Angle function works only with discs on which multiple angles have been recorded Note 24 OPERATION ...

Page 14: ... select Repeat Play in PBC off mode Note 2 Press Cursor button to move to REPEAT PLAYBACK display 1Press INFO button twice 4 Press ENTER button 3 Press Cursor button to select the desired Repeat Playback mode DVD VCD CD To Select a Repeat Playback Mode in the Disc Information Screen For a VCD or CD Press INFO button once 26 OPERATION ...

Page 15: ...ed the zoom level changes as follows 3 Press ENTER button EZ VIEW button button is pressed the zoom function will switch between On is played in Wide screen format black bars at the top and TV screen can be removed by pressing the EZ VIEW button on will not work if the DVD is recorded with multi camera angle format s may not disappear because some DVD discs have a built in horizontal to vertical r...

Page 16: ...ttons to select hapter and NTER button 0 00 01 1 1 Chapter 6 Press the numeric buttons to select the desired time and then press ENTER button 01 05 028 040 1 30 00 1 1 Moving to a Specific Time 3 Press Cursor buttons to move to Chapter display Moving to a Chapter 01 05 025 040 1 17 30 1 1 5 Press Cursor buttons to move to time display Moving to a Specific Time numeric You can press on the remote c...

Page 17: ...Press Cursor buttons to select the desired image and then press ENTER button ss DIGEST on during yback s will be shown in s u can view 9 JPEG images on the TV screen The selected image is played for 5 seconds before moving to the next image the previous or next image with 9 windows press Cursor buttons during playback Original Image 32 OPERATION ...

Page 18: ... the title of each movie Depending on the disc this function may either not work at all or may work differently 2 Press Cursor button to move to Title Menu p mode Press U button 3 Press ENTER button The title menu appears MENU button to exit the setup screen 34 OPERATION ...

Page 19: ...Nepali 1525 Tegulu Bangla 1245 Inupiak 1376 Dutch 1527 Tajik tan 1248 Indonesian 1379 Norwegian 1528 Thai ton 1253 Icelandic 1393 Occitan 1529 Tigrinya alan 1254 Italian 1403 Afan Oromo 1531 Turkmen ican 1257 Hebrew 1408 Oriya 1532 Tagalog ech 1261 Japanese 1417 Punjabi 1534 Setswana lsh 1269 Yiddish 1428 Polish 1535 Tonga ish 1283 Javanese 1435 Pashto Pushto 1538 Turkish man 1287 Georgian 1436 Po...

Page 20: ...on your wide screen TV You can enjoy the wide screen aspect Select this to play a 16 9 picture in the letter box mode on a conventional TV Black bars will appear at the top and bottom of the screen Select this to play a 16 9 picture in the pan scan mode on a conventional TV You can see the central portion of the screen only with the sides of the 16 9 picture cut off B box E S Scan a DVD is in the ...

Page 21: ...r the old password a new password and confirm new password The setting is complete 3 5 Press Cursor button to move to PASSWORD and then press ENTER button ENTER n Enter the password and then press ENTER button Setting the Password ou can set the password for the Parental rating level setting SETUP NCEL button to cancel the error numeric when you inputting password ...

Page 22: ...nd then press ENTER button Press Cursor button to move to LOGO and then press ENTER button ange the Wallpaper 5 Press MENU button to exit the setup screen to select ed USER press N button to return to the previous level button to exit the setup screen 42 ...

Page 23: ...ER button 4 You can set the audio delay time between 0 ms and 300 ms Set it to the optimal status Press Cursor buttons to select the Delay Time of AV SYNC and then press the ENTER button eo may look slower than the audio if it is connected with digital TV his case adjust the delay time of audio to optimal status to fit the video Cursor buttons ve to AV SYNC and ress ENTER button ss the MENU button...

Page 24: ...t the setup screen 46 SETUP 2 p mode MENU Press Cursor button to move to Audio and then press ENTER button 3 Press Cursor button to move to TEST TONE and then press ENTER button The test tone will be sent to L C R RS LS SW in that order If the ENTER button is pressed again at this time the test tone will stop ne E button NE button duced as follows or CD this will work heck that each speaker is and...

Page 25: ...SEC and for LS and RS between 00 and 15mSEC 4 5 or button DELAY hen press ton Press Cursor buttons to move to the desired speaker and then press ENTER button Press Cursor to set the Delay time 0 ms 3 ms 6 ms 9 ms 12 ms 15 ms SPEAKERS is equal to the distance of Ds mode as 0ms Otherwise according to the table SPEAKER is equal to or longer than the figure set the mode as 0ms the setting according to...

Page 26: ...eaker Balance Adjusting Rear Speaker Balance SOUND button and ress Cursor 3 Adjusting Center Speaker Level 5 r Speaker Level Adjusting Subwoofer Speaker Level 50 Press SOUND EDIT button and then press Cursor Press SOUND EDIT button and then press Cursor SOUND utton and ess Cursor Press SOUND EDIT button and then press Cursor SETUP DS RT ST TUNED kHz MHz TITLE CHAP PRGM RDS RT ST TUNED kHz MHz TITL...

Page 27: ...NTER Press Cursor to adjust the DRC TURN button to return to the previous level NU button to exit the setup screen SETUP The Cursor button is pressed the greater the effect and the Cursor button is pressed the smaller the effect ...

Page 28: ... hen playing a DVD disc encoded with two or more channels multi channel mode will be elected automatically and Dolby Pro Logic II button does not work You can select either 0 or 1 s PL II MODE n to select MUSIC e Press PL II EFFECT button and then press Cursor buttons to select the mode TITLE PBC CHAP PRGM RDS RT TA TUNED kHz MHz ST CMX MPEG TITLE PBC CHAP PRGM RDS RT TA TUNED kHz MHz ST TITLE PBC...

Page 29: ...R MEMORY button before PROGRAM disappears from the display PROGRAM disappears from the display and the station is stored in memory 5 ween 1 and Press the TUNER MEMORY button Press the TUNER MEMORY button 6 To preset another station repeat steps 2 to 5 to set You can store up to kHz MHz kHz MHz kHz PROGRAM MHz kHz MHz kHz MHz 15 FM stations 5 MW stations or 15 FM stations 15AM stations 5 SW1 statio...

Page 30: ...for which you wish to take alues at the beginning of each track reset ng COUNTER RESET has a separate counter TAPE DECK component system has three cassette playback modes which ou to listen to both sides of a cassette automatically assette in one of the cassette s displayed to enable you to ounter value at the start of t playback at the rack to which you wish to cting the Cassette Playback Mode Co...

Page 31: ...sert a cassette and then close the cassette door Insert the cassette with the safety tabs 2 3 Insert a blank cassette in Tape 2 system sing ON When stopped press the button to start the recording from the first piece of music Press and hold CD SYNCHRO button during the playback of CD to start the recording from the first part of the music being played 5 n desired song Load a compact disc Press CD ...

Page 32: ...it has no effect on the recording 2 3 Insert a blank cassette in Deck 2 e system ssing Y ON REC is displayed in red and recording starts 5 Select the TUNER function by pressing TUNER BAND Press REC PAUSE button 6 To stop recording press button radio t you wish y pressing N or UP 62 Note In Recoding DPL II doesn t work ...

Page 33: ...the timer it will start automatically as shown by the TIMER indication on the display If you no longer wish to use the timer you must cancel it TESTTONE PL II EFFECT P SCAN SOUNDEDIT MISCELLANEOUS is no longer displayed To cancel the timer press TIMER ON OFF once is displayed again To resume the timer press TIMER ON OFF again ...

Page 34: ...sleep timer setting press SLEEP button Each time the button is pressed the selection changes as follows 90 MIN 60 MIN 45 MIN 30 MIN 15 MIN OFF Press SLEEP button Sleep Timer Function You can set the time that the DVD player will shut itself off To cancel the sleep timer press SLEEP button until OFF appears on the display MUTE appears in the display To turn off mute press the button again Mute Func...

Page 35: ...d the ncy response up to two third or 11 2 octaves below the physical speaker cutoff hout perceived distortion or increased power consumption MAXX BASS function ones providing thudding sound effects MAXX BASS button on nt panel to select You can select the level of low tones you desire 2 POWER ON OFF switch on the r Turn the SUB WOOFER LEVEL knob to adjust the sub woofer volume 2 68 MISCELLANEOUS ...

Page 36: ...m Condensation may form if warm air comes into contact with cold parts inside the player When condensation forms inside the player the player may not operate correctly If this occurs remove the disc and let the player stand for 1 or 2 hours with the power on Note the tape in the cassette is sufficiently taut erasing a cassette that you wish to keep remove the safety tab on the upper edge of the o ...

Page 37: ...IAL appears on the display and all settings will return to the default values Press the POWER button Using the RESET function will erase all stored settings Do not use this unless necessary Turn off the power and hold the P Sound button on the main unit for longer than 5 seconds Using the RESET function will erase all stored settings Do not use this unless necessary for rating forgotten s not work...

Page 38: ...mation can be chosen from the menu displayed on the TV monitor Both the DVD player and DVD discs are encoded with a region number If the region number on the DVD disc does not correspond to the region number of the DVD player the player cannot play the disc Translated appearing at the bottom of the screen A DVD disc can contain up to 32 subtitle languages These numbers are recorded on DVD discs Wh...

Page 39: ...MISCELLANEOUS 76 Memo ...

Reviews: