0
English
Using the M
enus
Input Menu
Input
Option
Description
Source List
Use to select TV or other external input sources such as
DVD / Blu-ray players / Cable Box / Satellite receivers
(Set-Top Box) connected to the TV. Use to select the input
source of your choice.
TV / Ext. / AV / Component / PC / HDMI1/DVI /
HDMI2 / HDMI3
You can choose only those external devices that
are connected to the TV. In the
Source List
,
connected inputs will be highlighted and sorted to
the top. Inputs that are not connected will be sorted
to the bottom.
Using the Colour buttons on the remote with the
Source list.
Red (
Refresh
): Refreshes the connected external
devices.
TOOLS
(
Tools
): Displays the
Edit Name
and
Information
menus.
■
●
●
Edit Name
Name the device connected to the input jacks to make your
input source selection easier.
VCR / DVD / Cable STB / Satellite STB / PVR STB / AV
Receiver / Game / Camcorder / PC / DVI / DVI PC / TV
/ IPTV / Blu-ray / HD DVD / DMA
When a PC with a resolution of 1920 x 1080@60Hz
is connected to the
HDMI IN 1(DVI)
port, you
should set the
HDMI1/DVI
mode to
DVI PC
in the
Edit Name
of the
Input
mode.
When connecting an HDMI/DVI cable to the
HDMI
IN 1(DVI)
port, you should set the
HDMI1/DVI
mode to
DVI
or
DVI PC
in the
Edit Name
of
the
Input
mode. In this case, a separate sound
connection is required.
■
Support menu
Support
Option
Description
Self Diagnosis
Picture Test
If you think you have a picture problem, perform the picture
test. Check the colour pattern on the screen to see if the
problem still exists.
Yes
: If the test pattern does not appear or there
is noise in the test pattern, select
Yes
. Therefore,
contact Samsung’s call centre for assistance.
No
: If the test pattern is properly displayed, select
No
. There may be a problem with your external
equipment. Please check your connections. If the
problem still persists, refer to the external device’s
user manual.
Sound Test
If you think you have a sound problem, please perform the
sound test. You can check the sound by playing a built-in
melody sound through the TV.
‘Does the problem still exist with this sound test?’ appears
on the screen.
Yes
: If during the sound test you can hear sound only
from one speaker or not at all, select
Yes
. Therefore,
contact Samsung’s call centre for assistance.
No
: If you can hear sound from the speakers, select
No
. There may be a problem with your external
equipment. Please check your connections. If the
problem still persists, refer to the external device’s
user manual.
■
■
Press the
SOURCE
button on
the remote control to view an
external signal source. TV mode
can be selected by pressing the
TV
button.
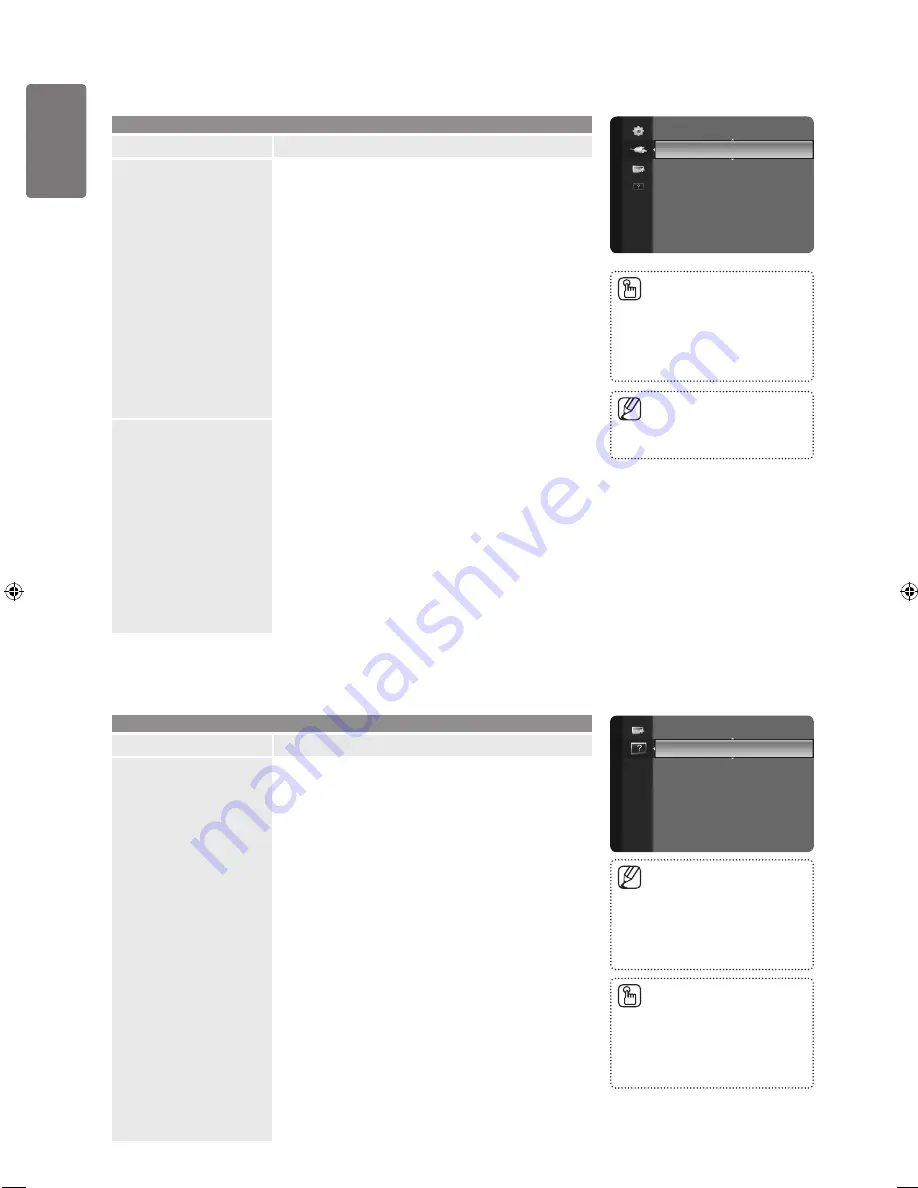
■
Source List
Edit Name
Input
Self Diagnosis
►
Software Upgrade
HD Connection Guide
Contact Samsung
Support
If you hear no sound from the
TV’s speakers, before performing
the sound test, make sure
Speaker Select
is set to TV
speaker in the Sound menu.
■
The melody will be heard during
the test even if
Speaker Select
is set to
External Speaker
or the
sound is muted by pressing the
MUTE
button.
■
Ext. and PC always stays
activated.
■
BN68-02274D-01Eng.indd 30
2009-05-25 �� 5:46:27