


English -
Menú
El menú cambia según el tipo y el estado de los dispositivos conectados al televisor.
Menu
Descripción
Ver TV
Cambia de al modo de emisión de TV.
Lista Disp.
Muestra la lista de dispositivos de .
Grabar: (Nombre_dispositivo)
Comienza una grabación. (Este menú sólo funciona con dispositivos que admiten grabación.)
Menú (Nombre_dispositivo))
Muestra el menú del dispositivo conectado.
Ejemplo: Cuando hay un grabador de DVD conectado, aparece el menú de títulos del grabador
de DVD.
Funcionamiento
(Nombre_dispositivo)
Muestra el menú de control de reproducción del dispositivo conectado.
Ejemplo: Cuando hay una grabadora de DVD conectada, aparece el menú de control de
reproducción de la grabadora de DVD.
Grabación con temporizador
Permite reservar una grabación.
(Este menú sólo funciona en un dispositivo que admita reservas de grabación.)
Detener grabación
Detiene la grabación.
Receptor
La salida de sonido se efectúa a través del receptor (sistema Home Cinema).
Configuración
Se puede configurar que (HDMI-CEC) se apague automáticamente así como la
búsqueda de las conexiones para usar .
Botones del mando a distancia del televisor disponibles en el modo
Tipo de dispositivo
Estado de funcionamiento
Botones disponibles
Dispositivo
Después de cambiar al dispositivo, cuando el menú de
éste aparece en la pantalla.
Botones numéricos
Botones
W.LINK
CH LIST
/
W.LINK
CH LIST
/
W.LINK
CH LIST
/
W.LINK
CH LIST
/
W.LINK
CH LIST
Botones de colores
Botón
EXIT
Dispositivo con sintonizador
incorporado
Después de cambiar al dispositivo, mientras se ve un
programa de TV
Botones
CH
/
Dispositivo de audio
Cuando la opción Receptor está activada
Botones
VOL
/
Botón
MUTE
➢
La función sólo funciona cuando la fuente activa del mando a distancia del televisor está ajustada en TV.
➢
Los dispositivos no se pueden controlar con los botones del lateral del TV. Los dispositivos sólo se
pueden controlar mediante el mando a distancia del televisor.
➢
El mando a distancia del televisor puede no funcionar en determinadas circunstancias. En ese caso, vuelva a
seleccionar el dispositivo .
➢
Las funciones no funcionan con los productos de otros fabricantes.
Grabación
La grabadora permite efectuar una grabación de un programa de televisión con una grabadora de Samsung.
1
Pulse el botón
TOOLS
.
Pulse los botones ▲ o ▼ para seleccionar Grabación inmediata y pulse el botón
ENTER
. Comienza la grabación.
Cuando hay más de un dispositivo de grabación
Cuando se conectan varios dispositivos de grabación, éstos se muestran en una lista.
Pulse los botones ▲ o ▼ para seleccionar el dispositivo de grabación que desee y pulse el
botón
ENTER
. Comienza la grabación.
Cuando no se muestra el dispositivo de grabación
Seleccione
Lista Disp.
y pulse el botón rojo para buscar los dispositivos.
Pulse el botón
EXIT
para salir.
➢
Se puede grabar las transmisiones de la fuente seleccionando
Grabar
después
de pulsar el botón
TOOLS
.
➢
Antes de grabar, compruebe si la toma de antena está conectada correctamente al dispositivo de grabación. Para
conectar correctamente una antena a un dispositivo de grabación, consulte el manual del usuario de los dispositivos
de grabación.
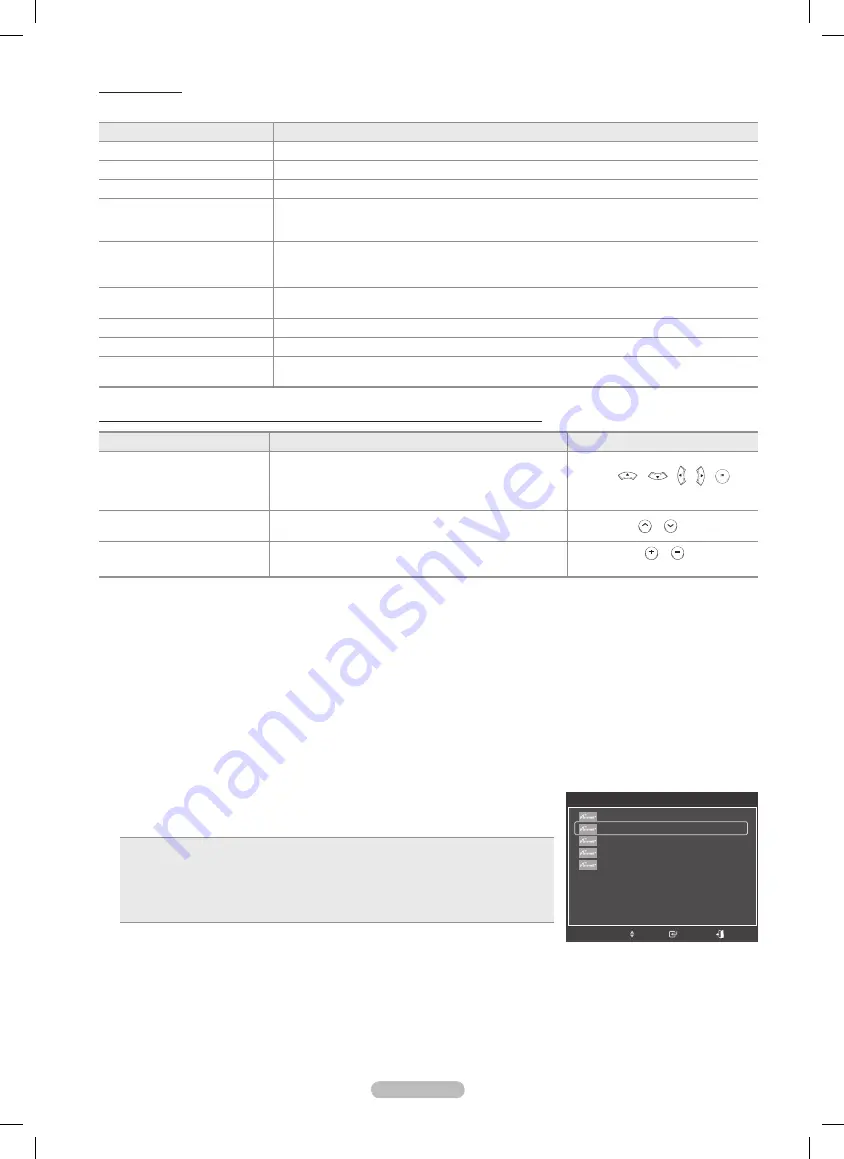
HERRAMIENTAS
Ver TV
Lista Disp.
Grabar : DVD
DVD Menú
DVD Menú
Sonido Modo
: Standard
Modo del sonido
: Favorito
Temporizador
: Desactivado
Añadir a favoritos
▼
Mover
Ingresar
Salir
BP68-00666A-Spa.indb 69
2008-04-22 오후 8:10:07


