


48
49
GB
GB
MP3/WMA Play
• Your MP3 or WMA files should be ISO 9660 or JOLIET format.
ISO 9660 format and Joliet MP3 or WMA files are compatible with Microsoft's DOS and Windows, and with Apple's
Mac. These two formats are the most widely used.
• When naming your MP3 or WMA files do not exceed 8 characters, and place ".mp3, .wma" as the file
extension.
General name format of: Title.mp3. or Title.wma. When composing your title, make sure that you use 8 characters
or less, have no spaces in the name, and avoid the use of special characters including: (.,/,\,=,+).
• Use a decompression transfer rate of at least 128 Kbps when recording MP3 files.
Sound quality with MP3 files basically depends on the rate of compression/decompression you choose. Getting
audio CD quality sound requires an analog/digital sampling rate, that is conversion to MP3 format, of at least 128
Kbps and up to 160 Kbps. However, choosing higher rates, like 192 Kbps or more, only rarely give better sound
quality.
Conversely, files with decompression rates below 128 Kbps will not be played properly.
• Use a decompression transfer rate of at least 64Kbps when recording WMA files.
Sound quality with WMA files basically depends on the rate of compression/decompression you choose. Getting
audio CD quality sound requires an analog/digital sampling rate, that is conversion to WMA format, of at least
64Kbps and up to 192Kbps.
Conversely, files with decompression rates below 64Kbps or over 192Kbps will not be played properly.
• Do not try recording copyright protected MP3 files.
Certain "securized" files are encrypted and code protected to prevent illegal copying. These files are of the following
types: Windows Media
TM
(registered trade mark of Microsoft Inc) and SDMI
TM
(registered trade mark of The SDMI
Foundation). You cannot copy such files.
• Important: The above recommendations cannot be taken as a guarantee that the DVD player will play MP3
recordings, or as an assurance of sound quality.
You should note that certain technologies and methods for MP3 file recording on CD-Rs prevent
optimal playback of these files on your DVD player (degraded sound quality and in some cases,
inability of the player to read the files).
• This unit can play a maximum of 500 files and 300 folders per disc.
When playing CD-R/MP3 or WMA discs, please follow all the recommendations for CD-R above, plus the
comments below:
CD-R MP3/WMA discs
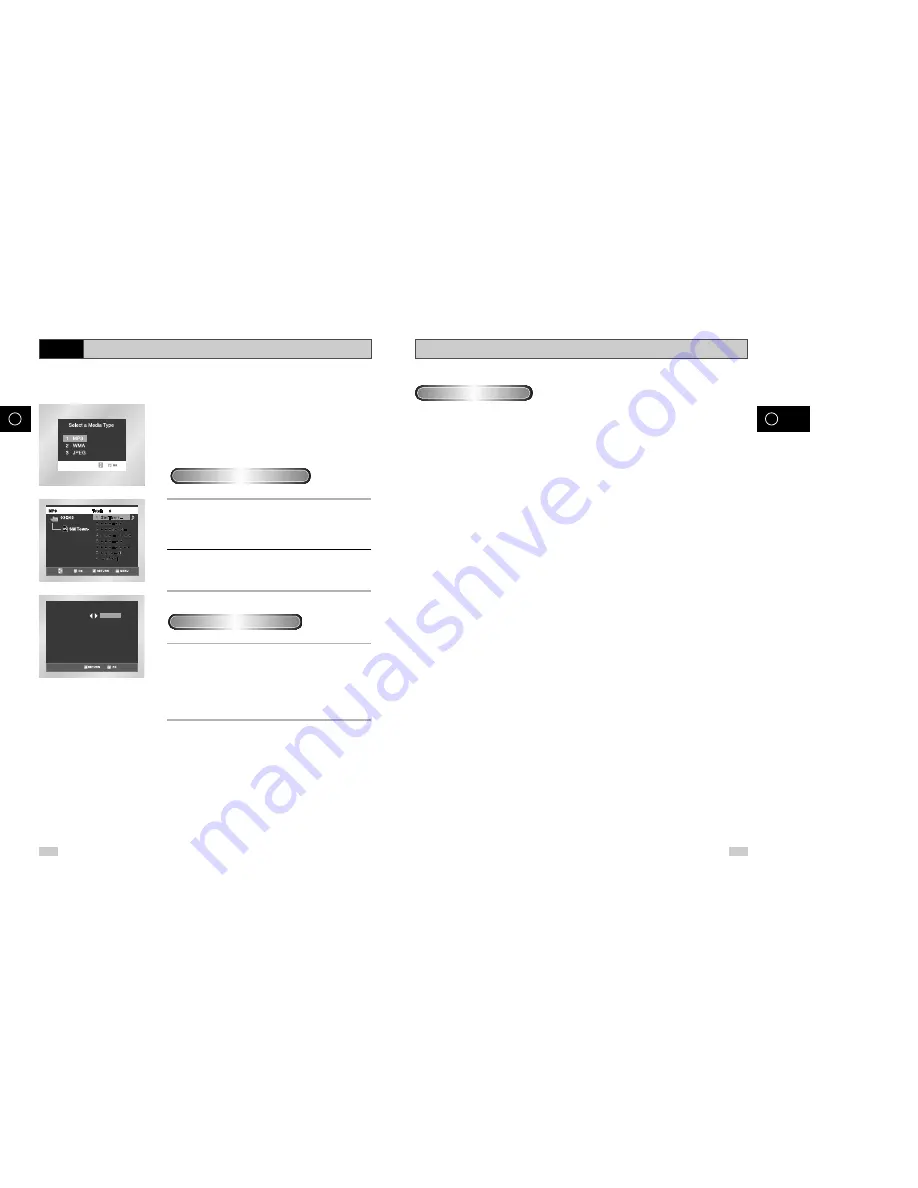
MP3/WMA Play
DVD
When an MP3/WMA Disc is inserted into the DVD player, the first
song file of the first folder plays.
• If more than two file extensions are present, select the media of your
choice.
• To change the currently playing media, press the STOP (
■
) button
twice and then press the DISC MENU button.
• If no button on the remote controller is pressed for 60 seconds, the
menu will disappear and the selected item will be played.
1
When the first song file is playing, the music folder menu will
appear on the right side of the screen.
Up to 8 music folders can be displayed at a time. If you have more
than 8 folders on a disc, press the
➛
,
❿
buttons to bring them up
on the screen.
2
Use the
,
❷
buttons to select the desired music folder, then
press OK.
Use the
,
❷
buttons again to select a song file. Press OK to
begin playback of the song file.
1.
Press the MODE button in STOP mode to switch between the
RANDOM and PROGRAM modes.
➢
• Press the REPEAT button in Play mode to hear only music
continuously and press it once again to release.
• PROGRAM/RANDOM playback cannot be used if the disc
contains more than two types of file extensions.
MP3/WMA Play Function
Program/Random playback
PROGRAM
RANDOM


