background image

43

42

Audio

Multiple language/audio setup options, such as Dolby Digital 5.1,
Dolby Pro Logic, or LPCM 2 Channel audio, are available on some
DVDs. You can use the AUDIO button to quickly view and  select
the options available on a disc.
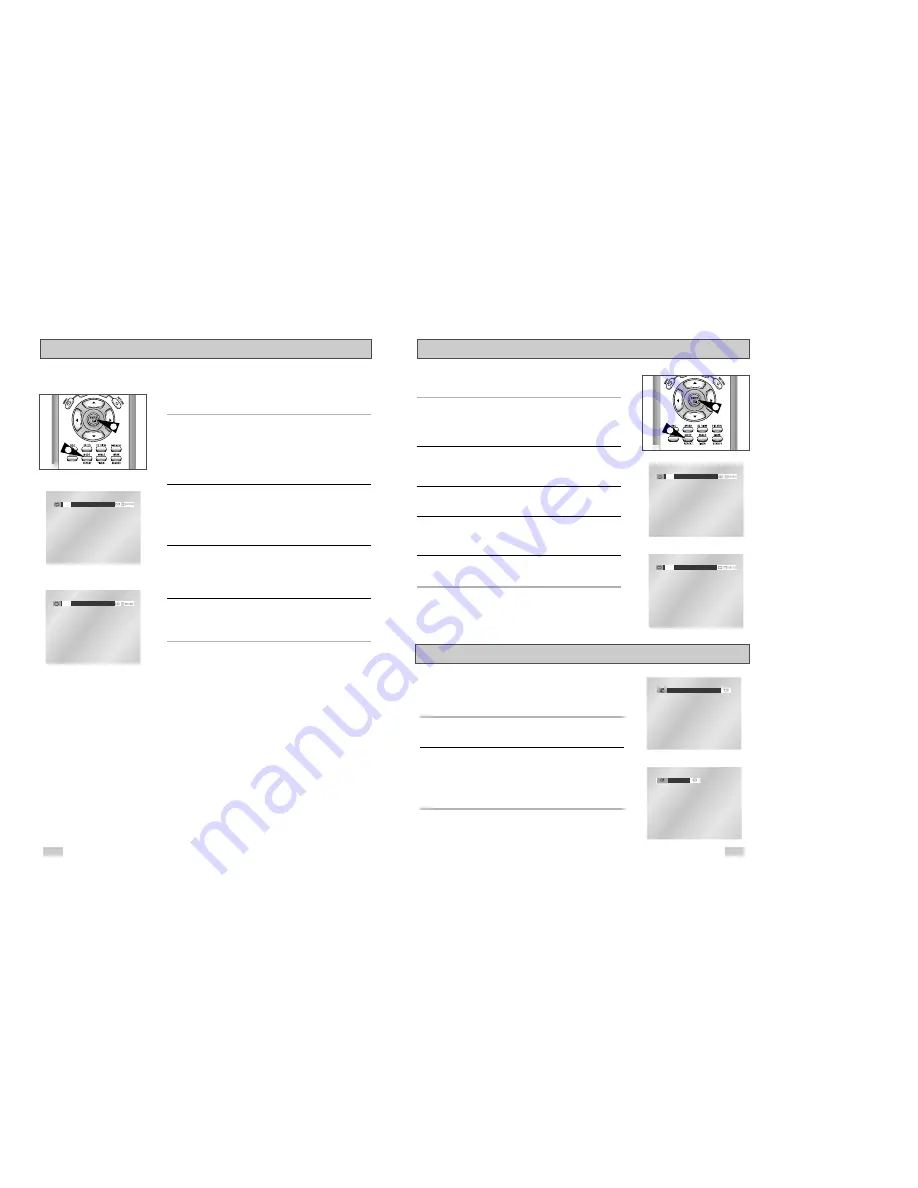
1

Open the Audio Menu

During playback, press the AUDIO button on the remote control.

2

Select DVD Audio Track

Use the LEFT/RIGHT buttons to select the desired language/audio 
setup on the DVD.

•  Languages are represented by abbreviations, e.g. “ENG” for

“English.”

You can repeat a single chapter or a complete title.

1

Open Repeat Menu

Press the REPEAT button while in Play mode to open the Repeat 
menu.
•  The current Repeat mode will be highlighted.

2

Select “Chapter”

Use the LEFT/RIGHT buttons to select “Chapter”.

•  When you select Chapter Repeat, “Chapter” will be highlighted.

3

Repeat Chapter

Press the ENTER button to repeat the current chapter or track.

4

Select “Title”

Use the LEFT/RIGHT buttons to select “Title”.

•  When you select Title Repeat, “Title” will be highlighted.

5

Repeat Title

Press the ENTER button to repeat the title.

Repeat Chapter/Title

1

A to B Repeat

A to B Repeat feature enables you to repeat the designated section
on a DVD or CD.  To activate, mark where to start(A) and where to
end(B) of the section you want to watch.

1

Select A-B Repeat Function

Press the REPEAT button while in Play mode, then use the
Left/Right buttons to select A-B Repeat.

• When you select A-B Repeat, “A-” will be highlighted.

NOTE: The menu will display “Track” in place of “Chapter” if you 

are playing a CD.

2

Mark the Starting Point

Press the ENTER button at the beginning of the segment you want 
to repeat (Point A).

•  Once you select Point “A”, “B” will be highlighted.

NOTE: The minimum A -B Repeat time is 5 seconds. 

3

Mark the Ending Point

Press the ENTER button again at the end of the segment you want 
to repeat (Point B).

•  The segment will begin repeating in a continuous loop.

4

Cancel A-B Repeat

Press the REPEAT button to open the Repeat Menu, use the 
Left/Right buttons to highlight “Off,” then press the ENTER button.

Off

Track   Disc   A - B

Off

Chapter   Title   A - B

1

DVD

CD

Off

Track   Disc   A - B

Off

Chapter   Title   A - B

DVD

CD

Stereo

ENG DOLBY DIGITAL  5.1CH

DVD

CD

4

5

Summary of Contents for DVD-V3300

Page 1: ...Instruction Manual DVD V3300 www samsungusa com POWER CHANNEL LINE IN 2 DVD VCR PROGRESSIVE OPEN CLOSE POWER ...

Page 2: ...djustment of other controls may result in damage and will often require extensive work by a qualified technician to restore the product to its normal operation e If the product has been dropped or damaged in any way f When the product exhibits a distinct change in performance this indicates a need for service 22 Replacement Parts When replacement parts are required be sure the service technician h...

Page 3: ...ial VCR Playback Features 52 Tracking 52 Auto Play 53 S VHS Playback 53 Variable Search System 54 4 Table of Contents Safety 2 Important Safety Instructions 2 Welcome 7 Feature Summary 7 Unpack 7 Disc Type and Characteristics 8 1 System Overview 9 Front Panel Overview 9 Rear Panel 10 Front Panel Display 10 Remote Control Overview 11 Insert Batteries into Remote 11 Using the TV Buttons on the Remot...

Page 4: ...event 1 month timer recording Time remaining counter real time counter Note Discs which cannot be played with this player Ability to play back may depend on recording DVD ROM DVD RAM conditions CD ROM CDV DVD R CD RW CDI DVD RW RW HD layer of Super Audio CD CDGs play audio only not graphics Unpack When you unpack the DVD VCR please check the following list of items is included in the packing case ...

Page 5: ...Korea Japan etc Dolby Digital disc Stereo disc Digital Audio disc DTS disc MP3 disc Both the DVD player and the discs are coded by region These regional codes must match in order for the disc to play If the codes do not match the disc will not play The Region Number for this player is described on the rear panel of the player 9 5 31 2 Single sided 240 min Double sided 480 min Single sided 80 min D...

Page 6: ... 25 PLAY PAUSE 26 INFO 27 RETURN 28 ENTER 29 RIGHT 30 EZ VIEW 31 DISC MENU 32 MARK SEARCH 33 ANGLE TIMER 10 Front Panel Display STEREO 1 2 3 4 5 6 7 8 1 When the light is on DVD is operating 2 DVD or CD media is loaded 3 The time counter position time remaining or current deck status is indicated 4 VHS videotape is loaded 5 VCR is activated 6 A DVD with a DTS soundtrack is loaded 7 The Hi Fi track...

Page 7: ...ol or on the front panel of the unit 5 Turn On your TV Turn on the TV by pressing the POWER button 6 Set the TV to Channel 3 4 or Line The same channel you selected in Step 2 above must be used If you are using the Line Connection method set your TV to its Line Input From Antenna or Cable To TV s Antenna Input 1 2 3 2 POWER OP POWER 4 4 Using the TV Buttons on the Remote Control Your VCR remote co...

Page 8: ...ront panel to turn on the DVD VCR 2 DVD Button Press the DVD button on the remote control or front panel when you want to control the DVD deck The DVD indicator will light on the Front Panel Display to show that the DVD deck is selected 3 VCR Button Press the VCR button on the remote control or front panel when you want to control the VCR deck The VCR indicator will light on the Front Panel Displa...

Page 9: ... to move to the previous or the next channel 3 0 9 Buttons Use these buttons to select the desired channel directly 4 100 Button Press this button to tune to channels 100 and above First press the 100 button then use the numeric buttons 0 9 to enter the remaining digits of the channel number desired This button is activated only in Cable TV Mode 5 INFO Button Press this button to display the curre...

Page 10: ...ernal clock must be set correctly 1 Open MENU Press the MENU button while the DVD is in Stop or Play mode 2 Select SETUP Using the UP DOWN buttons move the selection bar to SETUP then press ENTER to select 3 Select Clock Use the UP DOWN buttons to highlight Clock then press the ENTER button 4 Select Manual Clock Move the highlight to Manual Clock then press the ENTER button The Clock Set Adjust me...

Page 11: ...Channel Add Delete 20 RF Output Channel 1 Open MENU With the DVD in Stop or Play mode press the MENU button 2 Select SETUP Using the UP DOWN buttons move the selection bar to SETUP then press ENTER to select 3 Select Channel Using the UP DOWN buttons move the selection bar to Channel then press ENTER to select 4 Select RF Output CH Move the selection bar to RF Output CH then press right to change ...

Page 12: ...like to add or added a channel you wish to remove 1 Open MENU With the DVD in Stop or Play mode press the MENU button 2 Select SETUP Using the UP DOWN buttons move the selection bar to SETUP then press ENTER to select 3 Select Channel Using the UP DOWN buttons move the selection bar to Channel then press ENTER to select 4 Select Channel Add Delete Move the selection bar to Channel Add Delete then ...

Page 13: ...ENU Press the MENU button while the DVD is in Stop mode 2 Select DVD Use the UP DOWN buttons to highlight DVD then press the ENTER button 3 Select Language Move the selection bar to Language then press ENTER to select 4 Select Disc Menu Highlight Disc Menu then press the ENTER button 5 Set Disc Menu Language Preference Highlight your preferred language for disc menus then press the ENTER button 1 ...

Page 14: ... with a Dolby Digital decoder your DVD VCR can output Dolby Digital 5 1 sound but you MUST enable this feature in the menu system to prevent damage to your speakers NOTE Select Bitstream ONLY if you have connected a Dolby Digital equipped A V receiver to the Digital Output optical or coaxial on the DVD VCR back panel 1 Open MENU Press the MENU button while the DVD is in Stop mode 2 Select DVD Use ...

Page 15: ... with an A V receiver equipped with a DTS decoder DTS PCM Down Sampling On Dynamic Compression Dynamic Compression restrains the dynamic range of sound i e the difference between the loud and quiet passages of a DVD audio track 1 Open MENU Press the MENU button while the DVD is in Stop mode 2 Select DVD Use the UP DOWN buttons to highlight DVD then press the ENTER button 3 Select Audio Highlight A...

Page 16: ...of the screen Pan Scan The familiar way of watching DVD and VHS movies this method selectively crops by panning and scanning to keep the most important part of the picture visible wide screen movies to fit a standard 4 3 television screen Display Setup PCM Down Sampling If your amplifier is not capable of reproducing a 96kHz signal PCM downsampling should be set to on 1 Open MENU Press the MENU bu...

Page 17: ...ave Interlace Interaced Scan mode will work Progressive Progressive Scan mode will work and Video and S Video will not work Press the Progressive button on the front panel if you have a Progressive scan TV only Otherwise the picture will be disturbed Black Level The Black Level feature adjusts the reference level of black in the video signal to one of two choices Off Standard NTSC black level Yiel...

Page 18: ...the ENTER button 4 Select Use Password Highlight Use Password then press the RIGHT button to select one of the following options Off No password is necessary to view a DVD or to change the Rating Level No additional settings are necessary On A password is necessary to view a DVD and to view the Rating Level The menu will change as shown NOTES The first time Require Password is set to Yes you will ...

Page 19: ...p Back will jump to the beginning of the current chapter track Press Skip Back again to jump to the beginning of the previous chapter track Search Forward Back While a disc is in Play mode press and hold the FORWARD BACK buttons on the remote control or front panel to visually search forward backward at 2X 4X 8X 16X 32X 128X speed Press ll PLAY PAUSE button to resume normal speed NOTE CD search sp...

Page 20: ... mode operates differently depending on the screen setting in the initial setup menu To ensure correct operation of the EZ VIEW button you should set the correct aspect ratio in the initial setup See the page 31 2 If you are using a 16 9 TV For 16 9 aspect ratio discs Wide Screen Displays the content of the DVD title in 16 9 aspect ratio Screen Fit The top and bottom of the screen are cut off When...

Page 21: ...Letter Box Displays the content of the DVD title in 16 9 aspect ratio The black bars will appear at the top and bottom of the screen 4 3 Pan Scan The left and right of the screen are cut off and displays the central portion of the 16 9 screen Screen Fit The top and bottom of the screen are cut off and the full screen appears The picture will look vertically stretched Zoom Fit When a 4 3 DVD is vie...

Page 22: ...EST But During playba You ll see t chapters o When each chapter wil 2 Set DIGEST Press the up d button to sele Up to 9 wind time Press 9 You desir DIG use Subtitle Digest Pla 1 ENG On ENG Off Angle View Some DVD Movies provide you with various camera angle views on the same scene while they are playing To activate the feature press the ANGLE Button 1 Check for the Angle Icon Press the Angle button...

Page 23: ...e highlighted 5 Repeat Title Press the ENTER button to repeat the title Repeat Chapter Title 1 A to B Repeat A to B Repeat feature enables you to repeat the designated section on a DVD or CD To activate mark where to start A and where to end B of the section you want to watch 1 Select A B Repeat Function Press the REPEAT button while in Play mode then use the Left Right buttons to select A B Repea...

Page 24: ...the REPEAT button to hear only music continuously and press it once again to release PROGRAM RANDOM playback cannot be used if the disc contains more than two types of file extensions RETURN PROGRAM RANDOM RETURN MP3 WMA Play 45 44 Up to three Bookmarks can be inserted for a given DVD allowing you to quickly jump to your favorite scene or song 1 Open Bookmark Menu During playback press the MARK bu...

Page 25: ...characters or less have no spaces in the name and avoid the use of special characters including Use a decompression transfer rate of at least 128 Kbps when recording MP3 files Sound quality with MP3 files basically depends on the rate of compression decompression you choose Getting audio CD quality sound requires an analog digital sampling rate that is conversion to MP3 format of at least 128 Kbps...

Page 26: ...e disc on the tray Load the disc with the labeled side up 3 Close the tray The tray closes and you should get a screen that looks like the one below Use the Up Down or Left Right buttons on the remote controller to select the picture you want to view and then press the ENTER button Press the PLAY PAUSE ll button if you want to play it in the Slide Show mode To see the next 6 pictures press the but...

Page 27: ...f Title Menu Disc Menu Information Zoom Bookmark Repeat EZ View DVD Function Use this feature to check your DVD 1 Open MENU With the DVD in Play mode press the MENU button 2 Select FUNCTION Use the UP DOWN buttons to highlight FUNCTION then press the ENTER button 3 Select DVD Function Using the UP DOWN buttons to highlight DVD Function then press ENTER to select 4 Select Title Menu Highlight Title...

Page 28: ...uring playback because of slight differences in recording decks The TRK button will automatically align the recorded tracks with the playback heads to solve this problem You may also set tracking manually 1 Adjust Tracking Manually During playback press the CH TRK or CH TRK buttons to remove white lines from the picture 1 1 While a videotape is playing you can enjoy a variety of special playback f...

Page 29: ...screen in the stop mode When a program is recorded the starting point is given an Index mark for easy location However the VHS Index Search System VISS cannot recognize index marks made by old VCRs If the VCR has trouble finding a mark it is probably because the cassette was recorded on a VCR without VISS If you want to index two programs in a row set your VCR to stop then start recording each pro...

Page 30: ... REC button again to activate One Touch Recording OTR Record length 0 30 appears on the On Screen Display and the DVD VCR will record for exactly 30 minutes 3 Add Recording Time Continue pressing REC to add recording time in 30 minute increments up to 4 hours The DVD VCR stops recording automatically when the time has elapsed And DVD VCR will be Automatically turned off when the OTR finished One T...

Page 31: ...en press the ENTER button 3 Select Channel Number Use the Right and UP DOWN buttons to set the channel Press the RIGHT button to move to the next setting 4 Set Time Date Speed Repeat Step 3 above to set start time end time date and record speed Date can be set for one time daily or weekly recording See below 5 Save Timer Recording Press the RETURN button to finish setting the timer recording Stop ...

Page 32: ...ough the RF or line inputs To activate your alternative S Video or Component video selection follow the Alt Video Out instructions on page 33 Keep in mind that you can choose either S Video or Component only but not both A superior video quality can be obtained when watching a DVD on your DVD VCR if your TV is equipped with S Video or Component Video inputs 1 Connect S VIDEO OUT to TV Using an S V...

Page 33: ...uts appears on your TV screen Then press Record on the VCR deck 4 Timer Record From Device Select LINE1 L1 or LINE2 L2 as your record source in the Timer Record menu All other Timer Record settings should be set in the usual manner 3 TV Audio Video Outputs of External Device Monitor style televisions offer improved sound and picture over regular televisions because they receive the audio and video...

Page 34: ...ung Limited Warranty Samsung Electronics Canada Inc SECA warrants that this product is free from defective material and workmanship SECA further warrants that if this product fails to operate properly within the specified warranty period and the failure is due to improper workmanship or defective material SECA will repair or replace the product at its option All warranty repairs must be performed ...

Page 35: ... ELECTRONICS CANADA INC 7037 FINANCIAL DRIVE MISSISSAUGA ONTARIO L5N 6R3 CANADA MADE IN KOREA TEL 1 905 542 3535 www samsung ca CUSTOMER SERVICE 7037 Financial Drive Mississauga Ontario L5N 6R3 Canada 1 800 SAMSUNG 1 800 726 7864 AK68 00164A ELECTRONICS ...

Reviews: