24
Picture CD Playback
1. Select the desired folder.
2. Press the
/
buttons to select a Picture file in the clips
menu and then press the
ENTER
button.
3. Press the
INFO
button on the remote control to select the
menu you want to view and then press the
ENTER
button.
Note
- If no buttons on the remote control are pressed for
10 seconds, the menu will disappear.
- Press the STOP button to return to the clips menu.
- When playing a Kodak Picture CD, the unit displays
the Photo directly, not the clips menu.
ENTER RETURN
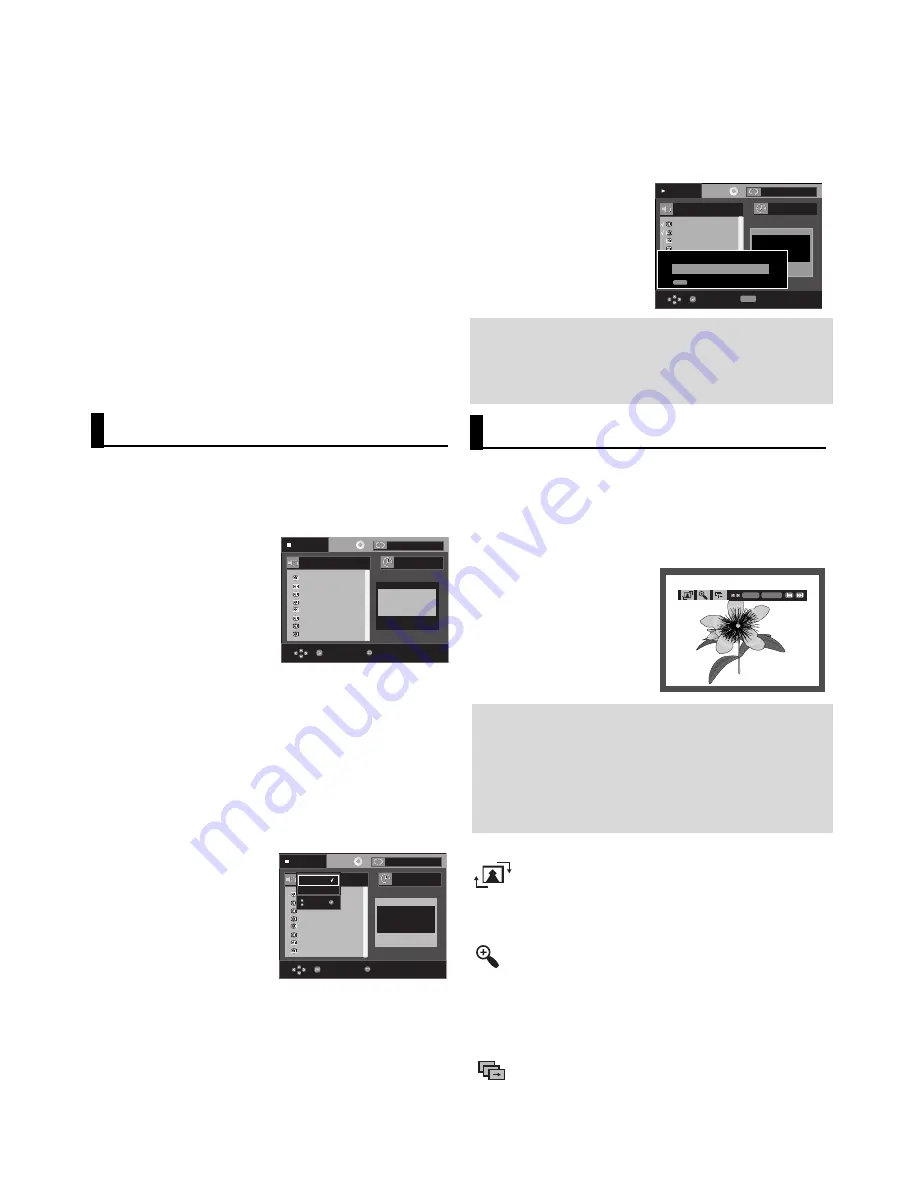
Rotation
: Each time the
ENTER
button is pressed, the
picture rotates 90 degrees clockwise.
Zoom
: Press the
/
buttons to select the part of the
screen you want to zoom in on.
Press the
ENTER
button. Each time the
ENTER
but-
ton is pressed, the picture is enlarged up to 2X.
Slide Show
•
: The unit enters slide show mode.
• Before beginning the Slide Show, the picture interval must
be set.
• CBI (Control/Bulk/Interrupt) is not supported.
• Digital Cameras that use PTP protocol or require additional
program installation when connected to a PC are not sup-
ported.
• A device using NTFS file system is not supported.
(Only FAT 16/32 (File Allocation Table 16/32) file system is
supported.)
• Some MP3 players, when connected to this product,may not
operate depending on the sector size of their file system.
• The USB HOST function is not supported if a product that
transfers media files by its manufacturer-specific program is
connected.
• Does not operate with Janus enabled MTP(Media Transfer
Protocol) devices.
•
The USB host function of this product does not support
all USB devices.
For information on the supported devices, see page 34.
CD Ripping
This feature lets you to copy audio files from disc to
USB device into MP3 format.
Open the disc tray.
Place a Audio CD (CD DA) on
the tray, then close the tray.
Connect the USB device to the
USB host on the front of the
player.
This screen will displayed.
1.
To Select DISC
With the unit in Stop mode, press the
/
buttons to select
DISC.
To Select DEV (storage media device)
Press the
button to select
DEV
(storage media device)
menu, then press the
ENTER
button.
Press the
/
buttons to select USB, then press the
ENTER
button.
2. Press the
/
buttons to select
SELECT
, then press the
ENTER
button to marked all files to be copying.
- To unmarked copying all files, press the
ENTER
button
once again (
UNSELECT
Menu).
- If you want to marked several files to be copying, press
the
¦
¦
button, then press the
ENTER
button on the
selected file.
- To cancel the copying in progress, press the
CANCEL
button.
Note
- When the CD ripping is being processed the
player will atoumatic in play mode.
- Only Audio CD (CD DA) discs that can be ripping.
0 0 : 0 0 : 0 0
Enter
T
T
Menu
Track 01
Track 02
Track 0
3
Track 04
Track 05
Track 06
Track 07
Track 0
8
Track 01
DEV : -
S
ELECT
S
TART
Off
STOP
0 0 : 0 0 : 0 0
Enter
T
T
Menu
Track 01
Track 02
Track 03
Track 04
Track 05
Track 06
Track 07
Track 08
Track 01
DEV : USB 1
UNSELECT
START
USB
Disc
Off
STOP
0 0 : 0 3 : 1 5
Enter
T
T
Track 01
Track 02
Track 03
Track 04
Track 05
Track 06
Track 07
Track 01
DEV : USB 1
UNSELECT
START
CD Ripping START...
Cancel Ripping
REPEAT
Repeat
CANCEL
Off
PLAY
3. Press the
/
buttons to select
START
, then press the
ENTER
button.
File copy begins.


