background image

ENG-3

Important Safety Instructions

Precautions

ENG-2

1) Read these instructions.

2) Keep these instructions.

3) Heed all warnings.

4) Follow all instructions.

5) Do not use this apparatus near water.

6) Clean only with dry cloth.

7) Do not block any ventilation openings, Install in accordance with the manufacturer's instructions.

8) Do not install near any heat sources such as radiators, heat registers, or other apparatus (including 

amplifiers) that produce heat.

9) Do not defeat the safety purpose of the polarized or grounding- type plug. A polarized plug has two blades

with one wider than the other. A grounding type plug has two blades and a third grounding prong. 

The wide blade or the third prong are provided for your safety. If the provided plug does not fit into your 

outlet, consult an electrician for replacement of the obsolete outlet.

10) Protect the power cord from being walked on or pinched particularly at plugs, convenience receptacles,

and the point where they exit from the apparatus.

11) Only use attachments/accessories specified by the manufacturer.

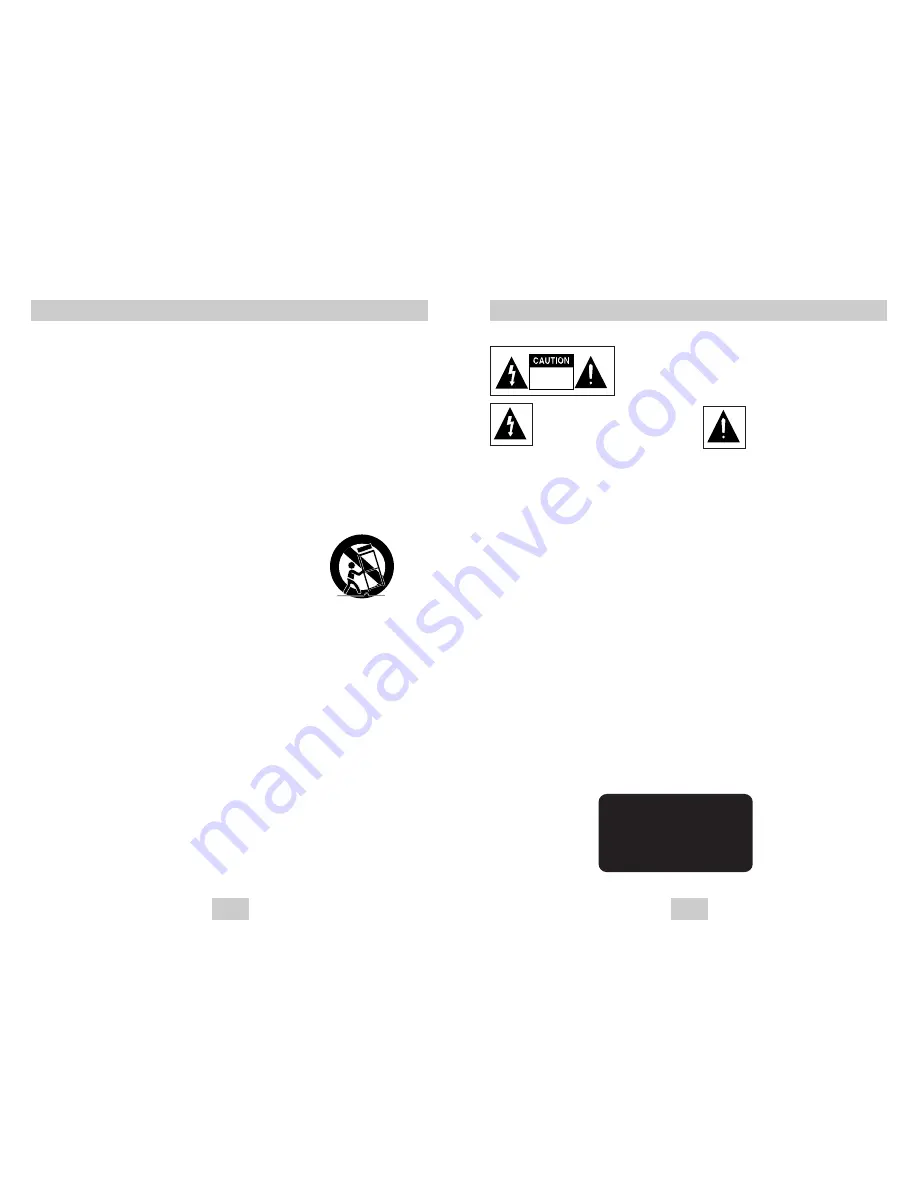
12) Use only with cart, stand, tripod, bracket, or table specified by the 

manufacturer, or sold with the apparatus. 

13) Unplug this apparatus. When a cart is used, use caution when moving the

cart/apparatus combination to avoid injury from tip-over.

14) Refer all servicing to qualified service personnel. Servicing is required when the

apparatus has been damaged in any way, such as power-supply cord or plug is damaged, liquid has been

spilled or objects have fallen into the apparatus the apparatus has been exposed to rain or moisture, does

not operate normally, or has been dropped.

TO REDUCE THE RISK OF ELECTRIC SHOCK, DO NOT REMOVE
THE COVER(OR BACK). 
NO USER-SERVICEABLE PARTS ARE INSIDE. REFER SERVICING
TO QUALIFIED SERVICE PERSONNEL.

This symbol indicates “dangerous volt-
age” inside the product that presents a
risk of electric shock or personal injury.

This symbol indicates important
instructions accompanying the
product.

RISK OF ELECTRIC SHOCK

DO NOT OPEN

CAUTION : DVD PLAYERS USE AN INVISIBLE LASER BEAM WHICH CAN

CAUSE HAZARDOUS RADIATION EXPOSURE IF DIRECTED. 
BE SURE TO OPERATE PLAYER CORRECTLY AS INSTRUCTED.

Do not install this equipment in a confined space such as a bookcase or similar unit.

WARNING : 

To prevent damage which may result in fire or electric shock hazard, do not
expose this appliance to rain or moisture.

CAUTIONS

Caution: 

To prevent electric shock, match wide blade of plug to wide slot, fully insert.

Attention:

Pour éviter les chocs électriques, introduíre la lame la plus large de la fiche dans la borne corre-
spondante de la prise et pousser jusqu au fond.

This product satisfies FCC regulations when shielded cables and connectors are used to connect the unit to
other equipment. To prevent electromagnetic interference with electric appliances, such as radios and televi-
sions, use shielded cables and connectors for connections.

FCC NOTE (for U.S.A):

This equipment has been tested and found to comply with the limits for a Class B digital device, pursuant to
Part 15 of the FCC rules. These limits are designed to provide reasonable protection against harmful interfer-
ence in a residential installation. This equipment generates, uses and can radiate radio frequency energy and,
if not installed and used in accordance with the instructions, may cause harmful interference to radio or televi-
sion reception, which can be determined by turning the equipment off and on. 
The user is encouraged to try to correct the interference by one or more of the following measures.
• Reorient or relocate the receiving antenna.
• Increase the separation between the equipment and receiver.
• Connect this equipment into an outlet on a circuit different from that to which the receiver is connected.
• Consult the dealer or an experienced radio/TV technician for help.

This class B digital apparatus meets all requirements of the Canadian Interference --
Causing Equipment Regulations

.

CLASS 1

LASER PRODUCT

KLASSE 1

LASER PRODUKT 

LUOKAN 1

LASER LAITE

KLASS 1     LASER APPARAT

PRODUCTO LÁSER CLASE 1

Summary of Contents for DVD-P341

Page 1: ...VD P341 AK68 00342M HEADQUARTERS 105 Challenger Road Ridgefield Park NJ 07660 0511 TEL 1 800 SAMSUNG SERVICE DIVISION 400 Valley Road Suite 201 Mount Arlington NJ 07856 1 800 SAMSUNG 1 800 726 7864 www samsungusa com ...

Page 2: ...icates important instructions accompanying the product RISK OF ELECTRIC SHOCK DO NOT OPEN CAUTION DVD PLAYERS USE AN INVISIBLE LASER BEAM WHICH CAN CAUSE HAZARDOUS RADIATION EXPOSURE IF DIRECTED BE SURE TO OPERATE PLAYER CORRECTLY AS INSTRUCTED Do not install this equipment in a confined space such as a bookcase or similar unit WARNING To prevent damage which may result in fire or electric shock h...

Page 3: ...NNEL Note This unit can be used only where the power supply is AC 120V 60Hz It cannot be used elsewhere This DVD player is designed and manufactured to respond to the Region Management Information If the Region number of a DVD disc does not correspond to the Region number of this DVD player the DVD player cannot play the disc This device is protected by U S patent numbers 4 631 603 4 577 216 4 819...

Page 4: ...nguages Audio Subtitle and screen angles while enjoying movies Progressive Scan Progressive scanning creates an improved picture with double the scan lines of a conventional interlaced picture EZ VIEW Easy View can convert Letter Box images to full screen viewing on your conventional TV Digital Photo Viewer JPEG You can view Digital Photos on your TV Repeat You can repeat a song or movie simply by...

Page 5: ... Menu interlaced scan mode will work Important Note Important Note Consult your TV User s Manual to find out if your TV supports Progressive Scan If Progressive Scan is supported follow the TV User s Manual s instructions regarding Progressive Scan settings in the TV s menu system If Component P SCAN Video Output is selected in Setup Menu Video and S Video will not work See page 30 to get more inf...

Page 6: ... INSTANT REPLAY Button This function is used to replay the previous 10 seconds of the movie from the current position 14 INSTANT SKIP Button This function skips playback ahead 10 seconds 15 PLAY PAUSE Button Begin Pause disc play 16 INFO Button Displays the current disc mode 17 DISC MENU Button Brings up the Disc menu 18 ENTER DIRECTION Button UP DOWN or LEFT RIGHT Buttons This button functions as...

Page 7: ...s left in the stop mode for more than 30 minutes the power will automatically shut off Automatic Power Off Function If the player is left in the stop mode for more than one minute without any user interaction a screen saver will be activated Press the PLAY button to resume normal play This icon indicates an invalid button press Choosing a Connection Connection to a TV For Video TV Normal Widescree...

Page 8: ... languages or if you prefer turn them off from the screen A DVD disc can have up to 32 different subtitles Title Chapter Time Audio Subtitle Using the Display Function When Playing a DVD CD 1 During play press the INFO button on the remote 2 Use the UP DOWN buttons to select the desired item 3 Use the LEFT RIGHT buttons to make the desired setup and then press ENTER You may use the number buttons ...

Page 9: ... A to B repeatedly at the speed you chose To terminate the function press the CLEAR button A B REPEAT does not allow you to set point B until at least 5 seconds has elapsed after point A has been set PROGRAM RANDOM PROGRAM RANDOM PROGRAM 01 Track 05 06 07 08 09 10 11 12 13 14 15 16 Program Order 01 02 03 04 ENTER RETURN CLEAR Slow Repeat Play Repeat Play Repeat the current track chapter title a ch...

Page 10: ...Wide Screen Displays the content of the DVD title in 16 9 aspect ratio Screen Fit The top and bottom of the screen are cut off When playing a 2 35 1 aspect ratio disc the black bars at the top and bottom of the screen will disappear The picture will look vertically stretched Depending on the type of disc the black bars may not disappear completely Zoom Fit The top bottom left and right of the scre...

Page 11: ... may be marked at a time Depending on the disc the Bookmark function may not work Using the Instant Replay Skip Function Changing the Camera Angle When a DVD contains multiple angles of a particular scene you can select the Angle function Using the ANGLE button Press the ANGLE button to see if an ANGLE mark is present at the upper left hand corner of the screen 1 When an ANGLE mark is shown press ...

Page 12: ...e c a u s e Yo u S a d D a y O f f Parent Folder Current Folder and Peer Folders Folders and Files in Current Folder How to insert a Memory Card This unit accepts 7 different types of Memory Cards Insert the Memory Card correctly with the label facing up otherwise it may not work This device supports 7 types of memory cards Memory Stick SD Card MMC and Smart Media Card through the upper slot and C...

Page 13: ... up to 160 Kbps However choosing higher rates like 192 Kbps or more only rarely give better sound quality Conversely files with decompression rates below 128 Kbps will not be played properly Do not try recording copyright protected MP3 files Certain secured files are encrypted and code protected to prevent illegal copying These files are of the following types Windows MediaTM registered trade mark...

Page 14: ...the disc is not closed it will take longer to start playing and not all of the recorded files may be played Only CD R discs with JPEG files in ISO 9660 or Joliet format can be played Memory Cards over 2GB use FAT32 which may be not compatible with this unit The name of the JPEG file may not be longer than 8 characters and should contain no blank spaces or special characters Only a consecutively wr...

Page 15: ...rademarks of Digital Theater Systems Inc Setting Up the Language Features Using the Audio Language 1 With the unit in Stop mode press the MENU button 2 Select Setup using UP DOWN buttons then RIGHT or ENTER button 3 Select Language Setup using UP DOWN buttons then press the RIGHT or ENTER button 4 Select Audio using UP DOWN buttons then press the RIGHT or ENTER button 5 Press the UP DOWN buttons t...

Page 16: ...tions will help prevent picture shake in still mode and display small text clearer 1 Auto When selecting Auto Field Frame mode will be automatically converted 2 Field Select this feature when the screen shakes in the Auto mode 3 Frame Select this feature when you want to see small letters more clearly in the Auto mode Screen Messages Use to turn on screen messages On or Off Black Level Adjusts the...

Page 17: ...creen Ratio is fixed on your DVDs Make sure you have selected the correct Digital Output in the Audio Options Menu Press power on from a cold start with no disc in the unit Press the SEARCH SKIP button on the front panel for 1 second The SELECT MENU LANGUAGE display will appear Select the number button of the desired language Press power on from a cold start with no disc in the unit Press the SEAR...

Page 18: ...o the following including but not limited to damage which occurs in shipment applications and uses for which this product was not intended failures or problems which are caused by products or equipment not supplied by SAMSUNG accidents misuse abuse neglect misappli cation fire water lightning or other acts of nature incorrect electrical line voltage fluctuations or surges dam age caused by imprope...

Reviews: