English - 4
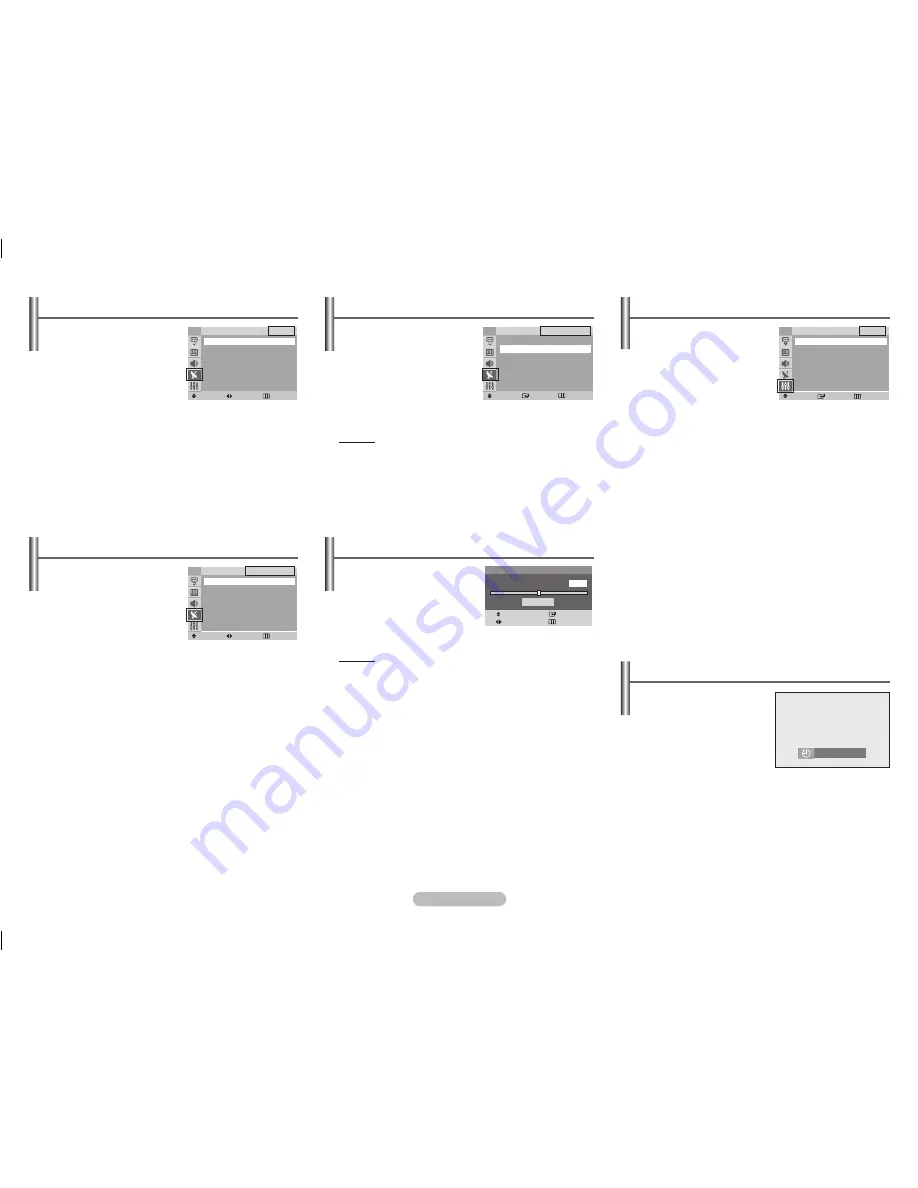
Channel - Sort
This operation allows you to
change the programme numbers
of stored channels.
This operation may be necessary
after using auto store.
From
: Channel number to be
changed.
To
: New channel number to be identified.
Store
: Confirmation the exchange of channel numbers.
Channel - Manual Store
You can store channels, including
those received via cable networks.
When storing channels manually,
you can choose:
– Whether or not to store each of
the channels found
– The programme number of
each stored channel which you
wish to identify
Programme
(Programme number to be assigned to a
channel)
Colour System
:
AUTO
/
PAL
/
SECAM
/
NTSC4.43
/
NTSC3.58
Sound System
:
BG
/
DK
/
I
/
M
Search
(When you do not know the channel numbers)
The tuner scans the frequency range until the first channel
or the channel that you selected is received on the screen.
Store
(When you store the channel and associated
programme number)
➢
If there is no sound or abnormal sound, re-select the
sound standard required.
Channel - Add/Delete
You can exclude channels you
have chosen from the channels
you scanned. When you scan
through the stored channels,
those you have chosen to skip are
not displayed. All of the channels
that you did not specifically
choose to skip are displayed
during scanning.
Method:
ENTER :
Select
Added
or
Deleted
Channel - Fine Tune
If the reception is clear, you do
not have to fine-tune the channel,
as this is done automatically
during the search and store
operation. If however the signal is
weak or distorted, you may have
to fine-tune the channel manually.
Method:
◄/► : You can obtain a sharp and clear picture and good
sound quality.
▲/▼
ENTER
: You can reset the setting.
MENU
: You can memorise adjusted picture or sound.
Setup - Time
Clock
You can set the television
clock so that the current time
is displayed when pressing
the
INFO
button on the
remote control. You must also
set the time if you wish to use
the automatic on or off timers.
➢
When pressing the “
I
” button (On/Off) on the front
(or side) of the television, the clock setting will be
reset.
On Timer / Off Timer
You can set the On/Off timers so that the television will
switch on or off automatically at the time you select.
☛
You must set the clock first.
☛
Auto Power Off
When you set the timer “On”, the TV will eventually turn
off, if no controls are operated for 3 hours after the TV was
turned on by timer. This function is only available in timer
“On” mode and prevents overheating, which may occur if a
TV is on for too long.
Sleep Timer
You can select a time period of
between 30 and 180 minutes
after which the television
automatically switches to
standby mode.
You can select these options
simply by pressing the
SLEEP
button on the remote control.
If the sleep timer is not yet set, Off is displayed. If it is already
set, the remaining time before which the television switches to
standby mode is displayed.
Fine Tune
Move
Save
Adjust
Return
Reset
P 1
0
Move
Adjust
Return
Sort
TV
From
: P 1
To
: P--
Store : ?
Move
Adjust
Return
Manual Store
TV
Programme
: P 3
Colour System : AUTO
►
Sound System : BG
►
Search
: 46MHz
Store
: ?
Move
Enter
Return
Add/Delete
TV
▲ More
P 1 : Added
P 2 : Added
P 3 : Added
P 4 : Added
P 5 : Added
▼ More
Move
Enter
Return
Time
TV
Clock
- - : - - am
On Timer - - : - - am Off
Off Timer - - : - - am Off
30 Min.
AA68-03905A-06Eng.indd 4
2008-01-10 ¿ÀÀü 11:35:34


