


Infrastructure mode
This is an environment generally used for homes
and SOHOs. This mode uses an access point to
communicate with the wireless machine.
•
See "Installing the machine on a wireless
network with an access point (Windows)" on
page 38.
•
See "Installing the machine on a wireless
network with an access point (Macintosh)" on
page 41.
Ad-Hoc mode
This mode does not use an access point. The
wireless computer and wireless machine
communicates directly.
•
See "Installing the machine on an Ad-Hoc
wireless network (Windows)" on page 39.
•
See "Installing the machine on an Ad-Hoc
wireless network (Macintosh)" on page 42.
Wireless network setup (CLP-325W(K) only)
_ 38
After choosing your configuration, follow the simple directions for your
computer operating system, but first locate the software CD supplied
with the machine before proceeding.
Installing a wireless network with cables
You can install a wireless network to connect to the machine with either a
USB cable or a network cable. For most users, we recommend using a USB
cable with the program provided in the supplied software CD.
The following are two ways to install a wireless network with cables.
•
With a USB cable:
You can simply set up a wireless network using the
program in the supplied software CD. Only Windows and Macintosh
operating system are supported (See "Setting a wireless network with
USB cable" on page 38).
You can also install a wireless network in Printer Settings Utility
with USB cable after installing driver. (Windows and Macintosh
operating system are supported.)
•
With a network cable:
You can set up a wireless network using the
SyncThru™ Web Service program (See "Setting a wireless network with
network cable" on page 43).
SETTING A WIRELESS NETWORK WITH USB
CABLE
Refer to your network administrator, or the person that set up your
wireless network, for information about your network configuration.
Installing the machine on a wireless network with an
access point (Windows)
Items to prepare
Ensure you have next items ready.
•
Access point
•
Network-connected computer
•
Software CD that provided with your machine
•
The machine installed with a wireless network interface
•
USB cable
Creating the infrastructure network in Windows
When the items are ready, follow below steps:
1.
Check whether the USB cable is connected to the machine.
2.
Turn on your computer, access point and machine.
3.
Insert the supplied software CD into your CD-ROM drive.
•
The software CD should automatically run and an installation
window appears.
•
If the installation window does not appear, click
Start
and then
Run
. Type X:\
Setup.exe
, replacing “X” with the letter which
represents your CD-ROM drive. Click
OK
.
•
If you use Windows Vista, Windows 7 or Windows Server 2008
R2 click
Start
>
All programs
>
Accessories
>
Run
.
Type X:\
Setup.exe
replacing “X” with the letter which represents
your CD-ROM and click
OK
.
•
If the
AutoPlay
window appears in Windows Vista, Windows 7 or
Windows Server 2008 R2, click
Run Setup.exe
in
Install or run
program
field, and click
Continue
or
Yes
in the
User Account
Control
window.
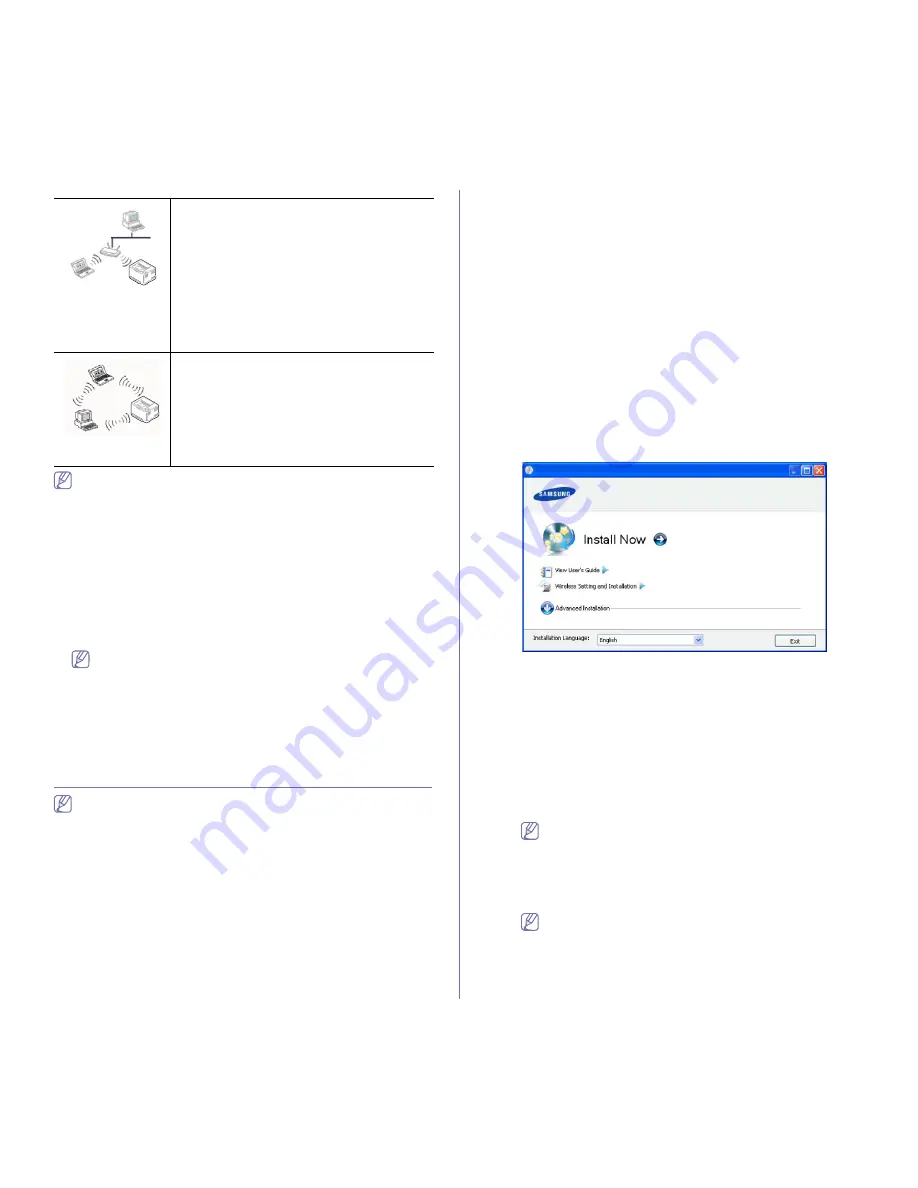
4.
Select the
Wireless Setting and Installation
option.
•
Install Now:
If you have set the wireless network, click this
button to install the printer driver to use the wireless network
machine. If you have not set the wireless network, click
Wireless
Setting and Installation
button to set the wireless network
before you click this button.
•
Wireless Setting and Installation:
Configure the wireless
network settings of your printer with a USB cable then install the
printer driver. Only for the users who have not set up the wireless
connection before.
5.
Read
License Agreement
, and select
I accept the terms of the
License Agreement
. Then, click
Next
.
6.
The software searches the wireless network.
If the searching has failed, you may check if the USB cable is
connected between the computer and machine properly, and
follow the instruction on the window.
7.
After searching, the window shows the wireless network devices.
Select the name (SSID) of access point you are using and click
Next
.
If you cannot find out the network name you want to choose, or
if you want to set the wireless configuration manually, click
Advanced Setting
.
•
Enter the wireless Network Name:
Type the SSID of
access point you want (SSID is case-sensitive).
•
Operation Mode:
Select
Infrastructure
.
Summary of Contents for CLP-320K
Page 14: ...Regulatory information_ 14 CHINA ONLY ...
Page 55: ...Media and tray_ 55 ...


