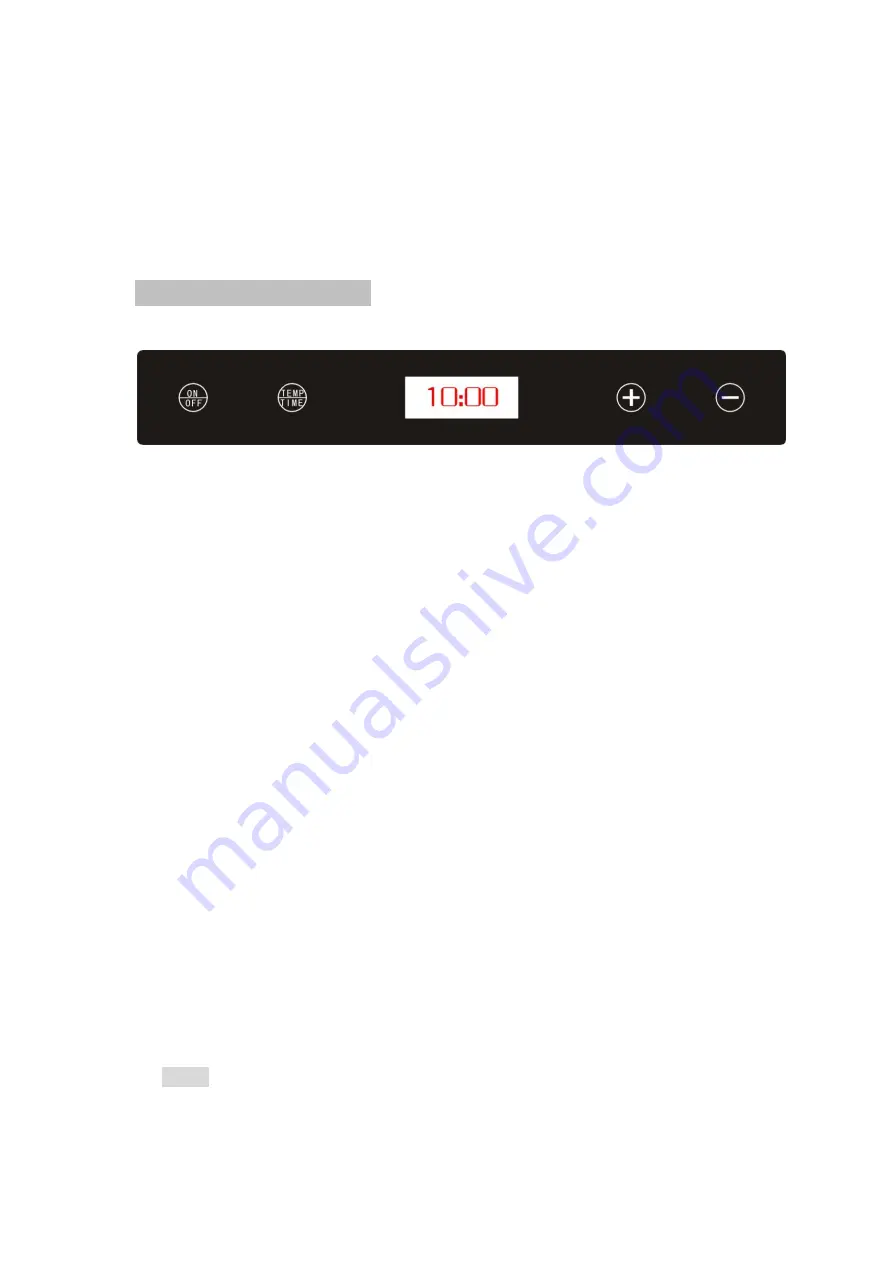
-5-
Assembling the appliance:
Make sure that the dehydrator sits steadily on a solid level surface. Stock the
drying trays and connect the plug with a wall socket. The dehydrator is now ready
for use.
Using You Dehydrator
1. Put the clean food in the trays
– Do not overload the trays and never overlap
the food. Close the door.
2. Plug dehydrator into a wall outlet. The screen and buttons will light up and you
will hear a beep. The screen will show
“---“.
3. Press the
“ON/OFF” button. The LED screen will show the default time setting
of
“10:00” and temp setting of “158F”. The motor and fan start first, then the
heating element will turn on 5 seconds later. The set time will begin to count
down.
4. P
ress the “TEMP/TIME” button until the LED screen shows the desired time
value.
According to actual needs, press “+" or "-" button to change the drying
time between "0:30” and “24:00". Press "+" or "-" button once, the time
increment or decrement is 30 minute/press. If you press and hold the "+" or "-"
button, the time will increase or decrease rapidly. After you finish setting the
drying time, the system automatically starts operating.
5.
Press the “TEMP/TIME” button until the LED screen shows the desired temp
value. According to actual needs, press "+" or "-" button to change the drying
temp between "95F
” and “167F". Press "+" or "-" button once, the temp
increment or decrement is 9F/press. If you press and hold the "+" or "-" button,
the time will increase or decrease rapidly. After you finish setting the
temperature, the system automatically starts operating.
Note:
Set lower temperatures for thin/small pieces of food or for small batches.
Set higher temperatures for drying thick/big pieces of food and large batches.
The thermostat can also decrease the temperature as the food is near the end


