Q9U • XLR/USB USB Dynamic Microphone
6
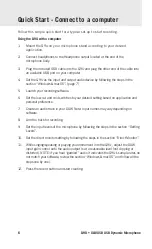
Follow this simple quick start for a typical set-up to start recording.
Using the Q9U with a computer
1.
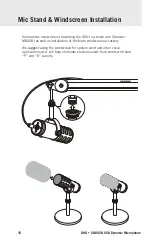
Mount the Q9u on your microphone stand according to your desired
application.
2.
Connect headphones to the Headphone output located at the end of the
microphone body.
3.
Plug the included USB cable into the Q9U and plug the other end of the cable into
an available USB port on your computer
4.
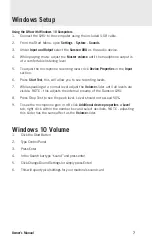
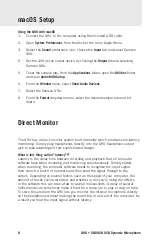
Set the Q9U as the input and output audio device by following the steps in the
section “Windows & macOS”. (page 7)
5.
Launch your recording software.
6.
Set the low cut and mid switches to your desired setting based on application and
personal preference.
7.
Create an audio track in your DAW. Note: Input names may vary depending on
software.
8.
Arm the track for recording.
9.
Set the input levels of the microphone by following the steps in the section “Setting
Levels”.
10. Set the direct monitor setting by following the steps in the section “Direct Monitor”.
11. While singing/speaking or playing your instrument into the Q9U, adjust the DAW
input gain control until the audio output is at a reasonable level (not clipping or
distorted). NOTE: if you hear “garbled” audio it indicates the Q9U’s sample rates do
not match your software, review the section “Windows & macOS” and follow all the
steps one by one).
12. Press the record button and start creating.
Quick Start - Connect to a computer
Summary of Contents for Q9U
Page 1: ...Owner s Manual...


