


XP108w • Portable PA System
9
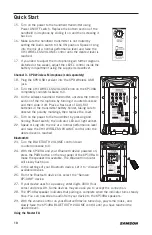
Quick Start
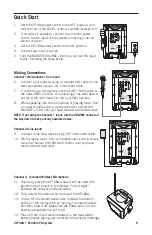
1. Set the XP108w power switch to the OFF position, and
fully turn all of the LEVEL controls counterclockwise to 0.
2. If an outlet is available, connect the included power
cord to the AC input of the speaker, and plug it into an
electrical outlet.
3. Set the XP108w power switch to the ON position.
4. Connect your audio sources.
5. Turn the MASTER VOLUME control up and set the input
levels, following the steps below.
Making Connections
Channel 1 (Microphone / Line Input)
6. Connect a microphone using a standard XLR cable or line
level equipment using a 1⁄4” instrument cable.
7. If connecting a microphone, set the LINE / MIC switch to
the down (MIC) position. If connecting a line level device,
set the LINE / MIC switch to the up (LINE) position.
8. While speaking into the microphone or playing music from
a line level audio source, slowly raise the channel CH1
VOLUME control until you have reached the desired level.
NOTE: If not using the Channel 1 input, turn the VOLUME control all
the way down to keep out any unwanted noise.
Channel 2 (Line Input)
9. Connect a line level device using 1⁄8” instrument cable.
10. While playing music from a line level audio source, slowly
raise the channel CH2 VOLUME control until you have
reached the desired level.
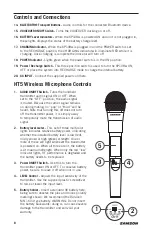
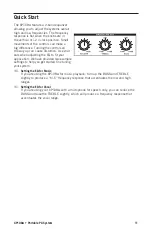
Channel 3 - Included Wireless Microphone
11. Physically place the XP108w where it will be used (the
general rule of thumb is to maintain “line-of-sight”
between the receiver and transmitter).
12. Fully extend the antenna on the top of the XP108w.
13. On the HT5 handheld transmitter, unscrew the bottom
section of the microphone by turning it counterclockwise
and then slide it off. Make sure the Power switch in the
battery compartment is set to Off.
14. Place a fresh 9-volt alkaline battery in the transmitter
battery holder, taking care to observe the polarity markings.