background image


12


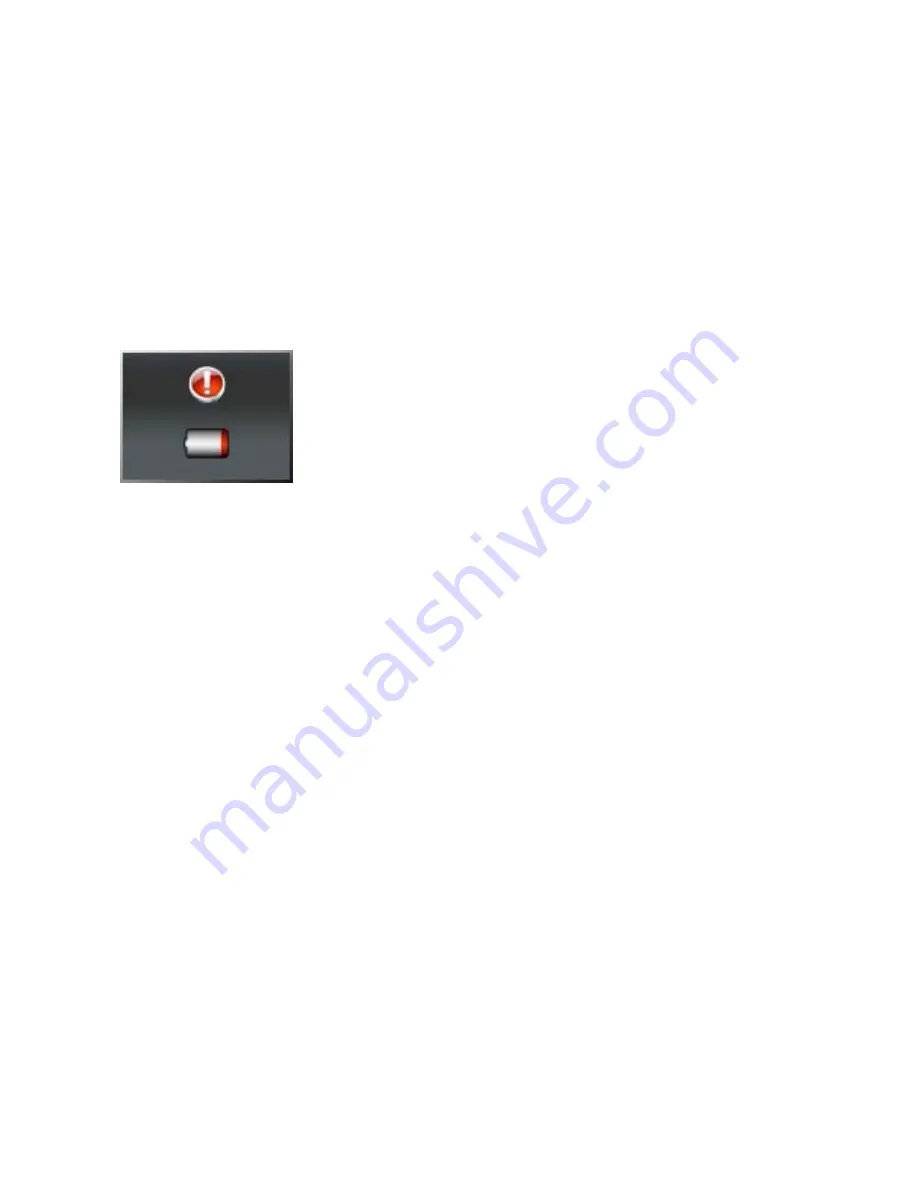
(low


battery


screen)


To


save


power,


the


Player


has


an


‘Auto


Power


Off’


setup


feature


that


allows


you


to


set


the


time


for


the


player


to


automatically


power


off


if


it


is


not


in


use.


Auto


Power


Off


is


set


by


default


to


power


off


after


30


minutes


when


the


player


is


not


active.


The


power


will


not


turn


off


if


the


player


is


still


processing


such


as


recording,


transmitting


data


or


updating


firmware.


Summary of Contents for 59048

Page 1: ...ic Player User Manual 2011 Sakar International Inc All rights reserved Windows and the Windows logo are registered trademarks of Microsoft Corporation All other trademarks are the property of their respective companies ...

Page 2: ...yer 10 The Main Menu 13 Connecting the Player to your Computer 15 Transferring Files to your Player 18 Viewing and Editing Media Transferred to the Player 22 Controlling the Volume 26 The Music Menu Function 27 The Karaoke Menu Function 33 The Movie Menu Function 37 The Record Menu Function 42 The Voice Menu Function 45 The Photo Menu Function 49 The E BOOK Menu Function 53 The Setup Menu Function...

Page 3: ... simply plug the player via the USB cable included to the USB slot at the base of the player Plug the other end of the USB cable to an available USB port on your computer Click PC Connect and the inbuilt Management Tool will automatically open on your computer screen No CD or external software applications need to be installed Truly a portable player that can be plugged in and used on any compatib...

Page 4: ...le Earphones Computer System Requirements Microsoft Windows XP SP3 Vista SP1 or 7 INTEL PROCESSOR Based MAC with MAC OS X 10 5 or Higher Pentium 4 Celeron AMD Athlon processor or higher AGP video card recommended 128MB RAM 100MB free hard drive space Available USB Port 16 bit color display adapter 1024x768 screen resolution ...

Page 5: ... on the LCD screen is highlighted by default 4 Press the Up or Down button to select the Exit option 5 Press the ENTER button to confirm the selection 6 The Main Menu screen appears on the LCD 7 The battery status indicator will show the progress of the battery charging 8 Leave the player plugged into your USB port for 3 to 4 hours before you begin to use it This will allow you to start using all ...

Page 6: ...6 A Quick Look at Your Digital Music Player ...

Page 7: ...n Menu Up Button Back Left Button Back to previous option Forward Right Button Skips to next option Volume Down VOL Adjusts the volume by pressing this button and then pressing the Previous or Next buttons to decrease or increase volume Menu Down Button Enter Play Pause Confirms selection Play Pause Press for 3 seconds to Power Off Wake up MP4 Player ...

Page 8: ...7 timbre Equalizer Display EQ natural rock pop classic soft jazz and DBB Music Playing Mode normal repeat repeat one shuttle and more Equalizer Fade in and fade out volume control function Data Communication with computer Auto run and Mass Storage Power Saving Mode Battery Capacity Indicator Power On Off animation display Firmware upgradeable Dynamic Label System Reserve multiple documents in TXT ...

Page 9: ...ormat Supported MP2 MP3 ASF WMA OGG 7 EQ Music Mode Natural Rock Pop Classic Soft Jazz DBB Lyric Display Yes Karaoke Karaoke Format Supported KOK LRC MP3 Karaoke Function Microphone Echo key Movie Movie Format Supported AVI Record Format Supported MSadpcm Voice Format Supported MSadpcm Feature Play the specific duration of the recorded voice files Photo Photo Format Supported JPG GIF BMP PCX E Boo...

Page 10: ...R ON Note The player will not power on if the battery power is low Please charge the battery before using the player 1 Slide the ON OFF switch on the top of the player ON 2 The Opening Welcome animation graphic will appear on the screen ...

Page 11: ...the player powers off 3 Alternatively while the player is set to ON press the ENTER button for about three seconds to power off the player Press the ENTER button again to turn the player back on Note The power will not turn off if the player is still processing such as recording transmitting data or updating firmware AUTO POWER OFF The Player will also automatically power off in the following situ...

Page 12: ...s you to set the time for the player to automatically power off if it is not in use Auto Power Off is set by default to power off after 30 minutes when the player is not active The power will not turn off if the player is still processing such as recording transmitting data or updating firmware ...

Page 13: ...Voice Photo E book and Setup All the functions can be accessed from the Main Menu screen that appears when powering on the player 1 Power on the player 2 The first menu option to appear on the screen is Music 3 To select the other functions press the LEFT or RIGHT buttons ...

Page 14: ...14 ...

Page 15: ...layer plug the player into the USB port of you PC and read the next section Connecting the Player to your Computer To transfer media from your PC to your Digital Video Player 1 Connect the smaller end of the USB cable to the USB slot on the base of the player 2 Connect the other end of the USB cable to an available USB port on your PC 3 Make sure the player is on 4 The USB Connect file menu will a...

Page 16: ...16 5 Press the LEFT or RIGHT buttons to select the PC Connect option 6 Press the ENTER button to confirm the selection 7 The following window will automatically appear on your computer screen ...

Page 17: ...on to activate and open the Management Tool application on your PC 9 If this AutoRun application does not open when you click the Connect button open My Computer or Windows Explorer and double click the AutoRun icon that appears ...

Page 18: ...our Player Using the Management Tool you can transfer Photos Music Videos and Karaoke sound files on your PC directly to your Digital MP4 Player The Management Tool is divided into 2 windows My Computer and Digital Video Player ...

Page 19: ...Find the picture files music files video files and karaoke files that you would like to upload and transfer to your player 5 The selected folder with thumbnail files will appear to the right of the directory window 6 Select the file thumbnail you wish to transfer to the Player 7 The file appears in the View Screen below the folder window 8 You can adjust the appearance of the Photos by clicking th...

Page 20: ...rop Photo the adjustable crop area is saved as a new photo to your player 9 To transfer the file to the PC press the Transfer File button 10 The selected file is automatically transferred to the Player Note All functions are disabled during PC connection ...

Page 21: ...to the PC are the files that have been successfully uploaded and transferred to your player 4 You can also delete media from the Player by selecting the file to delete and pressing the Delete button 5 The media on your player can also be transferred to any connected PC Select the file you wish to save to the PC Select the folder where you wish to save the file on the PC from the My Computer list o...

Page 22: ...e Browser 1 Turn the Player on 2 Select the Menu Function Music Karaoke Movie Record Voice Photo or E book from the Main Menu 3 Press the ENTER button to confirm the selection 4 The selected Function will open 5 Press the ENTER button to open the File Browser 6 Select the Local Folder option and press the ENTER to see all the files in that function folder 7 Press the LEFT or RIGHT buttons to selec...

Page 23: ...23 10 Press the MENU button for 3 seconds to exit the Menu Function and return to the Main Menu screen File Browser ...

Page 24: ...he File Browser 6 Press the LEFT or RIGHT buttons to scroll down the list Select the Delete option if you wish to delete the currently selected file in that function Select the Delete all option if you wish to delete all the media files in that function Select the Exit option to exit the File Browser and return to the current media file 7 Press the ENTER button to confirm the selection 8 If you se...

Page 25: ...ttons to select YES or NO Press the ENTER button to confirm the selection 9 If Yes is selected the selected media file s will be deleted 10 Press the MENU button for 3 seconds to exit the Function Screen and return to the Main Menu ...

Page 26: ... adjusted and controlled The volume range is 0 to 31 Volume Control 1 Press the VOL button to activate the Volume Control bar graphic 2 Press the LEFT button to DECREASE the volume 3 Press the or RIGHT button to INCREASE the volume 4 Press the ENTER button to save and exit the volume setting ...

Page 27: ...ic Menu Function PLAYING MUSIC 1 Turn the power on 2 The Main Menu Screen appears 3 Press the LEFT or RIGHT button to select the Music Function option 4 Press the ENTER button to confirm and open the Music screen ...

Page 28: ...format bit size number of song etc will appear on the screen 7 Press the ENTER button to START PLAYING the song file 8 Press the ENTER button again to PAUSE the song 9 Press the LEFT or RIGHT button to play the previous or next song in the list 10 Press the MENU button for about 3 seconds to return to the Main Menu Screen ...

Page 29: ...29 Music Screen ...

Page 30: ...30 LRC Function ...

Page 31: ...31 MUSIC FUNCTION Music Menu Music Function 1 While a music file is playing press the MENU button 2 The Music function menu list will appear sound effect play mode etc ...

Page 32: ... and return to the Music screen The 7 Music Menu Functions Repeat Equalizer Replay Replay gap Microphone Mic Volume and Return Music Functions Description Repeat Normal Repeat One Folder Repeat Folder Repeat all Random Intro Equalizer Natural Rock Pop Classic Soft Jazz DBB Replay Replays the selected music file Replay times 0 to 10 Replay gap 0 to 10 Microphone Active DeActive Microphone Vol 1 to ...

Page 33: ...r on 2 The Main Menu Screen appears 3 Press the LEFT or RIGHT button to select the Karaoke option 4 Press the ENTER button to display the Karaoke screen 5 Press the LEFT or RIGHT button to select a song you want to sing 6 Press the ENTER button to START PLAYING ...

Page 34: ...34 7 Press the ENTER button again to PAUSE 8 Press the LEFT or RIGHT button to play the previous or next song 9 Hold the MENU for three seconds to return to the Main Menu Screen Karaoke Screen ...

Page 35: ...35 KARAOKE DISPLAY Depending on the files types Karaoke has 3 different displayed screens KARAOKE FUNCTION WINDOW 1 Karaoke screen appears 2 Press the ENTER button to play Karaoke ...

Page 36: ...FT or RIGHT button to select the desired item 7 Press the ENTER button to confirm and save the setting 8 Press the MENU button for about 3 seconds to return to the Main Menu Screen Note When playing LCR MP3 music Press the VOL MENU buttons to launch some shortcut functions Press one time Voice menu Press two times Pitch menu Press three times Microphone voice Press four times Echo voice Press five...

Page 37: ...ovie Menu Function Movie Karaoke Functions Description Volume 0 32 Vocal Elim 0 06 Microphone 0 06 Echo 0 06 Pitch 8 0 8 LRC format only Channel set Left channel Right channel Left Right Mute not for KOK format ...

Page 38: ...to confirm and open the Movie screen 5 Press the LEFT or RIGHT button to select a movie 6 Press the ENTER button to START PLAYING the movie on the full LCD screen 7 Press the ENTER button again to PAUSE the movie 8 Press the LEFT or RIGHT button to playback the previous or next movie 9 Hold the MENU button for about three seconds to return to the Main Menu Screen ...

Page 39: ...39 Movie Screen MOVIE DISPLAY ...

Page 40: ...40 In the center of the screen ...

Page 41: ...der Preview all movies in the local folder Delete Delete the current movie Repeat Normal Repeat one Folder Repeat folder Repeat all Random Intro Exit Returns to Movie Screen 3 Press the LEFT or RIGHT button to select the desired item 4 Press the ENTER button to confirm the selection 5 Press the MENU button for 3 seconds to return to the movie screen ...

Page 42: ...ord Menu Function RECORDING 1 Turn the power on 2 The Main Menu Screen appears 3 Press the LEFT or RIGHT button to select the Record Function option 4 Press the ENTER button to confirm and open the Record Screen ...

Page 43: ...again to PAUSE the recording 6 Press and ENTER button to save and STOP the recording 7 Press and hold the MENU button for 3 seconds to return to Main Menu Screen Note The recorded file is stored in RECORD VOICE folder The recording file name is saved as REC WAV indicated the recording file number The maximum amount of recorded files is 999 ...

Page 44: ...44 Record Screen RECORD MENU 1 The Record screen appears 2 Press the MENU button to display Record Menu Browser Local folder ...

Page 45: ...t Long REC 8KHz 10Kbps CLP format Exit 3 Press the LEFT or RIGHT button to select the item 4 Press the ENTER to confirm and save the selection 5 Press the MENU button for about 3 seconds to return to the Main Menu Screen The Voice Menu Function ...

Page 46: ...unction option 4 Press the ENTER button to confirm and open the Voice screen 5 Press the LEFT or RIGHT button to select the VOICE recording you want to playback 6 Press ENTER button to START PAUSE the Voice Playback 7 Press the MENU button for about 3 seconds to return to the Main Menu Screen Note The Voice playback only supports WAV format ...

Page 47: ...47 Voice Screen ...

Page 48: ...t the desired item Repeat Replay or Exit 5 Press the ENTER button to enter the submenu 6 Press the LEFT or RIGHT button to select the desired item 7 Press the ENTER button to confirm the setting 8 Press the MENU button for about 3 seconds to return to the Main Menu Screen Voice Functions Description Repeat Normal Repeat one Folder Repeat folder Repeat all Random Intro Replay Replays the selected v...

Page 49: ...ears 3 Press the LEFT or RIGHT button to select the Photo Function option 4 Press the ENTER button to confirm and open the Photo screen 5 In the Photo Screen press the LEFT or RIGHT button to select a photo to view 6 Press the ENTER button to view the selected photo on the full LCD screen ...

Page 50: ...RIGHT button to view the previous or next photo on the list 8 Press the MENU button for about 3 seconds to return to the Main Menu Screen Note The Player supports the following photo formats JPG GIF BMP and PCX PHOTO DISPLAY ...

Page 51: ...rm and open the selected photo 3 Press the MENU button to display the Photo Browser menu Local folder Play set Delete Delete All Exit 4 Press the LEFT or RIGHT button to select you desired item 5 Press the ENTER button to enter the submenu 6 Press the LEFT or RIGHT button to select the desired item 7 Press the ENTER button to confirm the selection 8 Press the MENU button to exit ...

Page 52: ...isplays Photo Browser Play set Manual Play Auto Play Plays back all the photos in the folder as a Slide Show between 2 10sec Delete Deletes the current file Delete all Deletes all the photos in the Photo menu Exit Returns to the Photo Screen ...

Page 53: ...T or RIGHT button to select the E book Function option 4 Press the ENTER button to confirm and open the E book TXT file browser screen 5 Press the LEFT or RIGHT button to select a file 6 Press the ENTER button to display the text 7 Press the LEFT or RIGHT button to view the previous or next page ...

Page 54: ...0 Press the ENTER button to confirm and open the selection 11 Hold the MENU button for about three seconds to return to the TXT Browser Note The E Book feature only supports TXT formats E BOOK Description Local folder E Book text browser Play set Manual Plays Auto Plays 1 10sec Delete Deletes the current text file Delete all Deletes all the text files Exit Returns to E BOOK screen ...

Page 55: ... manually In order to transfer TXT files from your computer to the player please follow these instructions 1 Connect the Player to your PC 2 Open the Management Tool as described in the Connecting the Player to your Computer and Transferring Files to Your Player sections of this manual 3 Open My Computer and open the Removable Disk icon that appears when the Player is connected ...

Page 56: ... Drop the TXT file s from your computer to this Root Directory 6 Congratulations The TXT file s will now appear in the E Book Menu Function on the Player Important Note Do NOT drag and drop the TXT file s into the folders that appear below karaoke photo video music record ...

Page 57: ...f your device The Setup Menus include System style LCD set Language Power off Memory information Firmware version Reset and Exit 1 Turn the power on 2 The Main Menu Screen appears 3 Press the LEFT or RIGHT button to select the Setup option 4 Press the ENTER button to confirm and open the Setup screen ...

Page 58: ... Description System Style Style 1 Style 2 Menu Styles LCD Set Gray mode 0 to 30 sec Return Language English Chinese French Japanese German Italian Dutch Portuguese Spanish Russian Swedish Danish Polish Slovakian Romania Turkish and more Power off Off time Auto Power off 00 to 60 min Sleep time 00 to 120 min Memory info Status bar and Memory status in percentage Firmware version Version number and ...

Page 59: ...ot Covered By Warranty Damages or malfunctions not resulting from defects in material or workmanship and damages or malfunctions from other than normal use including but limited to repair by unauthorized parties tampering modification or accident What To Do When Service Is Required When returning your defective product postage pre paid for service your package should include 1 Copy of original bil...

Page 60: ... where purchased Technical Support For technical support issues please visit our website at www sakar com You can find manuals software and FAQ s at the website Can t find what you are looking for E mail us at support sakar com and one of our technical support team members will answer your questions For phone support in the US please call 1 877 397 8200 in the UK call 0800 917 4831 If you would li...

Page 61: ...ther the headphone plug is dirty Make sure that the music files are not corrupted Corrupted sound files may make a static noise and the sound may cut off Characters in LCD are corrupted Check whether the right language has been selected Download of files fails Check whether USB cable is damaged and is connected properly Check whether the player s memory is full ...

Page 62: ...s are designed to provide reasonable protection against harmful interference in a residential installation This equipment generates uses and can radiate radio frequency energy and if not installed and used in accordance with instructions may cause harmful interference to radio or television reception which can be determined by turning the equipment off and on The user is encouraged to try to corre...

Page 63: ... of the MAC 2 Open the File finder and you will see an external drive named untitled Note that sometimes this drive is labeled with the model number or similar name of the player 3 Open itunes Drag and drop compatible media files please refer to page 9 regarding file format compatibility from your Mac to the player ...

Reviews: