2
• Using the PX5000 in Analog Mode:
In Analog Mode, your gamepad features all the standard
digital functions, along with the activation of the dual
analog sticks. This combination is perfect for games
requiring a high level of control, since the pressure-
sensitive analog sticks offer increased precision and
performance. The action buttons and the D-Pad also
react to the amount of pressure applied, giving you the
ultimate in control! For superior response in your driving
and flying games, or any game where accuracy is
essential, we recommend using Analog Mode. To take
full advantage of the analog features, look for games
with the
Analog Controller Compatible
label!
3. A GUIDE TO USING SETUP MODE
Setup Mode provides access to some of the PX5000
gamepad’s most unique features: Macro Mode, Turbo
Mode, and Rename Mode! To program or edit information in
any of these modes, you must always start out by pressing
SETUP to enter Setup Mode. The display will show
SETUP
,
along with the first menu option,
Â
. Pull the right-hand joystick down repeatedly to cycle
through the other menu options:
ˇ
,
‰
, and then back to
Â
. Check out the
rest of this section for complete details on using these extraordinary modes!
Before you go on to learn about Setup Mode, however, an important note regarding your
gamepad’s memory capabilities.
The PX5000 will retain your programmed information even
when it has been unplugged from your video game console—so your own personal names,
settings, and macros will always be instantly available, whenever you use the gamepad! As
you are using Setup Mode, you’ll notice that the display will often show
UPDATING!
after you
enter and confirm settings. A word of caution:
Never turn off or unplug your game console
while information is being updated (i.e., while
UPDATING!
is being displayed).
If the PX5000
loses power while updating, memory corruption can result. If this occurs, you’ll need to reset
the gamepad by erasing its memory, as described in Section 5.
3.1 RENAME MODE: PERSONALIZE YOUR PX5000!
Your PX5000 gamepad allows personalization with any name, up to 6 characters. Follow
these steps to change the User Name in the display:
a. After pressing SETUP to enter Setup Mode, move the right joystick down until the
‰
menu option is displayed.
b. Press the MACRO button to enter Rename Mode, and the display will show the current
User Name.
c. The flashing cursor always indicates the character which can be changed. To edit the
User Name, move the right joystick up to go forwards in the alphabet, and down to go
backwards. After selecting the first letter, move the stick to the right to put the flashing
cursor in position to select the next letter. Note that numbers, spaces, and some punctua-
HINTS AND TIPS
FOR LCD NAVIGATION!
• Always use the right-hand
joystick to select modes and
edit settings in
Setup Mode.
• Not sure which
way to move
your joystick
while editing?
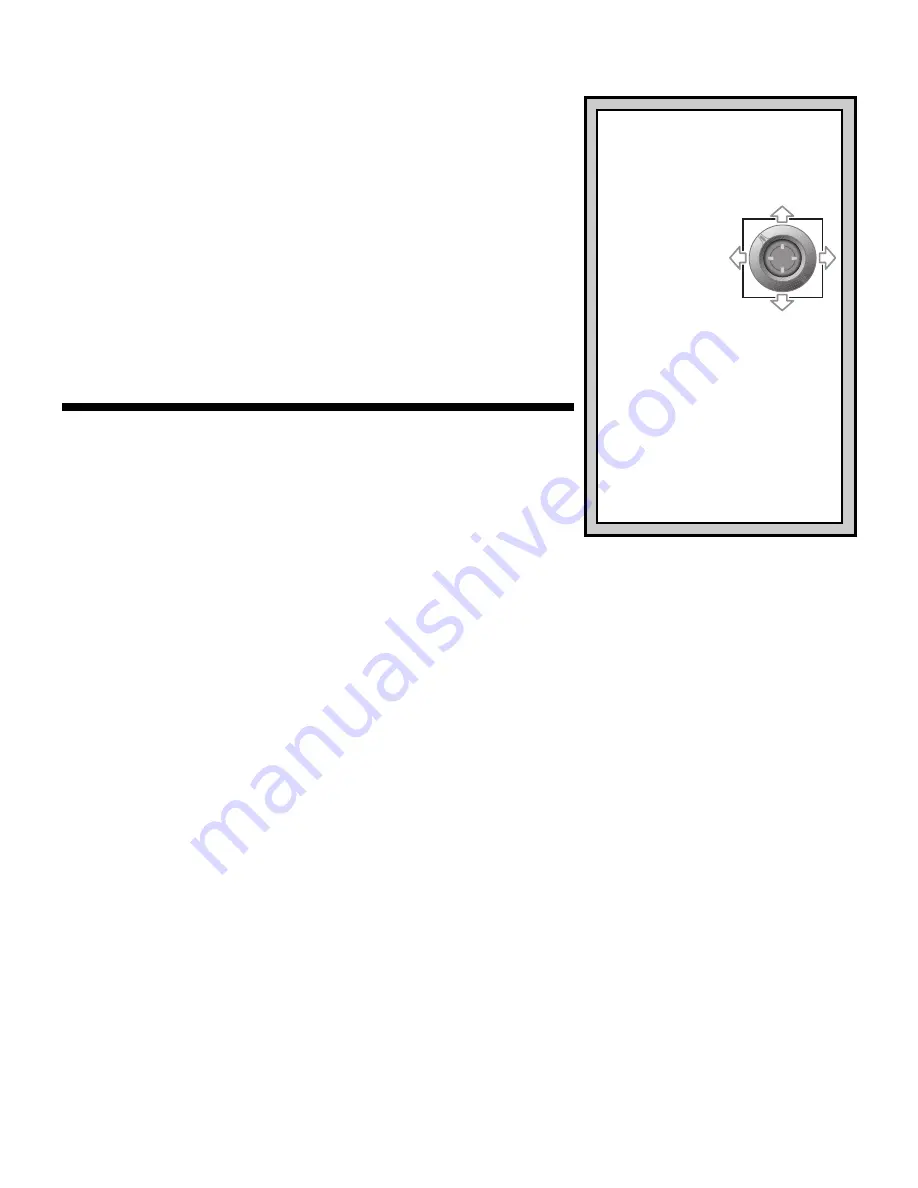
Take a look at the directional
arrows at the bottom right of
the display—they’ll indicate
your current joystick move-
ment options!
• Whenever you press an action
button, whether in Setup Mode
or during game play, the sym-
bol for that button will appear
in the display.


