

8
Copyright. Sygnal 2018
6. Press and hold or to scroll quickly through the available characters.
7. Press
SET
to move to the next character. Press
MODE
to return to the previous character to
correct mistake.
8. Repeat for all eight character spaces.
9. Pressing
SET
to accept the final character will save the zone name and the controller will return to
the standard display.
TIP: To accept one of the pre-set zone names, press
SET
repeatedly to accept each character including any
blanks until the controller reverts to the standard display.
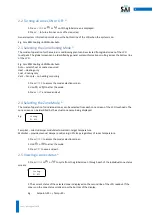
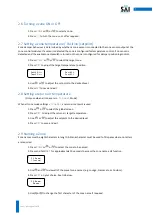
2.10 Setting the System Clock *
1. Press or to select the global screen.
2. Press
CLOCK
to display the current time and date.
3. Hold
SET
for 10 seconds.
4. Use or to highlight Change Time and press
SET
.
5. Use or to alter the highlighted hours value then press
SET.
6. Repeat for the minutes and day values.
7. Pressing
SET
after the day value will return you to the time clock summary screen.
8. Press
CLOCK
to exit and return to the zone summary screen.
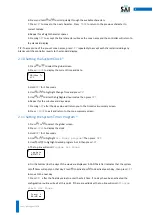
2.11 Setting the System Timer Program *
1. Press or to select the global screen.
2. Press
CLOCK
to display the clock.
3. Hold
SET
for 10 seconds.
3. Use or to highlight
ALL Zones program?
Then press
SET
.
4. Use or to highlight desired program A or B then press
SET
.
5. The top line will scroll
Program ALL Zones
.
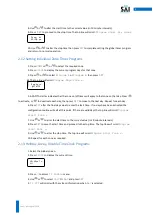
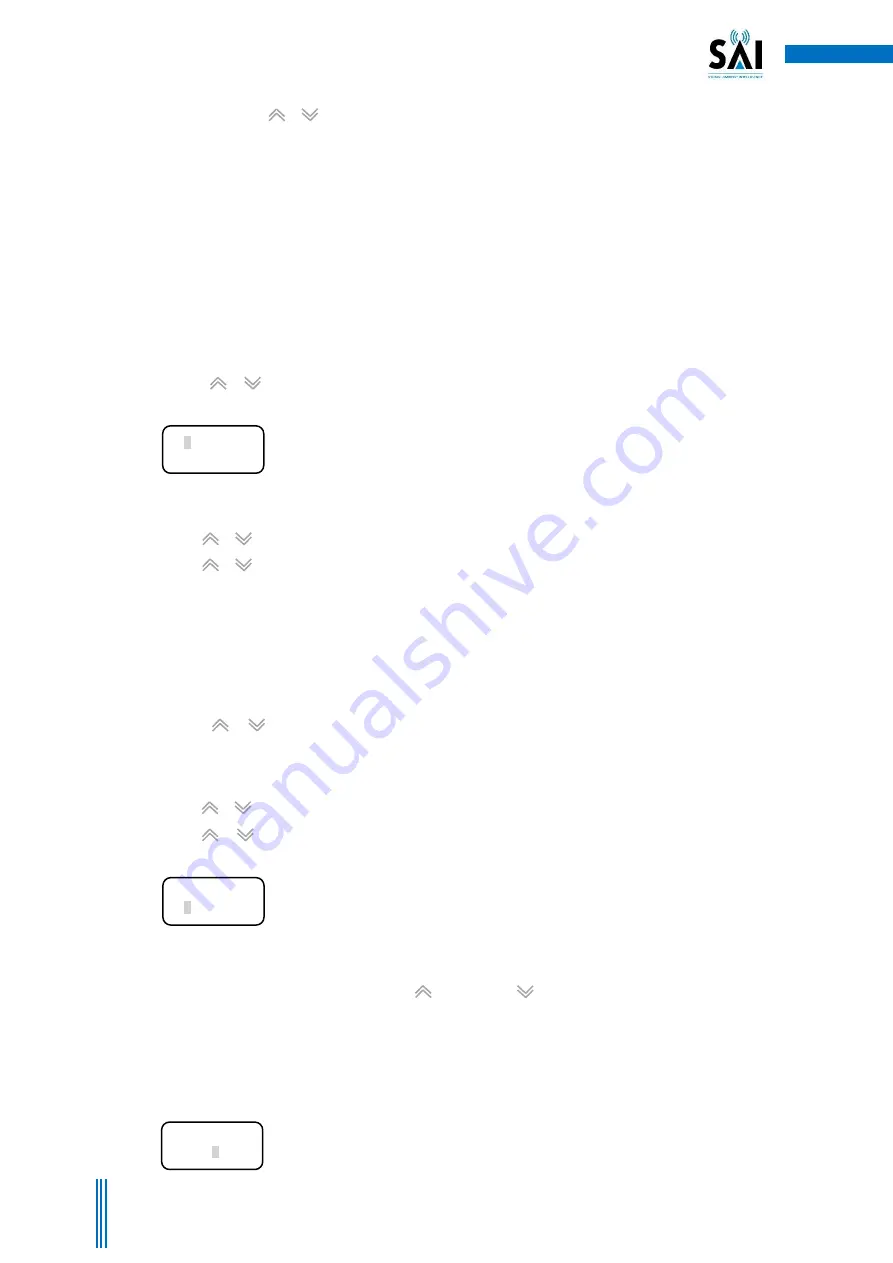
6. On the bottom line the days of the week are displayed. A CAPITAL letter indicates that the system
on/off times will apply on that day. Press to activate or to deactivate each day, then press
SET
to move to the next day.
7. Press
SET
after the final day value to enter the start time. If no days have been activated the
configuration routine will exit at this point. If there are valid days the top line will scroll:
Program
start: ALL Zones
.
10:12
pm
Tu
Off
ram Days
sMTWTFs
Start: A
08:40 am


