49
ENG
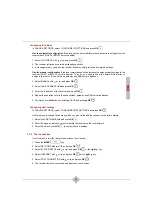
Configuring IP Settings
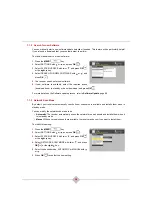
In CHANGE SETTINGS, select CONFIGURE IP SETTINGS and press
OK
.
Use the automatic configuration
if the receiver can automatically retrieve its network settings from the
local network (DHCP or BOOTP server enabled).
1.
Select AUTOMATIC with or , and press
OK
.
2.
The receiver retrieves its network settings dynamically.
3.
A message informs you when the receiver has successfully retrieved its network settings.
Use the manual configuration
if the local network does not automatically assign network settings to the
receiver (DHCP or BOOTP server disabled). To do so, you need to know the network information to
assign to the router: IP, subnet mask, gateway and DNS server addresses.
1.
Select MANUAL with or , and press
OK
.
2.
Select the IP ADDRESS field and press
OK
.
3.
Enter the IP address of the receiver and press
OK
.
4.
Repeat the operation to fill in the subnet mask, gateway and DNS server addresses.
5.
Confirm your modifications by selecting SAVE and pressing
OK
.
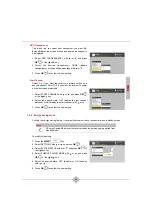
Configuring Host Settings
In CHANGE SETTINGS, select CONFIGURE HOST SETTINGS and press
OK
.
Use this menu to change the name by which you want to identify the receiver on the local network.
1.
Select the HOST NAME field and press
OK
.
2.
Enter the name by which you want to identify the receiver on the local network.
3.
Select SAVE and press
OK
to confirm the new settings.
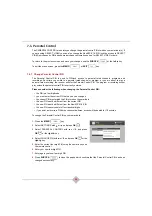
7.3.5 Test
connection
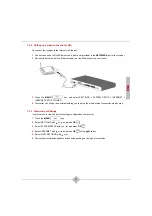
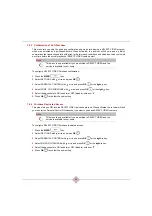
Use this menu to test the Internet connection of your receiver.
1.
Press the
MENÜ
key.
2.
Select SETTINGS with or , and press
OK
.
3.
Select SYSTEM SETUP with or , and press
OK
or the
right
key.
4.
Select INTERNET with or , and press
OK
or the
right
key.
5.
Select TEST CONNECTION with or , and press
OK
.
6.
The receiver tests the connection and displays a result screen.
Summary of Contents for RCI88-320
Page 2: ......
Page 4: ......
Page 90: ...86 MEMO...
Page 91: ...User manual Digital HD Video Recorder RCI88 320 RCI88 1000...
Page 92: ......
Page 177: ...85 ENG MEMO...
Page 178: ......

