


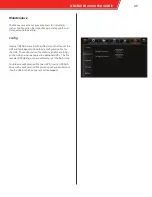


Record
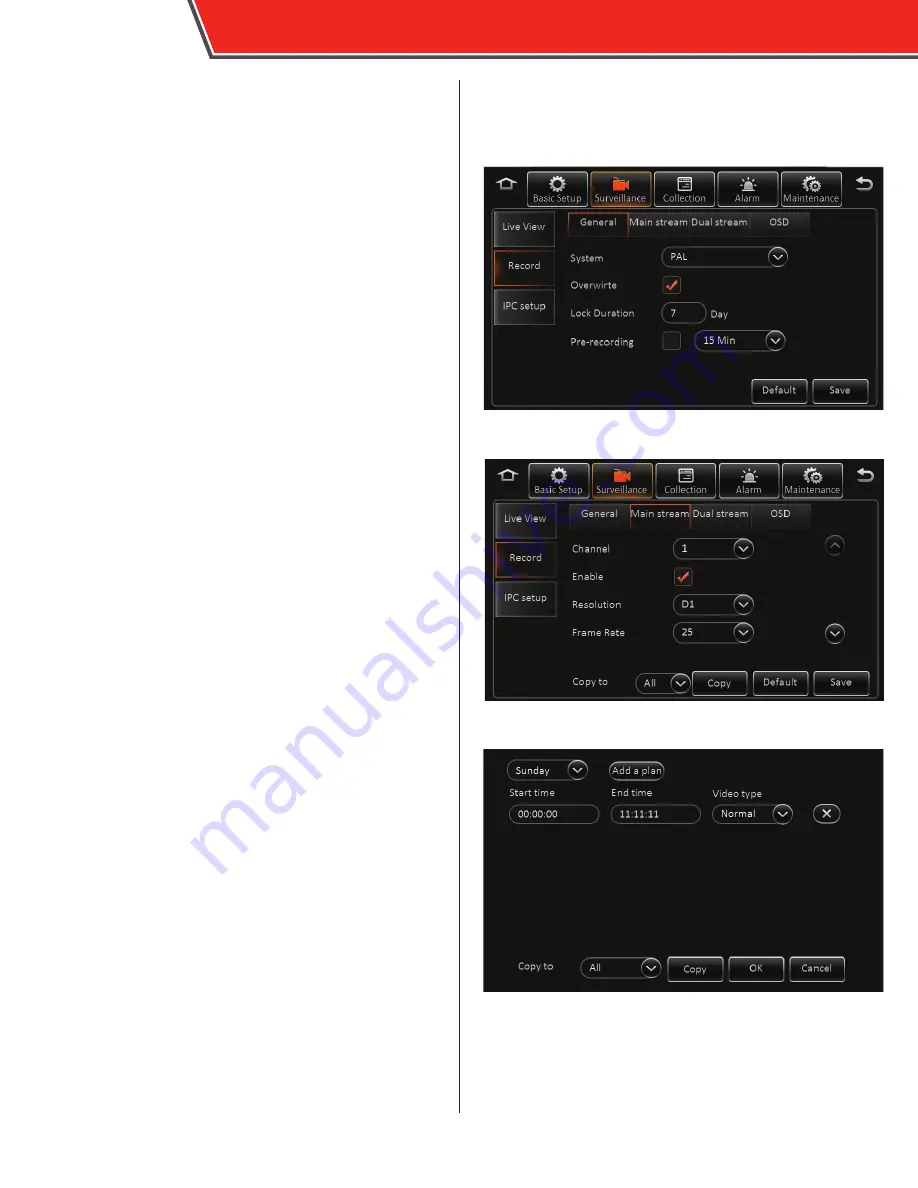
General
•
Video type: select the NTSC or PAL analog video system
•
Overwrite: when the primary storage device reaches
capacity, select this option to allow recording to continue,
overwriting the oldest data
•
Lock Duration: enter the time, between 1 and 31 days,
that recorded files are locked, during which time the HVR
is prevented from recording over them
•
Pre-recording: select the option and select an amount of
time duration for pre-alarm recording; this is the amount
of time included in a video recording from before the
alarm was activated
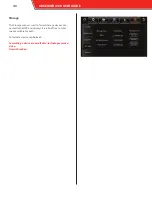
Main Stream
Select a channel in the Channel field and enter the follow-
ing information:
•
Channel Name:
•
Enable: select this option to enable the channel; deselect
this option to disable a channel
•
Resolution: select CIF, WCIF, HD1, WHD1, D1, or WD1 video
resolution (ranked in ascending order, “W” indicates
“wide”)
•
Frame Rate: select between 1 and 30 frames per second
•
Quality (bit rate): select between 1 and 8, 1 being the
best, for continuously recorded video quality
•
Record mode: select Power up (continuous recording
begins when HVR is powered on), Timer (HVR records
during the configured time schedule [see below]), or
Alarm (HVR records only when an alarm is activated
•
Audio: select this option to enable audio recording on
this channel
•
I Frame: select this option to enable the I Frame feature
(in development)
•
Alarm quality (bit rate): select between 1 and 8, 1 being
best, to adjust the video quality during an alarm
•
Encode mode: select SBR or VBR video encoding
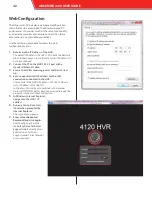
After completing all of the fields for one camera, the same
configuration can be copied to other cameras. Select a
camera in the
Copy to
field and tap the
Copy
button.
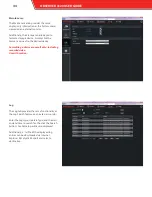
To configure the timer option, first select a day. Several
time periods can be configured per day. Tap
Add a plan
to
add additional time periods, and enter a
Start time
and
End
time
for each of them. Complete day plans can be copied
to other days by selecting them in the
Copy to
field, and
tapping
Copy
.
After making any entries, tap
Save
at the bottom of the screen.
30
OBSERVER 4120 USER GUIDE


