48 SERIES IP CAMERA
15
Modify IP Address
1.
Connect the PC to the NVR’s Ethernet LAN RJ-45 port with a standard
Ethernet cable.
2.
Ensure the NVR and PC are receiving power and have started up.
3.
Run
Quick Configuration Tool
.
4.
Click
IP
to modify the IP address, click
Search Setting
, and the system will
display the
Setting
dialog box.
5.
Set the device network segment, login user name and password, and
then click
OK
.
6.
Select the camera IP addresses’ that need to be modified and click
Batch
Modify IP
. The system will display the
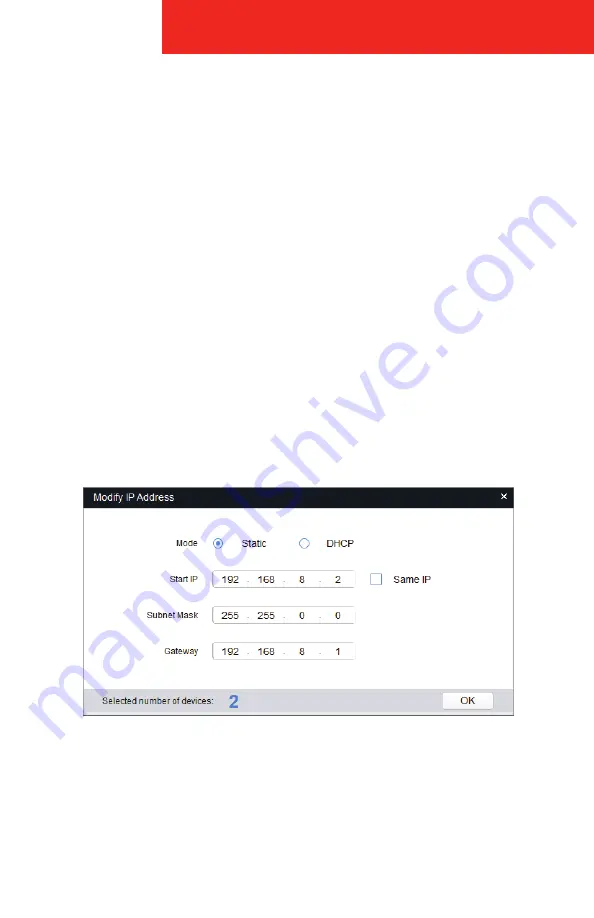
Modify IP Address
dialog box.
7.
Set the mode as
Static
, and enter the planned start IP, subnet mask and
gateway.
NOTE:
Set the mode as DHCP when there is DHCP server in the network, the
device will automatically acquire IP address from the DHCP server.
8.
Click
OK
to complete device configuration.
Summary of Contents for 48 Series
Page 1: ...48 SERIES IP CAMERA USER GUIDE...
Page 20: ...48 SERIES IP CAMERA 18 Appendix B Dimensions...
Page 22: ...48 SERIES IP CAMERA 20 Memo...
Page 23: ...48 SERIES IP CAMERA 21 Memo...


