background image

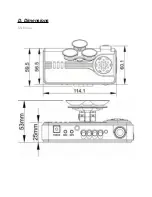
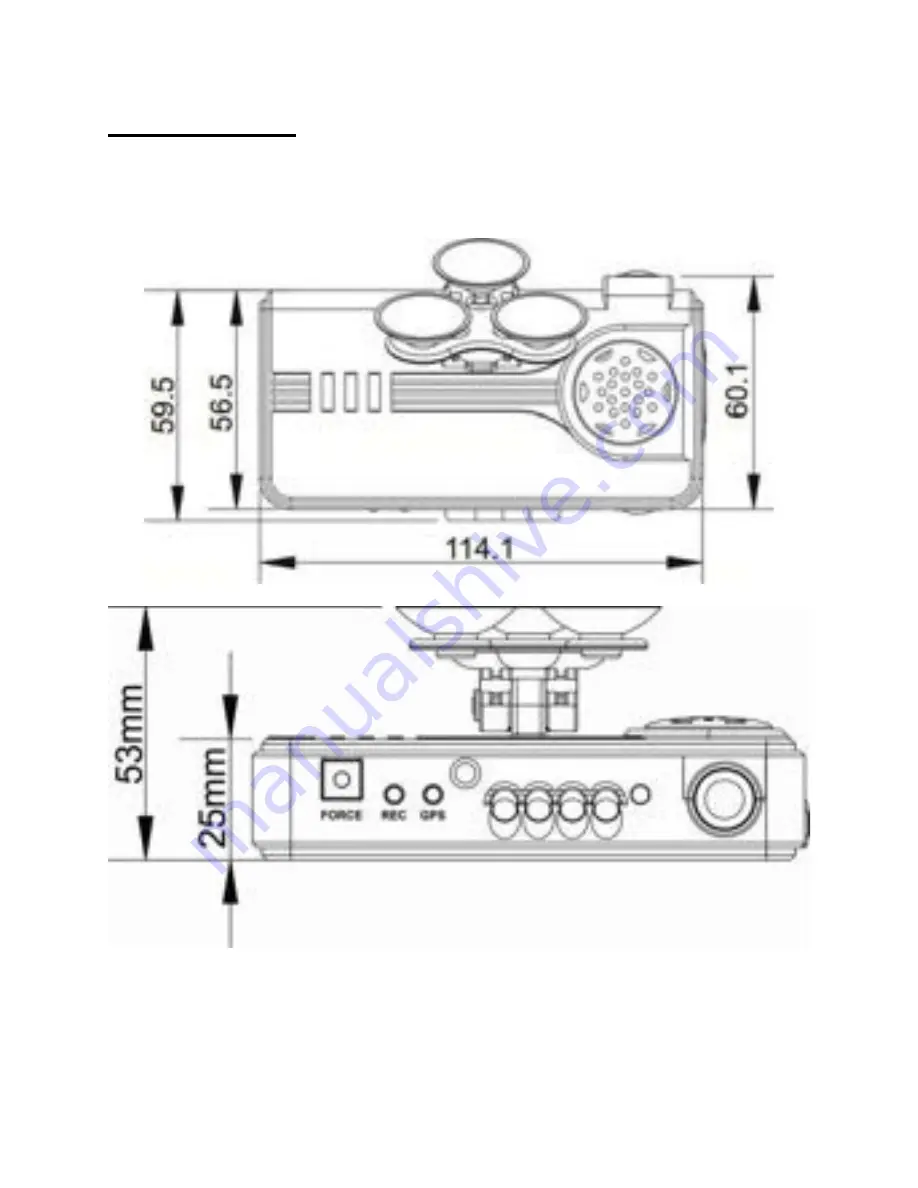
D. Dimensions


UNIT:mm 


Summary of Contents for LIVE 2

Page 1: ...UCIT BASIC LIVE 2 CHANNEL Vehicle Video Recorder User Manual Installation Guide 2015 JAN V 1 1...

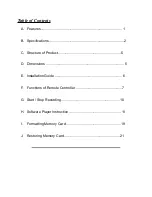
Page 2: ...B Specifications 2 C Structure of Product 5 D Dimensions 5 E Installation Guide 6 F Functions of Remote Controller 7 G Start Stop Recording 10 H Software Player Instruction 11 I Formatting Memory Card...

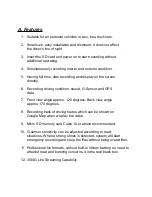
Page 3: ...sound G Sensor and GPS data 7 Front view angle approx 120 degrees Back view angle approx 170 degrees 8 Recording track of driving routes which can be shown on Google Map when we play the video 9 Micr...

Page 4: ...The machine needs 4 7v to start Operating Temp 15 C 55 C Inside Vehicle Storage Device Micro SD Card 16GB 32GB 64GB Class 10 or above SD Card Recommended Recording Frame Forward facing lens 1280x720...

Page 5: ...Button For emergency recording Gleams in night time c Red light Recording indicator In emergency recording it flashes more frequently d Green light Flashing Searching GPS signals Light on GPS position...

Page 6: ...ayer to format memory card the system will be forced to format the entire memory card and then start recording e It s better not crossing the top of the machine and the left side of GPS We suggest to...

Page 7: ...dard Camera System Hardwire Kit Battery Backup Charge Guard Suction cup bracket with cups Bracket holder and Adhesive mount option Optional a Micro SD card 16GB 32GB 64GB 128GB Add On 3G 4G Dongle for...

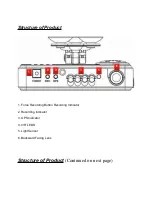
Page 8: ...cture of Product 1 Force Recording Button Recording Indicator 2 Recording Indicator 3 GPS Indicator 4 IVR LEDS 5 Light Sensor 6 Backward Facing Lens Structure of Product Continued on next page 1 6 5 4...

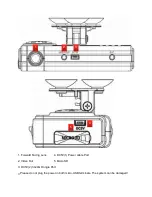
Page 9: ...1 Forward Facing Lens 4 DC5V 1 Power cable Port 2 Video Out 5 Micro SD 3 DC5V 2 3G 4G Dongle Port Please do not plug the power in both micro USB terminals The system can be damaged 1 4 2 3 5...

Page 10: ...D Dimensions UNIT mm...

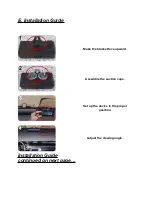
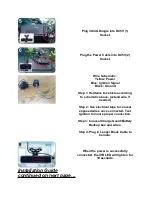
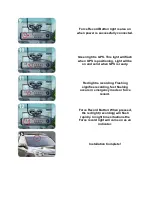
Page 11: ...E Installation Guide Installation Guide continued on next page Make the bracket face upward Assemble the suction cups Set up the device in the proper position Adjust the viewing angle...

Page 12: ...round Step 1 Hardwire to vehicle according to schematic above extend wire if needed Step 2 Use electrical tape to conceal exposed wires once connected Test Ignition to insure proper connection Step 3...

Page 13: ...oning Light will be on and solid when GPS is ready Red light is recording Flashing signifies recording fast flashing occurs in emergency mode or force record Force Record Button When pressed the red l...

Reviews: