background image

7

Russound MDK-C5 User and  Installation Manual

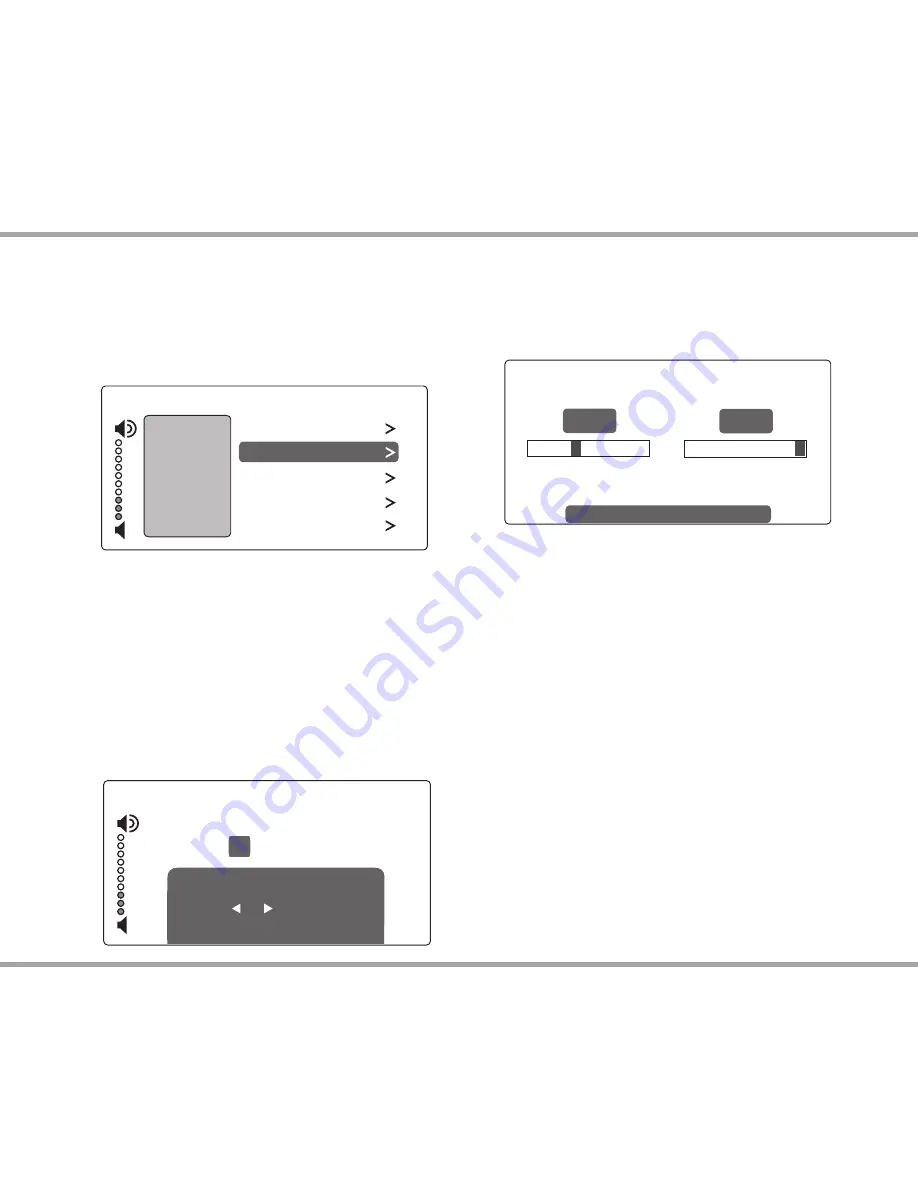
Main Menu - Settings

Audio 

Adjust  Settings

  -  From  the  home  screen,  scroll  to  and 

select "settings," and choose "audio settings." You’ll see 

items to adjust, such as bass, treble and balance. Each 

selection has its own screen and shows levels for real-

time adjustments. 

Display 

Adjust Settings - 

Set the contrast and brightness for the 

keypad display. Use the buttons to move the cursor to 

the desired level. 

USINg ThE SYSTEM

AM/FM

10:25 AM

12 

: 45  PM

Set Time

use + & - for Numbers

use |    &    | for Cursor

press OK to Save

Clock

Set Time - 

From the Clock menu, select "Set Time." Press 

the +/- buttons to move through numbers. Press the |< 

or >| buttons to move the cursor and press OK to save. 

Set Date

 - From the Clock menu, select "Set Date." The 

date  format  is  month/day/year.  Press  the  +/-  buttons 

to move through numbers. Press the |< or >| buttons to 

move the cursor, and press OK to save. 

Clock Format

 - From the home menu, select "Settings," 

then  "Clock."  Choose  "Clock  Format,"  and  select  12 

hour (AM/PM) or 24 hour (1200) format.

Installer Options


IR Enable/Disable -

 The default is Enabled. If an external 

IR  receiver  is  used,  the  keypad  IR  receiver  should  be 

disabled. From the main menu, select "Settings," then 

"Installation",  then  IR  Enable/Disable.  Select  "disable" 

and exit back to the menu. 

Diagnostics  -

  Options  are  provided  for  Display  and 

Button  tests.  Selecting  the  Firmware  option  displays 

the keypad's firmware version. 

AM/FM

10:45 AM

Treble

Audio Set

Bass

Balance
Loudness
Turn On Volume

+3

0

0C

On

15

AM/FM

4:30 PM

Display

6

Contrast

Brightness

15

use + & - to Adjust

Summary of Contents for MDK-C5

Page 1: ...MDK C5 Multiline Display Keypad Russound User and Installation Manual OK VOL VOL HOME MENU AM FM 4 30 PM Now Playing Home Shared Favorites Sleep Timer Alarm Sources...

Page 2: ...the power adapter provided with the product described in the operating instructions or as marked on the product Ground product properly Make sure the product s 8 means of grounding or polarization is...

Page 3: ...OK button in the center activates a menu choice and the navigation buttons allow you to move through menus and lists as well as provide source controls The buttons LED brightness is adjustable and can...

Page 4: ...gate backwards through menus or play previous selection Scroll bar Shows that more menu choices are available through scrolling Home Returns view to the home screen Status box Shows system status mess...

Page 5: ...t a source or press a numbered Source button on the SRC C5 remote control Once selected choose music from that source Each source has its own menu and screens Main menus list what is available channel...

Page 6: ...nutes AM FM 7 30 PM Alarm Home Shared Party Mode Settings Sleep Timer Do Not Disturb DND AM FM 9 30 PM Wake Time Alarm Alarm On Off Wake To Choose Days Set Snooze 7 30 AM Alarm Once AM FM 9 30 PM Slee...

Page 7: ...rsor and press OK to save Set Date From the Clock menu select Set Date The date format is month day year Press the buttons to move through numbers Press the or buttons to move the cursor and press OK...

Page 8: ...mode Foam Spacers Remove spacers for better fit in retrofit box or P ring installations External IR Connection Four pole detachable screw down connection for optional external IR receiver Programming...

Page 9: ...isplay Lens is removed put aside for 4 reattachment later Be careful to not damage the display Remove the Bezel Molding by gently pressing in each 5 of the 4 locking tabs 2 per side while pushing it a...

Page 10: ...connecting GND GROUND and IR SIGNAL and the other pair connecting ST STATUS and V 12VDC Do not connect the shield to the IR receiver terminals If utilizing an external IR receiver then you must disab...

Page 11: ...ack plate can be removed for a better fit Route CAT 5e wire to the wall box from the controller There should be not more than 250 feet of CAT 5e cable between the keypad and the controller Terminate t...

Page 12: ...e with RJ 45 connectors using T568A wire configuration For a clean installation when wiring from a keypad port use a CAT 5e patch cable to connect from the keypad port to a RJ 45 wall plate optional U...

Page 13: ...requirements 275mA 12VDC MAX CAT 5e connection RJ 45 T568A standard Display 70 mm W x 35 mm H high resolution LCD Controls Eleven backlit hard buttons Wall surface dimensions 4 5 W x 4 5 H 11 43 x 11...

Page 14: ...through authorized Dealers and Distributors to ensure that customers obtain proper support and service Any Russound product purchased from an unauthorized dealer or other source including retailers m...

Page 15: ...15 Russound MDK C5 User and Installation Manual Notes...

Page 16: ...03857 tel 603 659 5170 fax 603 659 5388 email tech russound com www russound com 28 1334 11 20 08 2008 Russound All rights reserved All trademarks are the property of their respective owners Specific...

Reviews: