1
INSTRUCTIONS AND WARRANTY
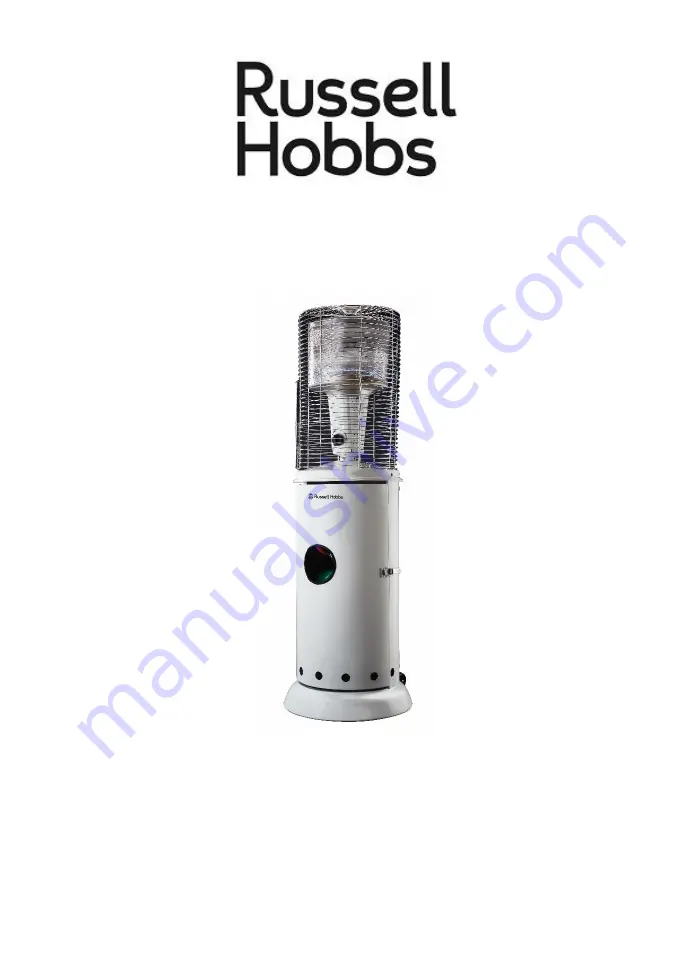
MODEL NO. RHOD20
DESCRIPTION: OUTDOOR GAS HEATER
Page 1: ...1 INSTRUCTIONS AND WARRANTY MODEL NO RHOD20 DESCRIPTION OUTDOOR GAS HEATER ...
Page 2: ...t the appliance from the gas cylinder when not in use for long periods of time 12 The flexible gas hose must be checked periodically for signs of cracking 13 If the hose needs to be replaced ensure that the replacement hose is suitable for LPG Hoses should only be bought from certified gas dealers 14 Always use the heater in an upright position 15 Always face the heater to the centre of the room 1...
Page 3: ...tained atall times when the appliance is operating clearances are as follows Minimum Clearance from Combustibles Side 500mm Rear 500mm Ceiling 1000mm Combustible materials are considered to be wood compressed paper plant fibres plastic plexiglas or other materials capable ofbeing ignited and burned Such materials shall be considered combustible even though flame proofed fire retardant treated or p...
Page 4: ...ew cylinder NEVER use a match to test for leaks 12 The propane cylinder must be turned off whenever the heater is not in use When the heater is to be stored indoors the propane cylinder and the heater must be disconnected and the cylinder stored in accordance with the Standard for Storage and Handling of Liquefied Gases 13 The heater has been designed with several safety features which include a t...
Page 5: ...screws M6x12mm long 4 countersink screws M4x8mm long and nuts ASSEMBLY Tools Required not included Phillips head screwdriver and adjustable spanners Note Remove any transit protection material STEP 1 Secure wheels to base using 4 bolts M8x15mm long 4 nuts and 4 lock washers STEP 2 Attach cylinder panel onto base using 5 screws M5x10mm long STEP 3 Align holes with handle and secure with 2 screws M6...
Page 6: ...6 STEP 4 STEP 5 Attach door asembly to cylinder panel using 4 countersink screws M4x8mm long and 4 nuts Attach burner assembly to cylinder panel using 3 screws M6x12mm long ...
Page 7: ...7 STEP 6 STEP 7 Attach hose and regulator and leak test both connections Position cylinder inside the housing ...
Page 8: ... NOT use a match to test for gas leaks TROUBLE SHOOTING Problem Possible Causes Main burner won t light No gas Low gas pressure Blockage in orifice Manual valve not in LOW or HIGH position Note If the appliance cannot be adjusted to perform correctly it should not be used untilserviced or repaired Warning Improper installation adjustment alteration service or maintenance ...
Page 9: ...3 Check for flame at the burner If burner does not light immediately turn control knob to OFF position and try again from the start Allow 30 secondsbetween ignition attempts for gas to dissipate Several attempts may be necessary Failure to follow this lighting proceduremay result in flame roll out beyond theemitter grid STEP 4 With the burner alight keep control knob depressed for 15 seconds STEP ...
Page 10: ...nge the product in terms of this warranty subject to legislative requirements This warranty shall be valid only where the customer has not broken the product himself or used the product for something that it is not supposed to be used for The warranty does not include and will not be construed to cover products damaged as a result of disaster misuse tamper abuse or any unauthorised modification or...