


Tab 4 Advanced:
Ticker
Tab 5:
Clock
Tab 6:
Interactive
Background Bitmap:
Select the image to
be used as a background behind the
Ticker, and chose to stretch the image
or not.
Safe Text Region:
Set the start position
(X, Y) and the size (W, H) of the area to
be used to display Ticker text.
Safe Text Region: X and Y values should
be used to pad the region, with Width
and Height values set to do the same
on the right and bottom.
Clock:
Settings types match
those of the Ticker.
Interactive:
Not used unless a
touch screen controller is
configured.
Tab 7:
Networking
Enable:
BrightSign Network is a paid service. Only Simple Networking
should be enabled.
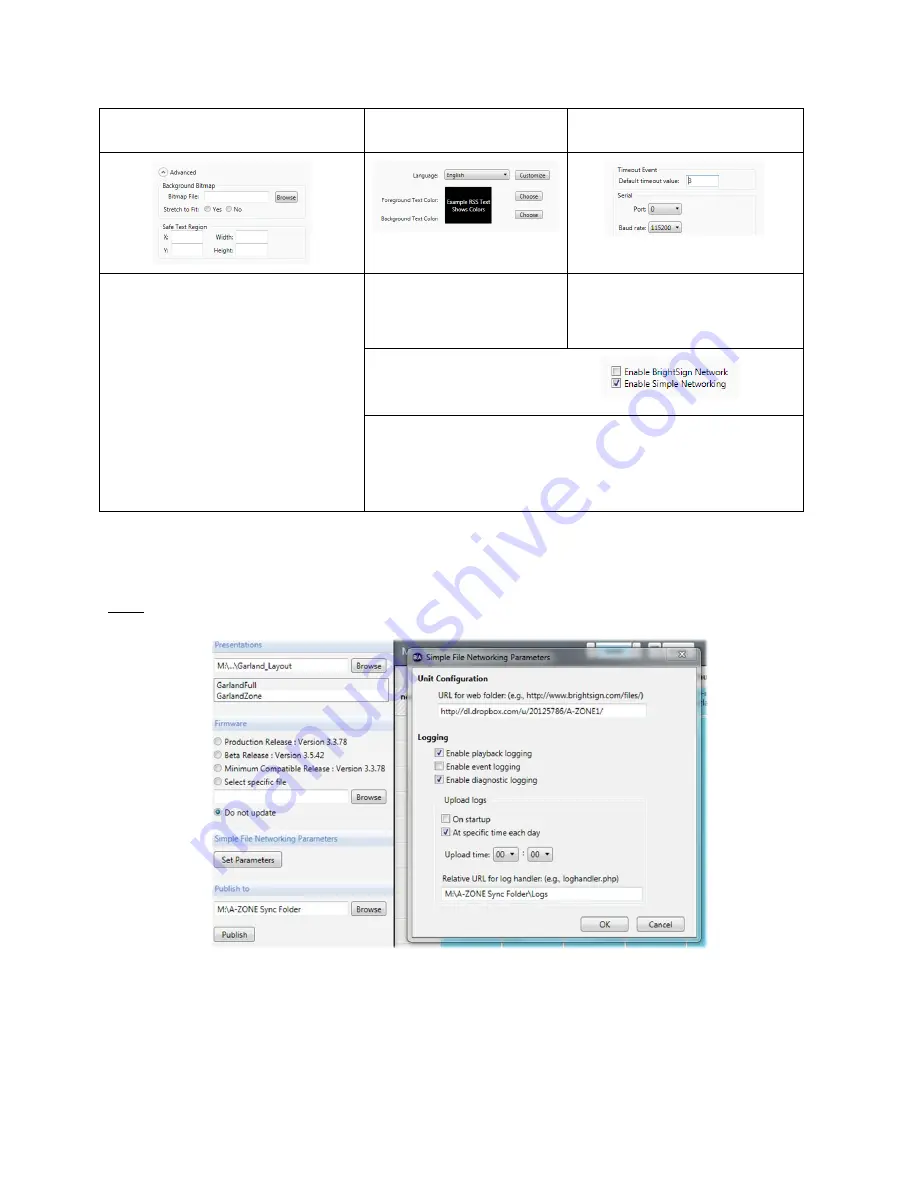
There are a few more settings that must be changed before you can update your presentation with content. These
settings are located on the
Publish
tab.
NOTE: Your
A-ZONE
system has already been set up by the RUSHWORKS
staff. A document called “A-ZONE Publish Settings for BrightAuthor” has been provided on your USB Drive. Settings
MUST match that document for automatic content transfer to function properly.
On this configuration screen you will need to copy the settings EXACTLY from the document provided. If you ever
need to change this configuration please refer to the supplemental materials provided on the included USB drive.
Please contact us if any assistance is needed during this crucial phase of your setup.