11
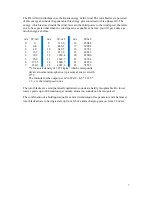
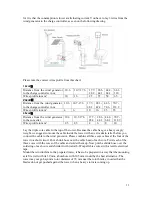
for it is that the consumption is lower at alternating current. You have to lay 3 wires from the
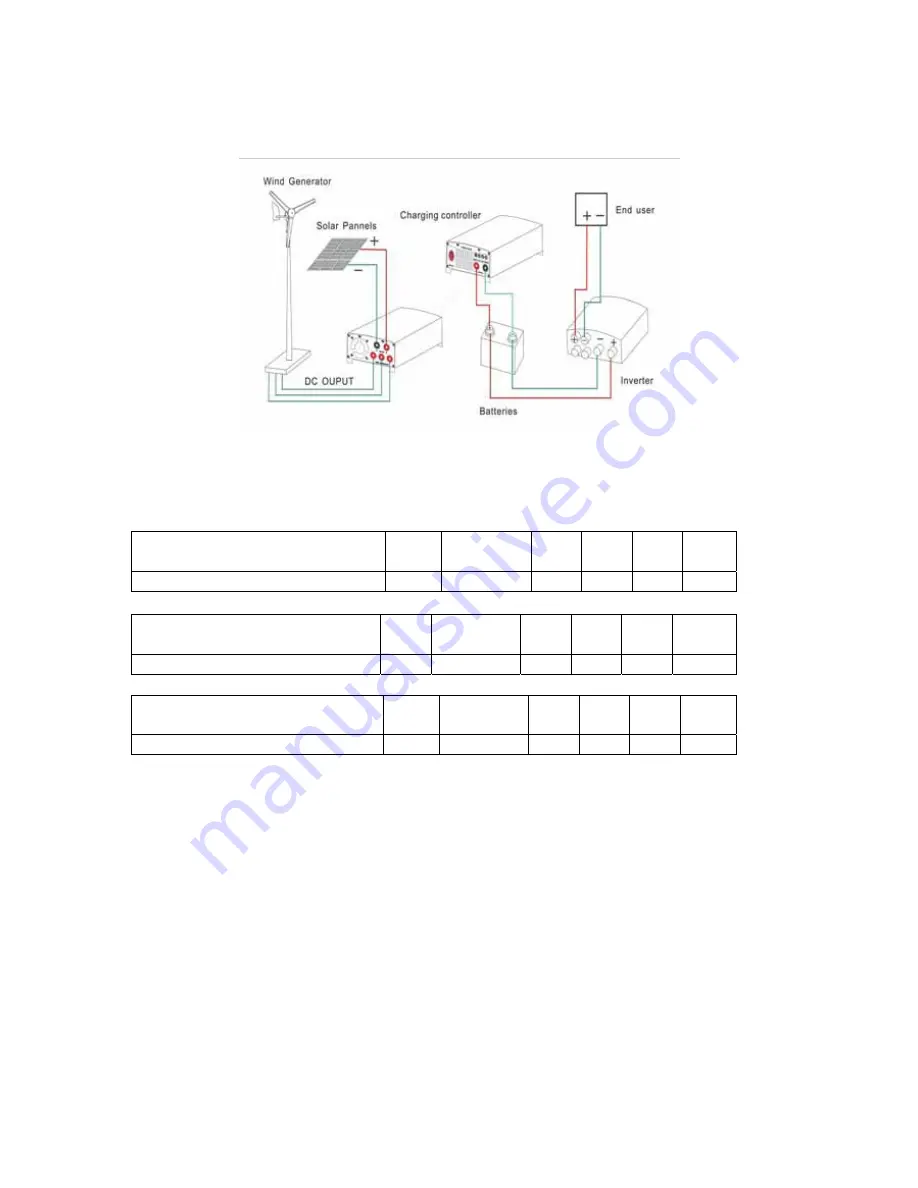
wind generator to the charge controller, as seen on the following drawing.
Please take the correct wires profile from this chart:
12volt
:
Distance from the wind generator
to the charge controller in m
10.6 10.7-17.6 17.7-
28.2
28.3-
44.1
44.2-
68.1
68.1-
110
Wires profile in mm²
10
16
25
35
50
65
24volt
:
Distance from the wind generator
to the charge controller in m
10.6 10.7-17.6 17.7-
28.2
28.3-
42.4
42.3-
70.6
70.7-
112.9
Wires profile in mm²
4
6
10
16
25
35
48volt
:
Distance from the wind generator
to the converter
10.6 10.7-17.6 17.7-
28.2
28.3-
44.1
44.2-
68.1
70.7-
112.9
Wires profile in mm²
2,5
2,5
4
6
8
10
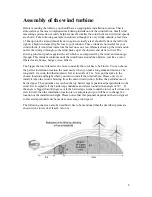
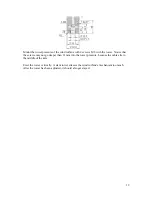
Lay the triple core cable to the top of the tower. Because the cable has got a heavy empty
weight, we suggest to mount the cable inside the tower with an extra strain relief before you
connect the cable to the wind generator. Please combine all three core cables at the foot of the
tower to a short circuit. Put a shrink hose over the cable head of each core. Twist each of the
three cores with the cores of the cable and solder them up. Now put the shrink hose over the
soldering of each core and shrink it with warmth. Wrap all three cores with a textile electrical
tape.
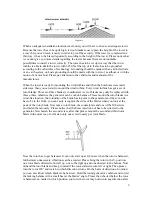
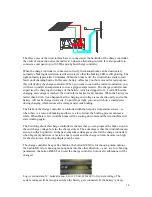
Mount the wind turbine to the prepared tower, it has to be prepared in a way that the mounting
axle fits well with its 39 mm, a borehole with 39,5 mm would be the best alternative. The
tower may not go beyond a rotor diameter of 70 mm near the rotor blades, in order that the
blades do not get pushed against the tower when a heavy storm is coming up.


