background image

Copyright © 2012 Ruckus Wireless, Inc.

Published August 2012, Part Number 800-70415-001

ZoneFlex 7352/7372 802.11n 

Multimedia Wi-Fi Access Point

Quick Setup Guide

This 

Quick Setup Guide

 provides step-by-step instructions 

on how to set up your Ruckus Wireless ZoneFlex Access 
Point. After completing the steps described in this Guide, 
you will be able to place the Access Point (AP) at your site 
and provide wireless network access to users.

B

EFORE

 Y

OU

 B

EGIN

Before deploying Ruckus Wireless products, please check for 
the latest software and the release documentation.

User Guides and Release Notes are available at 

http://support.ruckuswireless.com/documents

.

Software Upgrades are available at

http://support.ruckuswireless.com/software

.

Open Source information is available at

http://opensource.ruckuswireless.com

.

Software License and Limited Warranty available at 

http://support.ruckuswireless.com/warranty

.

P

ACKAGE

 C

ONTENTS

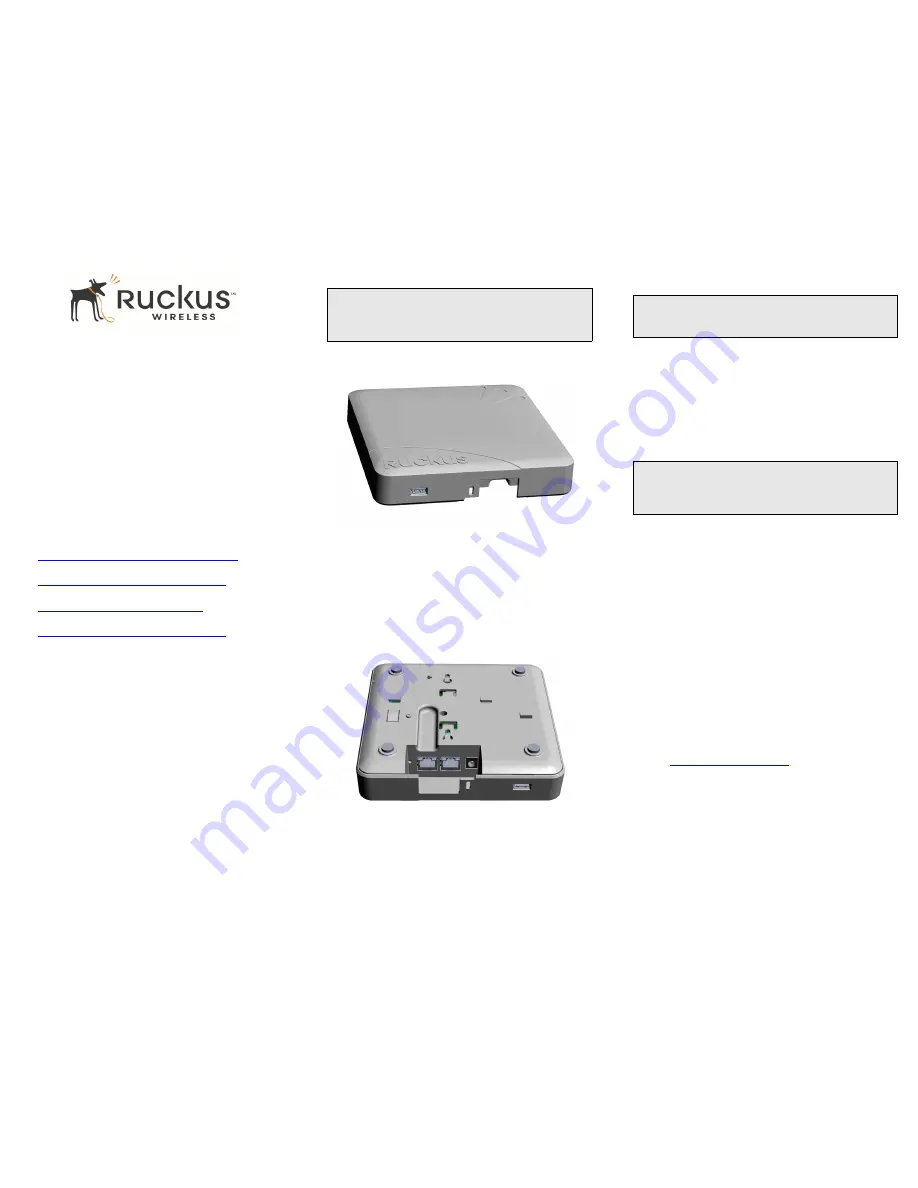
ZoneFlex 7352/7372 Access Point

Mounting screws and anchors (2)

Security screw

Regulatory flyer

This 

Quick Setup Guide

S

ETUP

 R

EQUIREMENTS

A computer running Windows 7 (procedures for other OS’s 
are similar)

One or more of the following:

A modem (DSL or cable), broadband router, or other 
device provided by your Internet Service Provider 
that brings Internet access to your site. 

A network switch or a DSL/Internet gateway device.

Two Ethernet cables (Cat5e or better for PoE in)

An AC power adapter (sold separately), or

An 802.3af or 802.3at -compliant Power over Ethernet (PoE) 
switch or PoE injector

S

TEP

 1: C

ONNECT


THE

 AP 

TO

 Y

OUR

 C

OMPUTER

1

After removing your Ruckus Wireless AP from its package, 
place it next to your computer.

2

Using an Ethernet cable, connect your computer’s network 
port to the 10/100/1000 port on the AP. 

3

Using the AC adapter (sold separately), connect the AP to a 
convenient (and protected) power source. 

Alternatively, connect the 10/100/1000 port to a PoE 
injector or PoE switch for both power and network 
connectivity.

4

Verify that the Power LED on the external enclosure is a 
steady green. 

S

TEP

 2: P

REPARE

 Y

OUR

 C

OMPUTER


FOR

 AP 

S

ETUP

1

On your Windows 7 computer, configure your network 
adapter from the 

Local Area Connection

 settings as follows:

Start > Control Panel > Network and Sharing 
Center > Change Adapter Settings

2

Edit the TCP/IPv4 address settings as follows: 

Local Area Connection > Properties > Internet 
Protocol Version 4 (TCP/IPv4) > Properties

The 

TCP/IPv4 Properties

 dialog box appears.

3

Select 

Use the following IP address

 (if it is not already 

selected) and then make the following entries:

IP address

: 192.168.0.22 (or any address in the 

192.168.0.x network)

Subnet mask

: 255.255.255.0

Default gateway

: 192.168.0.1

Leave the

 DNS server 

fields empty.

4

Click 

OK

 to save your changes.

Your changes are put into effect immediately. 

S

TEP

 3: L

OG

 I

NTO


THE

 AP

As specified earlier, the AP should be directly connected to 
your computer (through the Ethernet port) and powered on, 
ready for setup.

1

On your computer, open a Web browser window.

2

In the browser, type this URL to connect to the AP: 

https://192.168.0.1

3

Press <Enter> to initiate the connection. When a security 
alert dialog box appears, click 

OK/Yes

 to proceed.

4

When the 

Ruckus Wireless Admin

 login page appears, enter 

the following: 

Username

: super

Password

: sp-admin

5

Click 

Login

.

IMPORTANT!

If the AP is deployed with a ZoneDirector, follow the 

ZoneDirector Quick Setup Guide

, and connect the AP to your 

local network.

NOTE:

The following procedures assume Windows 7 as the operating 
system. Procedures for other OS’s are similar.

IMPORTANT!

Write down all of the currently active settings so you can 
restore your computer to its current configuration later (when 
this process is complete).

Summary of Contents for ZoneFlex 7352

Page 1: ...e AP 3 Using the AC adapter sold separately connect the AP to a convenient and protected power source Alternatively connect the 10 100 1000 port to a PoE injector or PoE switch for both power and network connectivity 4 Verify that the Power LED on the external enclosure is a steady green STEP 2 PREPARE YOUR COMPUTER FOR AP SETUP 1 On your Windows 7 computer configure your network adapter from the ...

Page 2: ...Start Guide template to mark the locations for screw holes on the mounting surface Use a 5mm drill bit to drill approximately 25mm into the mounting surface 2 Insert the anchors and mounting screws into the mounting surface leaving approximately 1 4 6 mm of the screw heads protruding for the AP enclosure The screws should be approximately 3 25 82 6mm apart per the template 3 Insert a straightened ...

Page 3: ... sorte que la puissance isotrope rayonnée équivalente p i r e ne dépasse pas l intensité nécessaire à l établissement d une communication satisfaisante This device complies with Industry Canada licence exempt RSS standard s Operation is subject to the following two conditions 1 this device may not cause interference and 2 this device must accept any interference including interference that may cau...

Page 4: ...is intended to be supplied by a Listed Direct Plug In Power Unit marked Class 2 or LPS sub clause 2 5 of standard EN 60950 1 Available Ruckus power supplies intended for product operation are identified in the product datasheet The last two digits of the power supply part number represent the country code For additional applicable power supplies options see user instructions and product datasheet ...

Page 5: ... LAN in Übereinstimmung mit den grundlegenden Anforderungen und den übrigen einschlägigen Bestimmungen der Richtlinie 1999 5 EG befindet Eesti Estonian Käesolevaga kinnitab Ruckus Wireless seadme Radio LAN vastavust direktiivi 1999 5 EÜ põhinõuetele ja nimetatud direktiivist tulenevatele teistele asjakohastele sätetele English Hereby Ruckus Wireless declares that this Radio LAN is in compliance wi...

Page 6: ...ojen mukainen Svenska Swedish Härmed intygar Ruckus Wireless att denna Radio LAN står I överensstämmelse med de väsentliga egenskapskrav och övriga relevanta bestämmelser som framgår av direktiv 1999 5 EG Íslenska Icelandic Hér með lýsir Ruckus Wireless yfir því að Radio LAN er í samræmi við grunnkröfur og aðrar kröfur sem gerðar eru í tilskipun 1999 5 EC Norsk Norwegian Ruckus Wireless erklærer h...

Page 7: ...e AP 3 Using the AC adapter sold separately connect the AP to a convenient and protected power source Alternatively connect the 10 100 1000 port to a PoE injector or PoE switch for both power and network connectivity 4 Verify that the Power LED on the external enclosure is a steady green STEP 2 PREPARE YOUR COMPUTER FOR AP SETUP 1 On your Windows 7 computer configure your network adapter from the ...

Page 8: ...Start Guide template to mark the locations for screw holes on the mounting surface Use a 5mm drill bit to drill approximately 25mm into the mounting surface 2 Insert the anchors and mounting screws into the mounting surface leaving approximately 1 4 6 mm of the screw heads protruding for the AP enclosure The screws should be approximately 3 25 82 6mm apart per the template 3 Insert a straightened ...

Page 9: ... sorte que la puissance isotrope rayonnée équivalente p i r e ne dépasse pas l intensité nécessaire à l établissement d une communication satisfaisante This device complies with Industry Canada licence exempt RSS standard s Operation is subject to the following two conditions 1 this device may not cause interference and 2 this device must accept any interference including interference that may cau...

Page 10: ...is intended to be supplied by a Listed Direct Plug In Power Unit marked Class 2 or LPS sub clause 2 5 of standard EN 60950 1 Available Ruckus power supplies intended for product operation are identified in the product datasheet The last two digits of the power supply part number represent the country code For additional applicable power supplies options see user instructions and product datasheet ...

Page 11: ... LAN in Übereinstimmung mit den grundlegenden Anforderungen und den übrigen einschlägigen Bestimmungen der Richtlinie 1999 5 EG befindet Eesti Estonian Käesolevaga kinnitab Ruckus Wireless seadme Radio LAN vastavust direktiivi 1999 5 EÜ põhinõuetele ja nimetatud direktiivist tulenevatele teistele asjakohastele sätetele English Hereby Ruckus Wireless declares that this Radio LAN is in compliance wi...

Page 12: ...ojen mukainen Svenska Swedish Härmed intygar Ruckus Wireless att denna Radio LAN står I överensstämmelse med de väsentliga egenskapskrav och övriga relevanta bestämmelser som framgår av direktiv 1999 5 EG Íslenska Icelandic Hér með lýsir Ruckus Wireless yfir því að Radio LAN er í samræmi við grunnkröfur og aðrar kröfur sem gerðar eru í tilskipun 1999 5 EC Norsk Norwegian Ruckus Wireless erklærer h...

Reviews: