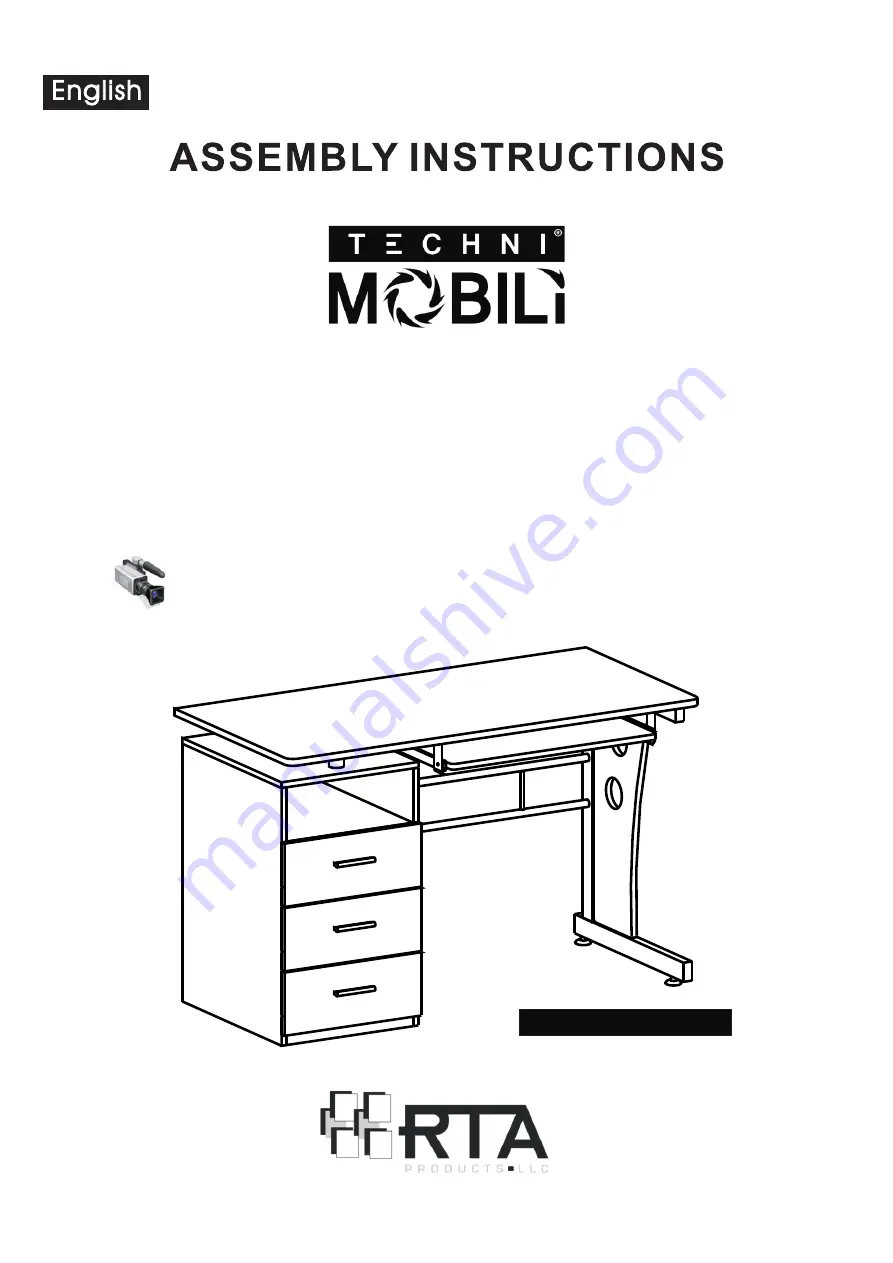
RTA Techni Mobili RTA - 3520 Assembly Instuctions Download Page 1

MODEL RTA-3520

MODEL  RTA - 3520

Thanks for purchasing one of our products.
Please read carefully the assembly instructions before the installation.
Please save this manual for future reference.

Complete video assembly demonstration is available at: 
www.rtaproducts.com/assembly-videos.htm

Summary of Contents for Techni Mobili RTA - 3520

Page 1: ...purchasing one of our products Please read carefully the assembly instructions before the installation Please save this manual for future reference Complete video assembly demonstration is available a...

Page 2: ...RTA 3520 DIMENSIONS MAXIMUM WEIGHT CAPACITIES DO NOT exceed this limit Please use care and good judgement when placing objects on wood surface Product Size 47 5 W x 23 D x 30 H...

Page 3: ...ght Left 1 10 9 11 12 13 19 19 19 4 5 Left Panel Middle Panel Studs Top Panel Horizontal Panel Bottom Panel Back Panel Front Base Panel Side Structure Right Panel Back Structure Main Panel Keyboard Pa...

Page 4: ...26 PART PART QTY QTY ITEM ITEM 6X12 MM 4X4 MM 3X15 MM F G 4 4 24 1 4X14 MM 6X60 MM 4X20 MM 4X35 MM H J K I L 12 2 6 2 12 23 Right Left Right Left Drawer Left Panel Drawer Right Panel Drawer Front Pane...

Page 5: ...RTA 3520 P 5...

Page 6: ...RTA 3520 P 6...

Page 7: ...wood pins of 8 into the holes of 6 as shown Screw the Bolts B to the corresponding holes on the inside face of Left Panel 1 then assemble to it the Horizontal Panel 5 Bottom Panel 6 and Small Front P...

Page 8: ...se Panel 8 by turning all the corresponding cam locks Screw the Bolts B to the corresponding holes on the inside face of Top Panel 4 then assemble it to the cabinet by turning the corresponding cam lo...

Page 9: ...11 between the Middle Panel 2 and Side Structure 9 Use Screws F to affix the Slider Bases 14 to the Main Panel 12 Use Screws G to fix the Keyboard Slider 15 to the Slider Bases 14 as illustrated Plea...

Page 10: ...crews D on the LEFT and I on the RIGHT Use Screws H to assemble the Keyboard Panel 13 to the Keyboard Slider 15 Screw Bolts B to the holes on the inside face of Drawer Front Panel 19 then assemble the...

Page 11: ...e drawer upside down Grab the L shaped sliders 22 and assemble them to the drawer using Screws A with wheels facing towards the back of the drawer Make sure the sliders are touching the side panels an...

Page 12: ......

Reviews: