20
Heavy Duty True RMS Digital Multimeter/English
Heavy Duty True RMS Digital Multimeter/English
21
13/08/2017 Version No. 001
13/08/2017 Version No. 001
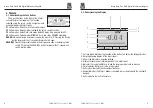
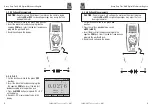
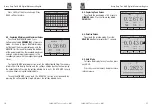
Press the + soft key to increase Graph
resolution. Press the >> soft keys to move
cursor.
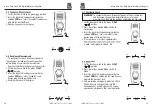
6-12. Info
Viewing data stored in the Meter’s memory
is performed through the
save
menu. Press the
softkey labeled
DOWN (F3)
. Position the menu
selector next to the menu item labeled
INFO
and pressing the softkey labeled
ENTER(F1)
7. Setup Options
Viewing data stored in the Meter’s memory
is performed through the
save
menu. Press the
softkey labeled
DOWN (F3)
. Position the menu
selector next to the menu item labeled
SETUP
and pressing the softkey labeled
ENTER(F1)
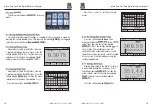
7-1. Resetting Meter
The Meter’s setup options can be reset to default values through the setup menu.
Open the setup menu. Position the menu selector next to the menu item labeled
RESET
and press the key
Enter
. Then Position the menu selector next to the menu
item labeled SETUP and press the key
OK
. Then A message will appear asking to
confirm the reset action. Press the softkey labeled OK to perform the reset.
331.99 Mv 08:26:25pm
Auto range 08:27pm
DELETE
+
»
BACK
400
320
240
160
80
0.0
00:00 00:10 00:20 00:30 00:40
06/02/14
08:26:09pm
Auto
range
08:20pm
UP
DOWN
CLOSE
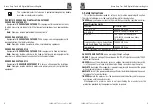
Fno. Graph- According to graphically display
measurement information
Fno. Mode-Releted to the rotary switch
function.
Fno. Save- Accesses the memory management
menu for saving measurement, setting
up recording sessions, or viewing and
deleting stored measurements from memory.
Fno.
Fno.
Fno.
Fno.
Fno.
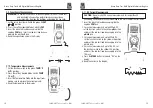
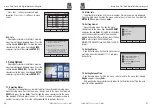
7-2. Meter Info
The Meter Info selection lists the serial number, firmware version, are displayed.
Open the setup menu. Position the menu selector next to the menu item labeled
METER INFO
and press the key
Enter
.
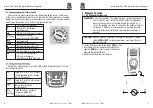
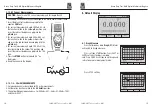
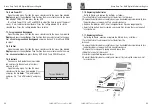
7-3. Setting Format
Open the setup menu. Position the menu
selector next to the menu item labeled
FORMAT
and press the key
Enter
. Using the cursor buttons,
move the menu selector next to the menu item
labeled Numeric(Date\Time) format, press the key
EDIT
to edit, select 0.0000(0,0000) and
MM/DD/YY(DD/MM/YY) and 24 HOUR(12 HOUR)
format.
7-4. Setting Display
Open the setup menu. Position the menu selector
next to the menu item labeled
DISPLAY
and press
the key Enter.
7-5. Setting Date and Time
Open the setup menu. Position the menu selector next to the menu item labeled
Display
and press the key
Enter.
Next, position the menu selector next to either the Set Date item or Set Time item and
press the softkey labeled Edit.
Auto
range
08:32pm
EDIT
UP
DOWN
CLOSER
Beeper
Numeric Format
Date Format
Time Format
Format
Auto
range
08:32pm
EDIT
UP
DOWN
CLOSER
Set Date: 06/02/14 dd/mm/yy
Set Time: 08:29:00 pm
Auto Power Off: 00
Foreground: Background:
Select Font: 0
Display


