SET UP INSTRUCTIONS
HOW TO USE YOUR TC100 TIME CLOCK
Step 1:
Remove the front cover - see enclosed instruction sheet on page 5.
Step 2:
Program the Date & Time and Print Method using the 3 buttons:
Mode, Select, Setting:
Date & Time
: Press the
Mode
button. The Hour will start blinking. Press the
Setting
but-
ton until the correct hour is displayed. Press
Select
to set the hour shown.
The Minutes will blink. Press
Setting
until the correct minutes are displayed. Press
Select
to set the minutes shown.
The Seconds will blink. To set the seconds at 00, press the
Setting
button. Press
Select
.
The Year will blink. Press the
Setting
button until the desired year is shown. Press
Select
to set the year shown.
The Month will blink. Press
Setting
until the correct month is shown. Press
Select
to set
the month shown.
The Day blinks. Press
Setting
until the correct day is shown. Press
Select
to set the day
shown.
Print Method
: Press the
Mode
button until
P5
(Program Mode 5 for Print Format) is dis-
played. Press
Setting
to choose one of the following Print Methods.
The TC100 has two settings for print activation:
Manual
or
Automatic
1 =
Automatic
(default setting) - The TC100 automatically prints when the time
card is inserted.
2 =
Manual
- After inserting the time card, press the Print Button to activate
printing.
Press
Select
to confirm the Print Method chosen. Press
Mode
to return to normal opera-
tional mode.
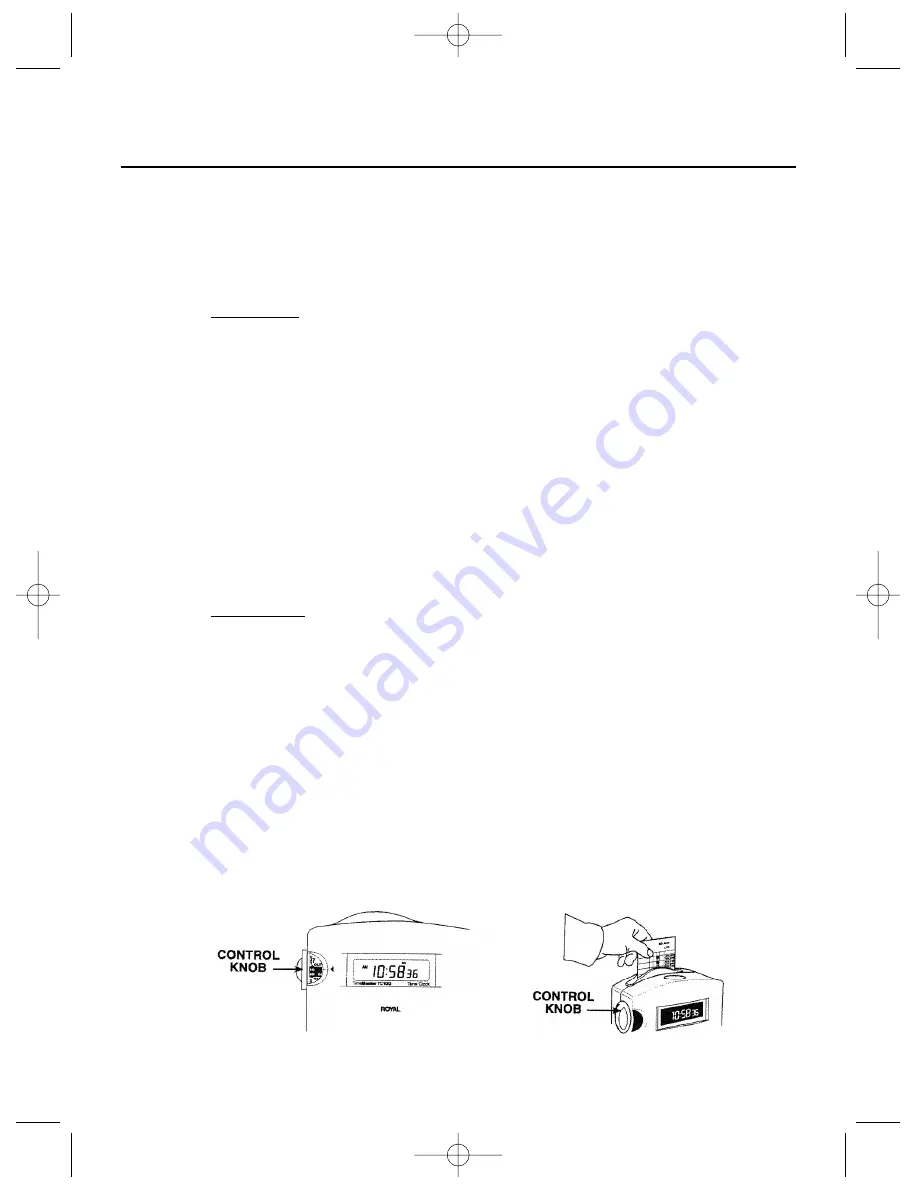
Step 3:
The control knob corresponds to
Step 4:
Insert the time card. The time the
format of the time card. Turn time will automatically print in the
the control knob to select the desired selected row.
day and print row.
8
EnglishVersion 12/6/05 11:06 AM Page 8
Summary of Contents for TimeMaster TC100
Page 1: ...EnglishVersion 12 6 05 11 06 AM Page 1 ...
Page 2: ...EnglishVersion 12 6 05 11 06 AM Page 2 ...
Page 4: ...EnglishVersion 12 6 05 11 06 AM Page 4 ...
Page 8: ...4 EnglishVersion 12 6 05 11 06 AM Page 4 ...
Page 9: ...5 EnglishVersion 12 6 05 11 06 AM Page 5 ...
Page 10: ...6 EnglishVersion 12 6 05 11 06 AM Page 6 ...
Page 11: ...7 INK ROLL REPLACEMENT EnglishVersion 12 6 05 11 06 AM Page 7 ...


