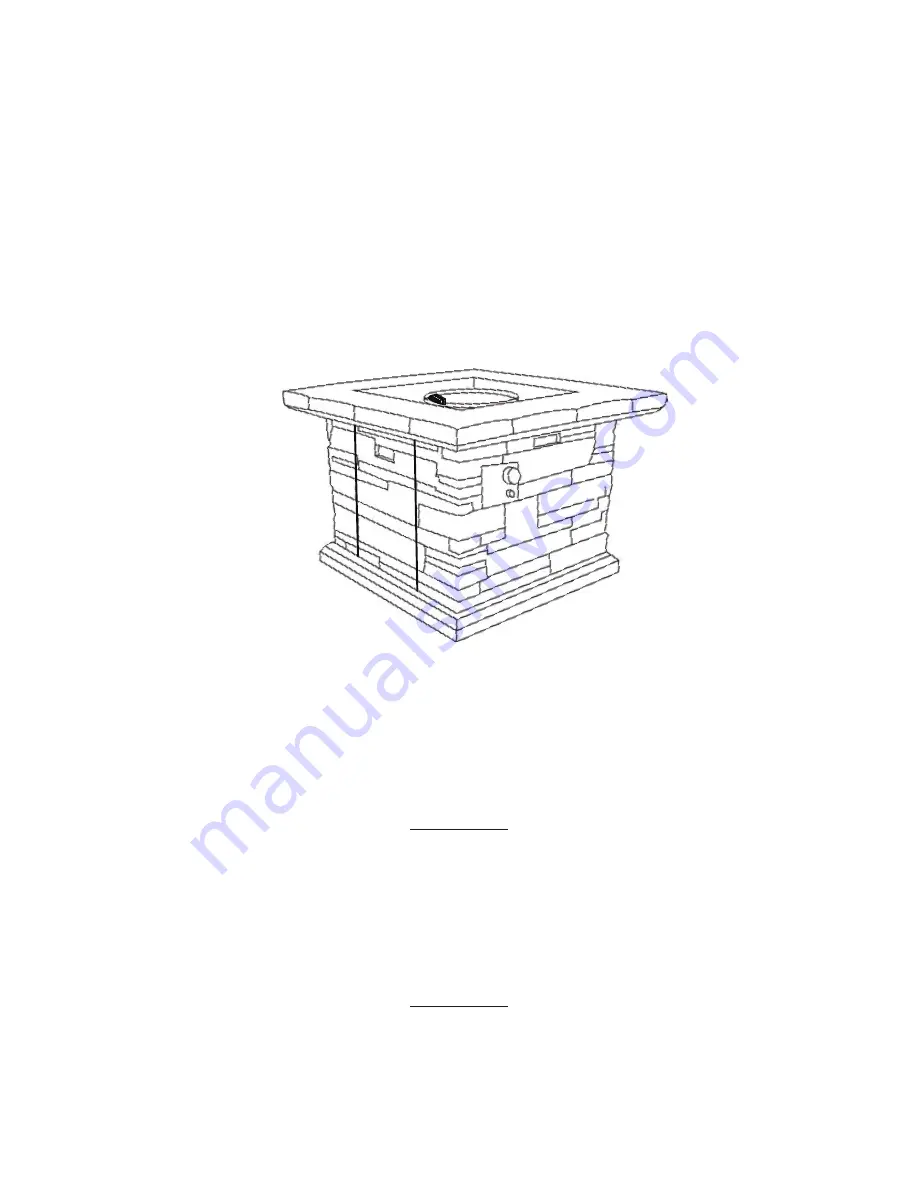
Assembly Instructions
32" Faux Stone Fire Pit
Questions, problems, or missing parts?
Before returning to the store, call Customer Service.
1-866-988-3300
8 a.m. - 5 p.m., PST Monday - Friday
Product No. TM21RD32FPT1
Retain this manual for future use.


