HLX
-
24
TH
Family
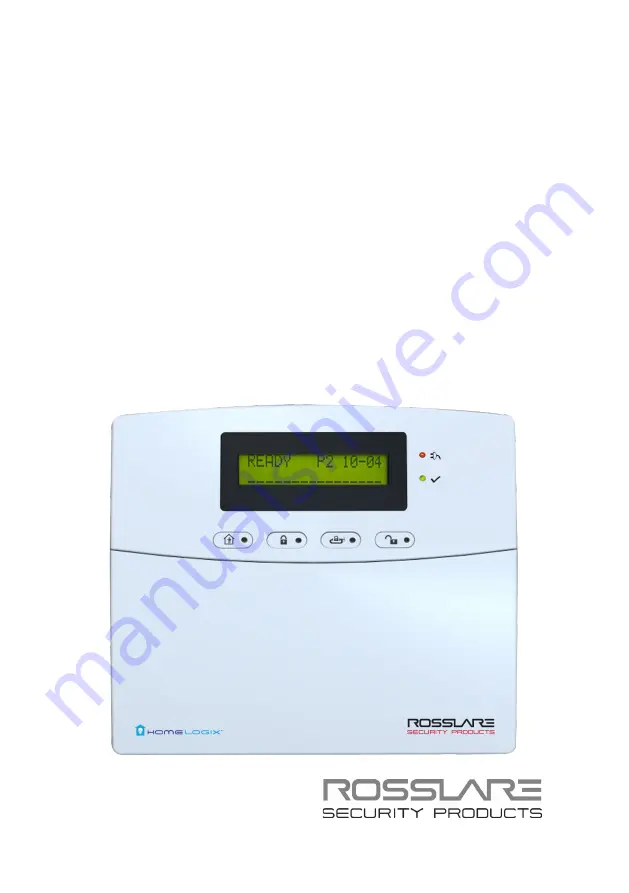
Advanced Wireless Security Panels
User Manual
Page 1: ...HLX 24TH Family Advanced Wireless Security Panels User Manual...
Page 2: ...l property rights covering the subject matter in this manual TEXTS IMAGES AND ILLUSTRATIONS INCLUDING THEIR ARRANGEMENT IN THIS DOCUMENT ARE SUBJECT TO THE PROTECTION OF COPYRIGHT LAWS AND OTHER LEGAL...
Page 3: ...3 Quick Arming 11 3 3 4 Instant Arming 11 3 3 5 Forced Arming 11 3 3 6 Exit Delay 11 3 3 7 Exit Restart 12 3 4 Disarm Mode 12 3 4 1 Entry Delay 12 3 5 System Alarm 13 3 5 1 Abort Window Time 13 3 5 2...
Page 4: ...26 8 4 Authorization Codes 27 8 5 Silent Exit 27 8 6 Setting Date and Time 27 8 7 Defining Date and Time Format 27 8 8 Setting Zone Bypass 28 8 8 1 Enabling Zone Bypass 28 8 8 2 Defining Bypass Zones...
Page 5: ...List of Figures HLX 24 User Manual v List of Figures Figure 1 HLX 24 Panel 15 Figure 2 The Keypad 18 Figure 3 Replacing the Backup Batteries 31...
Page 6: ...ence to Keypad Buttons 10 Table 2 HLX 24 Wireless Panel 16 Table 3 Display Options 17 Table 4 Keypad Functions 18 Table 5 Sound Indicators 19 Table 6 Power LED Indicator 19 Table 7 Status LED Indicato...
Page 7: ...herefore not all functions described in this manual may be available in the specific system and or product configuration you purchased Incorrect operation or installation or failure of the user to eff...
Page 8: ...operation of a large number of security and communication options The panel has two full split reporting features for communicating to central station for Contact ID and telephony voice enabled event...
Page 9: ...unication RF Characteristics Frequencies 433 92 MHz G version 868 35 MHz H version RF Jamming Detection UL EN selectable Anti collision Proprietary RF protocol Programmable No activity Timer 1 30 minu...
Page 10: ...you are away The system allows you to control attached subsystems and appliances such as garage doors lights heating and air conditioner via an expandable PGM output 3 3 Arming Options The following...
Page 11: ...zone To instantly arm the system 1 Verify that the system is ready for arming 2 Press either the HOME or the AWAY arming key 3 Enter your user code 4 Press the same arming key once again 3 3 5 Forced...
Page 12: ...d or bypassed To disarm the system 1 Press the Disarm key 2 Enter your user code If the user disarms the system during Exit Entry mode the progress annonciation is silenced on the first keystroke of t...
Page 13: ...ion is enabled the system sounds a warning but the central station does not receive notification of the alarm if the user disarms the system within the specified alarm abort time 3 5 2 Alarm Cancel Th...
Page 14: ...e fire detectors When there is a fire sensor alarm signal a siren is heard immediately A 60 second retard reset period starts during which every additional fire alarm signal is ignored After this peri...
Page 15: ...ts of the HLX 24 wireless panel are HLX 24 Wireless Panel The LCD Display The Keypad Sound Indicators LED Indicators 4 1 HLX 24 Wireless Panel Figure 1 presents the components of the wireless panel Fi...
Page 16: ...Accept an entry or selection Panic Alarm is followed by a report to the Central Station and audible siren as defined by the installer 4 2 The LCD Display The LCD display clearly shows the system stat...
Page 17: ...e active zone view by pressing the ESC Away or Home buttons Event Display TRBL Indicates that a problem exists on the system The following System Troubles may appear in the TRBL message Battery Missin...
Page 18: ...tandard panic alarm sounds Keys 0 9 Enters alphanumeric entries Press 0 to enter a space Arm Away Arms all sensors and detectors for use when there is no one at home office Arm Home Arms all perimeter...
Page 19: ...is activated Beep sounded every 0 5 seconds during last 10 seconds of delay This table does not include actual alarm sounds The audible indication of a fire zone differs from that of a normal intrusi...
Page 20: ...Arm Home OFF OFF ON OFF Arm Away OFF ON OFF OFF Arming Home OFF OFF FLASHES every 1 second until last 10 seconds flashes every 0 5 seconds OFF Arming Away OFF FLASHES every 1 second until last 10 sec...
Page 21: ...system is locked out for 90 seconds after entering 5 wrong codes The User menu options are displayed in Table 9 Table 9 User Menu Options Select To M Edit Master Code Change the master code see Secti...
Page 22: ...onitoring station reporting options is enabled an E607 event is transmitted The Walk Test sequence timeout is for 15 minutes In the last 5 minutes a squawk is heard every two seconds in addition the g...
Page 23: ...description The user must then enter a valid master code to enter the IVR menu The system hangs up after approximately 60 seconds of inactivity If there is no answer from a private phone or if the use...
Page 24: ...ng the automation submenu you hear the following Press 0 to return to the previous menu The system then requests the following Press 1 to turn the PGM on Press 2 to turn the PGM off Note that if no ac...
Page 25: ...Log 1 Access the event log by pressing 8 on the keypad when the system is in Normal mode 2 To read an event enter the master code and press Enter 3 Browse the event log using the Menu button or go di...
Page 26: ...to browse the submenus 4 Press Enter to access the desired submenu as detailed below 8 2 Changing the Master Code You can change the master code This feature is only for Master users To change the ma...
Page 27: ...3 Press Enter to confirm 8 6 Setting Date and Time You can set the date and time that appears on the panel This feature is only for Master users To set the date and time 1 Using the Menu button select...
Page 28: ...Zone Bypass is disabled pressing Enter shows BYPASS DISABLED If Zone Bypass is enabled but there is no enrolled or active zone pressing Enter shows NO ACTIVE ZONE To enable zone bypass 1 Using the Me...
Page 29: ...eric keypad 3 Enroll the remote control when the WAITING FOR SIGNAL message is displayed by pressing a button on the remote you wish to enroll 4 When the signal is detected you are asked to press the...
Page 30: ...Enter 3 Using the numeric keypad enter the telephone number and press Enter to confirm 4 Press the pound key to delete an existing number The private numbers are set For PABX use the digit followed by...
Page 31: ...the panel 2 Pull the top of the panel away from the wall to disconnect the connector from the back plate 3 Remove the panel from the lower posts of the back plate 9 2 Replacing the 4 AA Backup Batteri...
Page 32: ...tes uses and can radiate radio frequency energy and if not installed and used in accordance with the instructions may cause harmful interference to radio communications However there is no guarantee t...
Page 33: ...ranty The full ROSSLARE Limited Warranty Statement is available in the Quick Links section on the ROSSLARE website at www rosslaresecurity com Rosslare considers any use of this product as agreement t...
Page 34: ...sslaresecurity com Europe Rosslare Israel Ltd Rosh HaAyin Israel Tel 972 3 938 6838 Fax 972 3 938 6830 support eu rosslaresecurity com Latin America Rosslare Latin America Buenos Aires Argentina Tel 5...