40
English
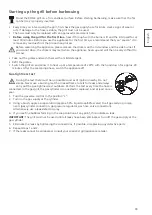
Lightingtheburners
JetFlameignitersystem
When the burner control is turned to the lighting position you will hear a click from the Jet Flame igniter
system.
Lighting procedure:
1. Before starting the lighting procedure, ALL control knobs must be set to the
position "• OFF".
2.
ATTENTION
: Open the lid
before
lighting the grill.
3. Turn on the valve on the gas cylinder.
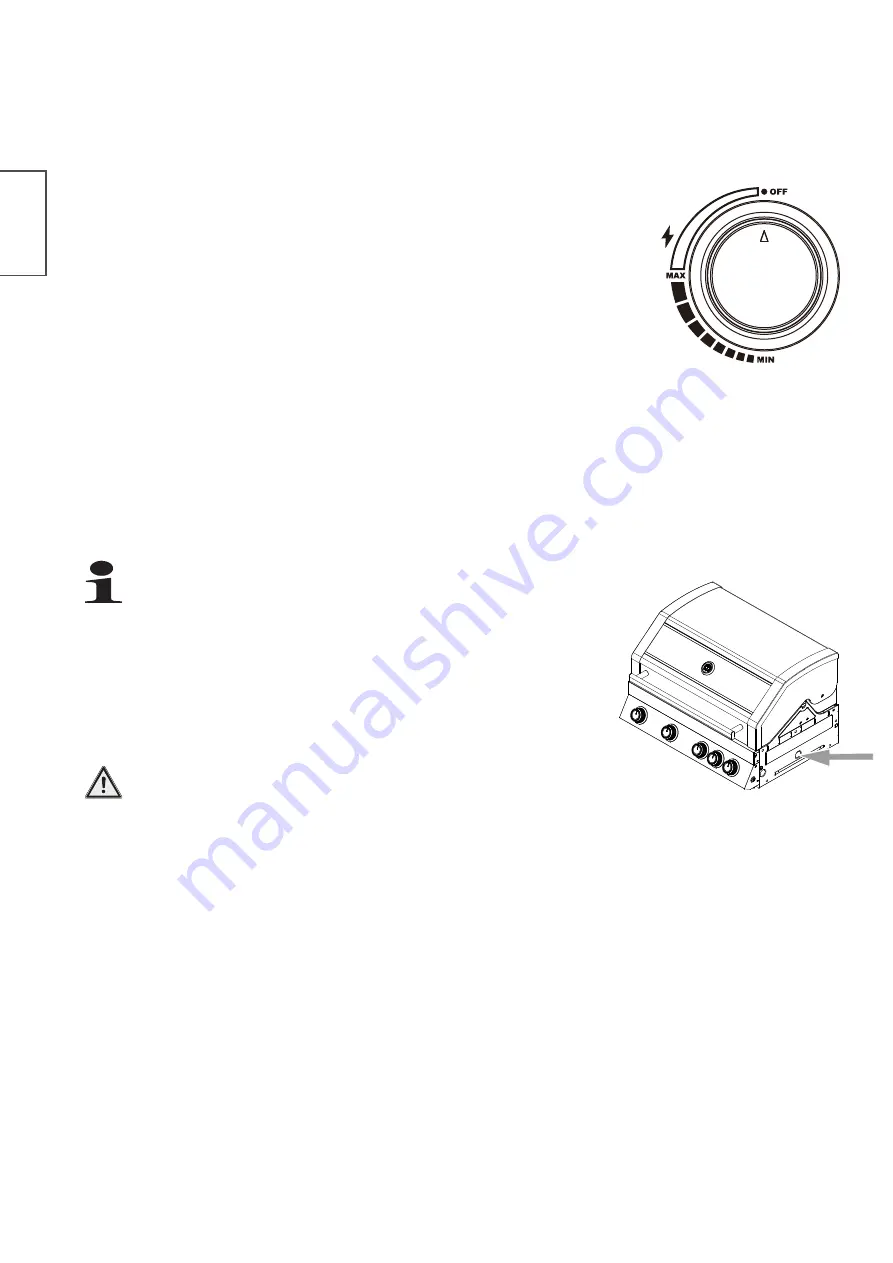
4. Press the right-hand control
3
inwards and turn it slowly anti-clockwise to
the MAX position or until you hear the click.
5. That initiates the ignition spark.
6. If the burner does not light immediately, turn the control back to "•", wait 3
minutes to allow the accumulated gas to disperse and then repeat the lighting procedure.
7. Once the right-hand burner has lit, the burner next to it can be turned on and will then light automati-
cally. Repeat the process until all the burners are lit or until you have lit all the burners you wish to use.
•
You can now use the control knob to adjust the flame to suit your particular requirements. For the lo-
west setting, you turn the control anti-clockwise to "MIN".
•
If you do not succeed in lighting the grill, refer to the section headed Troubleshooting.
•
It is possible to visually check the lighting system: Look at the heat distributors at the side. There must
be flames.
•
IMPORTANT
: Turn off all control knobs and the gas cylinder after use.
All burners can be lit in this way.
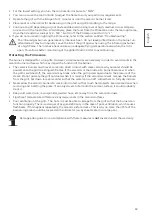
Lightingmanually
•
In exceptional cases, the grill can also be lit with a match.
•
To do so, use a match that is at least 90 mm long and insert the bur-
ning match through the lighting hole on the right.
Lightingthesideburner
Never bend over the open grill. Always keep at least 30 cm away
from the igniter opening when lighting the grill. Keep your face,
hair, loose clothing, etc. well clear.
1. Open the side burner lid
before
lighting the side burner.
2. Turn on the valve on the gas cylinder.
3. Press the control knob
7
inwards and turn it anti-clockwise to the position "MAX". That initiates the ig-
nition spark.
4. If the burner does not light immediately, turn the control back to "•", wait 3 minutes to allow the accu-
mulated gas to disperse and then repeat the lighting procedure.
5. Use a match to light the burner if the igniter does not produce a spark.
•
For the lowest setting, you turn the control anti-clockwise to "MIN".
•
You can now use the control knob to adjust the flame to suit your particular requirements.
•
If you do not succeed in lighting the grill, refer to the section headed Troubleshooting.

