Quick Installation Guide
Wireless Router
RNX-N400LX
1
Connect the supplied power-adapter to the power inlet port and connect it to a wall outlet. Then,
the router automatically enters the self-test phase. During self-test phase, RNX-N400LX’s Power
LED will blink briefly, and then will be lit continuously to indicate that this product is in normal
operation.
CHECK BEFORE YOU PROCESS:
A standard CD-ROM drive
Internet connection should be setup & ready to use (ADSL or cable modem ready to
connect).
Modem must provide RJ45 port to connect with
RNX-N400LX
.
Microsoft Windows compatible PC/Notebook with UPnP enabled network adapter
CAT 5 network cable(s), RJ45 port on PC/Notebook.
STEP 1
Place the RNX-N400LX to the best optimum transmission location. The best transmission
location for your RNX-N400LX is usually at the geographic center of your wireless network,
with line of sign to all of your mobile stations.
STEP 2
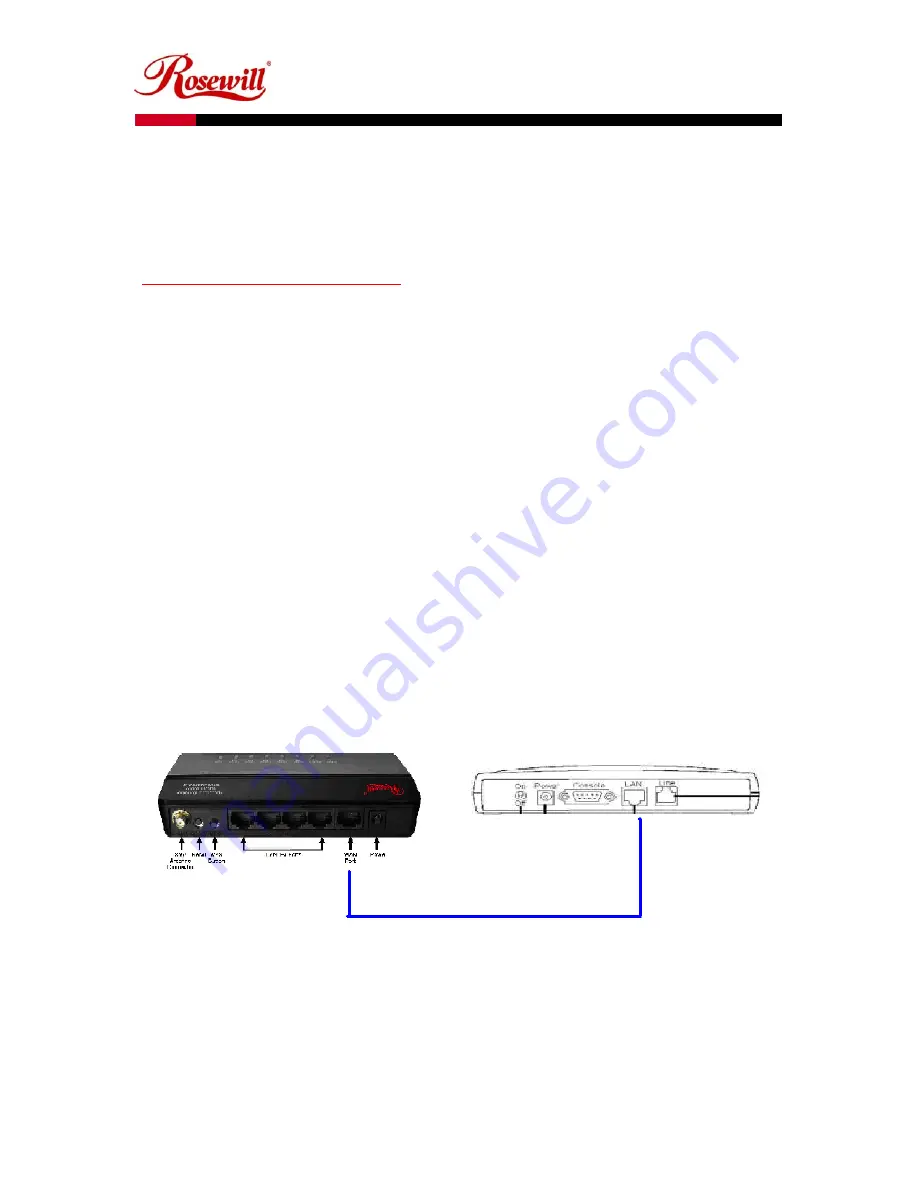
Connect RNX-N400LX to your wired network. Connect the Ethernet WAN interface of
RNX-N400LX by category 5 Ethernet cable to your switch/ hub/ xDSL modem or cable
modem. A straight-through Ethernet cable with appropriate cable length is needed.
RNX-N400LX and Modem Rear View
(WAN Port and LAN port Connection diagram between Wireless Router, and Modem)
STEP 3
Plug the DC power to the RNX-N400LX. Use only the AC/DC power adapter supplied with
the RNX-N400LX; it may cause damage by using a different voltage power adapter.


