8. Setup Menu
21
Real Time Recording & Full HD Display
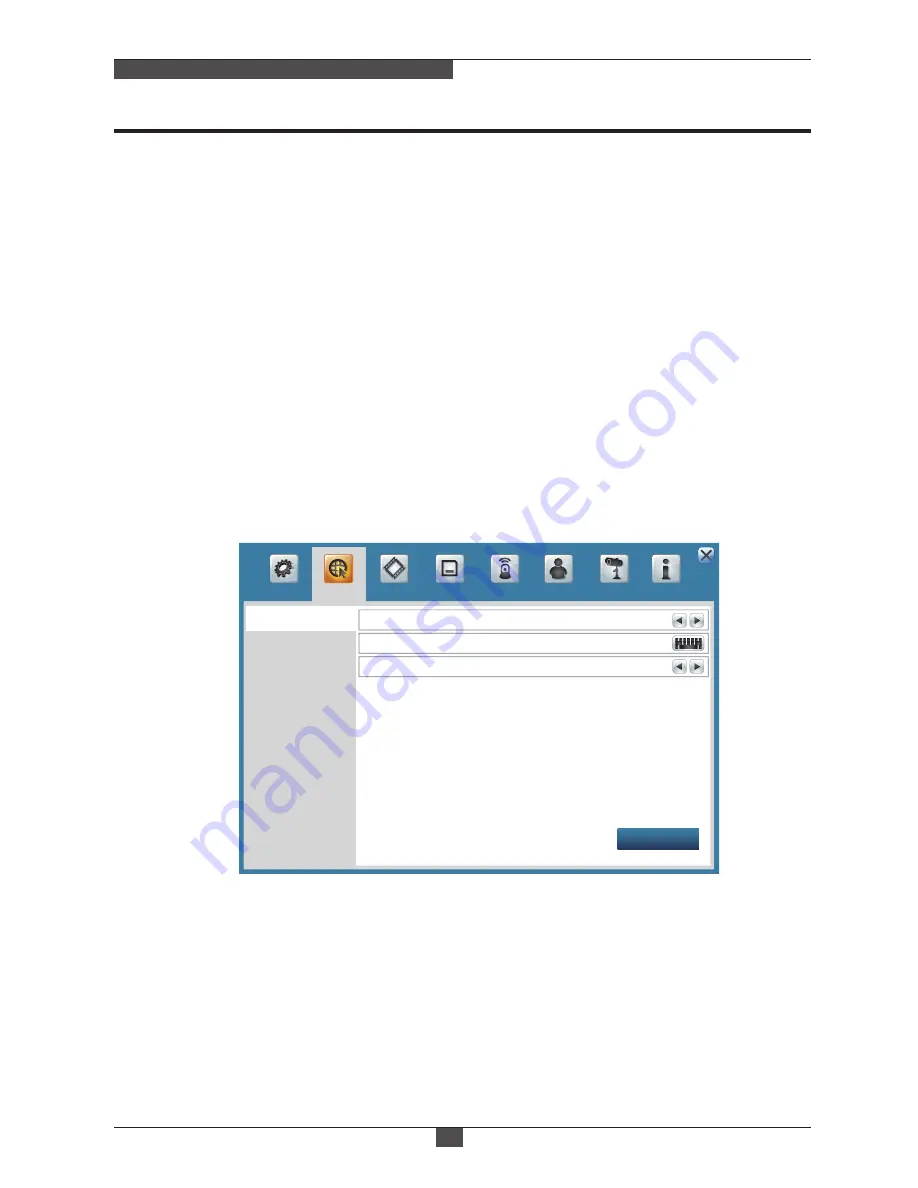
8-2. NETWORK
8-2-1. TCP/IP
1) Type: Select the type of network. Auto UPnP, STATIC, DHCP can be selected.
1) Day: Set the auto reboot term by days. Off, eveyday, Sunday to Saturday can be selected.
2) Time: Set the auto reboot term by time. 00:00 to 23:00 can be selected.
• Auto UPnP:
Select when a router supports Auto UPnP mode under an evironment that uses a router. Default port
is 80 and the user can choose. If there are no problems on the status menu, then network settup is done.
Bandwidth Limitation function is used for limiting the network data bandwidth.
8-1-8. Auto Reboot
6) Resolution : Select the output resolution for HD OUTPUT and VGA ports. Selectable resolutions are
1024x768, 1280x720, 1280x1024, 1440x900, 1920x1080.
7) HD OUTPUT/VGA : Adjust the display parameters of HD OUTPUT, VGA port. Luminance, Contrast, Hue,
Saturation can be adjusted.
8) VGA Only : Adjust the display parameters of VGA port only. Luminance, Contrast, Hue, Saturation, Color
Gain can be adjusted.
• Static:
> IP Address : Click the keyboard icon and enter the IP address to use.
> Subnet Mask : Click the keyboard icon and enter the Subnet mask.
> Gateway : Click the keyboard icon and enter the gateway number.
> Port : Click the keyboard icon and enter the port number. From 1 to 65,535 can be selected.
The number is used for the CMS program.
> UPnP : Select whether to use UPnP function.
> DSN IP : It shows current DNS IP. The default number is google's public DNS IP(8.8.8.8).
User can choose a DNS IP wanting to use.
> DDNS Link : Select whether to use the DDNS connection. To access the DVR from an external
network, in most cases, user must choose it ON. Only access from the internal network or using
Public Static IP, then user can choose OFF.
> Bandwidth Limitation : Use to limit the bandwidth of network transmission data.
Type
Port
80
Auto UPnP
Record
HDD
Event
Camera
Info
Stream
Client Info
Remote DVR
Status
Account
System
DDNS
TCP/IP
Apply
Bandwidth Limitation(kbps)
0
Network


