19
Applying Effects to the Sound
The Display shows several Factors at a time. If necessary, Scroll up or down the Display to find the Factor
to be edited. (Patch Parameters; p. 19)
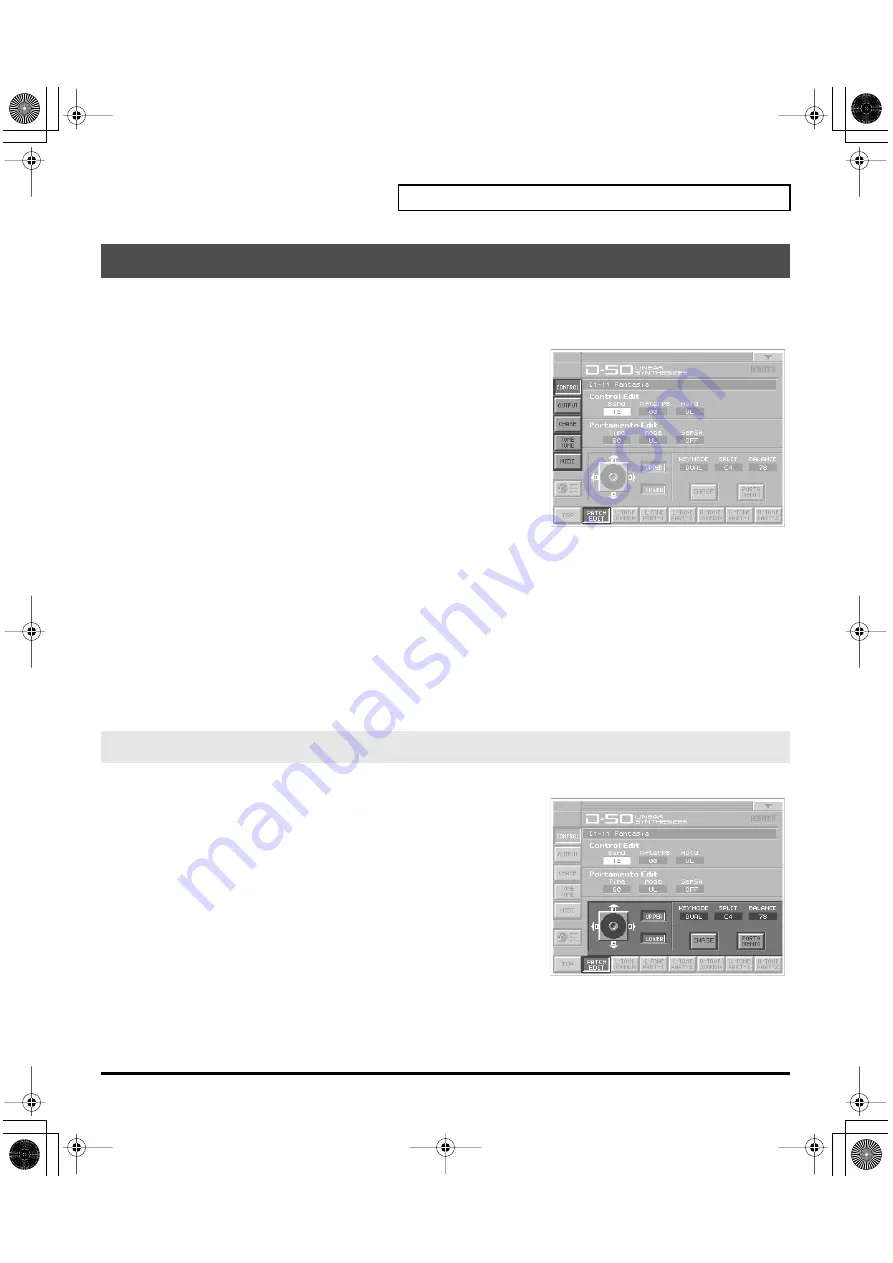
fig.05-12(LCD_PatchEditControl)
1.
Access the
PATCH TOP
Screen.
2.
Touch
<PATCH EDIT>
at the bottom of the screen.
3.
Touch one of the tabs in the left of the screen to select the desired
editing screen.
<CONTRL>:
Control Edit, Portamento Edit (p. 21)
<OUTPUT>:
<CHASE>:
<TONE TUNE>:
<MIDI>:
4.
When editing a parameter that requires you to specify a value,
move the cursor to the value box of that parameter. Then modify the value by either turning the
VALUE
dial
or pressing
[INC/+]
or
[DEC/-]
.
5.
Repeat steps 3–4 to set patch factors.
6.
If you wish to save the changes you’ve made, perform the Save operation (p. 27). If you do not wish to
save changes, press
[EXIT]
to return to the
PATCH TOP
screen. If you return to the
PATCH TOP
screen
without saving, the display will indicate “
EDITED
,” reminding you that the patch settings have been
modified.
*
If you turn off the power or select a different patch while the display indicates “
EDITED
,” your edited patch will be
lost.
fig.05-13(LCD_PatchEditControl)
UPPER/LOWER (Tone Select Button)
You can select the tone to be controlled, upper tone, lower tone or
both tone.
KEY MODE
Key Mode
refers to the Upper and Lower Tones are played on the
keyboard.
Value:
WHOLE, DUAL, SPLIT, SEP, WHOL-S, DUAL-S, SPL-US,
SPL-LS, SEP-S
How to Make the Patch Factors
Settings Common to All Screens
vc1_for_XT_e2 19 ページ 2005年3月23日 水曜日 午後4時13分


