MC-101 Update
– Functions Added in Ver.1.30
7
Functions Added in Ver.1.30
Clip Chain Function Added
The clip chain function lets you play back a specified clip at the desired
timing.
You can use the clip chain function to create a song that plays back
clips in succession, or use it to specify a fill-in.
The following settings are added to the CLIP SETTING screen.
Parameter
Value
Explanation
NEXT CLIP
Specifies the clip that plays next, and how it operates.
STAY
Plays the same clip as currently.
STOP
Stops clip playback.
CLIP 1–16
Plays the specified clip.
LENGTH
Specifies the timing of the next operation.
OFF
The next operation occurs when the clip plays
to the end.
1–512
Specifies the timing of the next operation in
units of steps.
* You can make settings from the MEASURE EDIT screen in the same way.
Added Functions for [C1]–[C4] Knobs
The following item is added to the system settings (CTRL tab).
Parameter
Explanation
KnobTrk
SINGLE:
Use the [C1]–[C4] knobs to control the SOUND, FILTER, MOD,
and FX parameters of one track.
MULTI:
Use the [C1]–[C4] knobs to control the parameters of the four
tracks selected by the [SOUND], [FILTER], [MOD], and [FX] buttons.
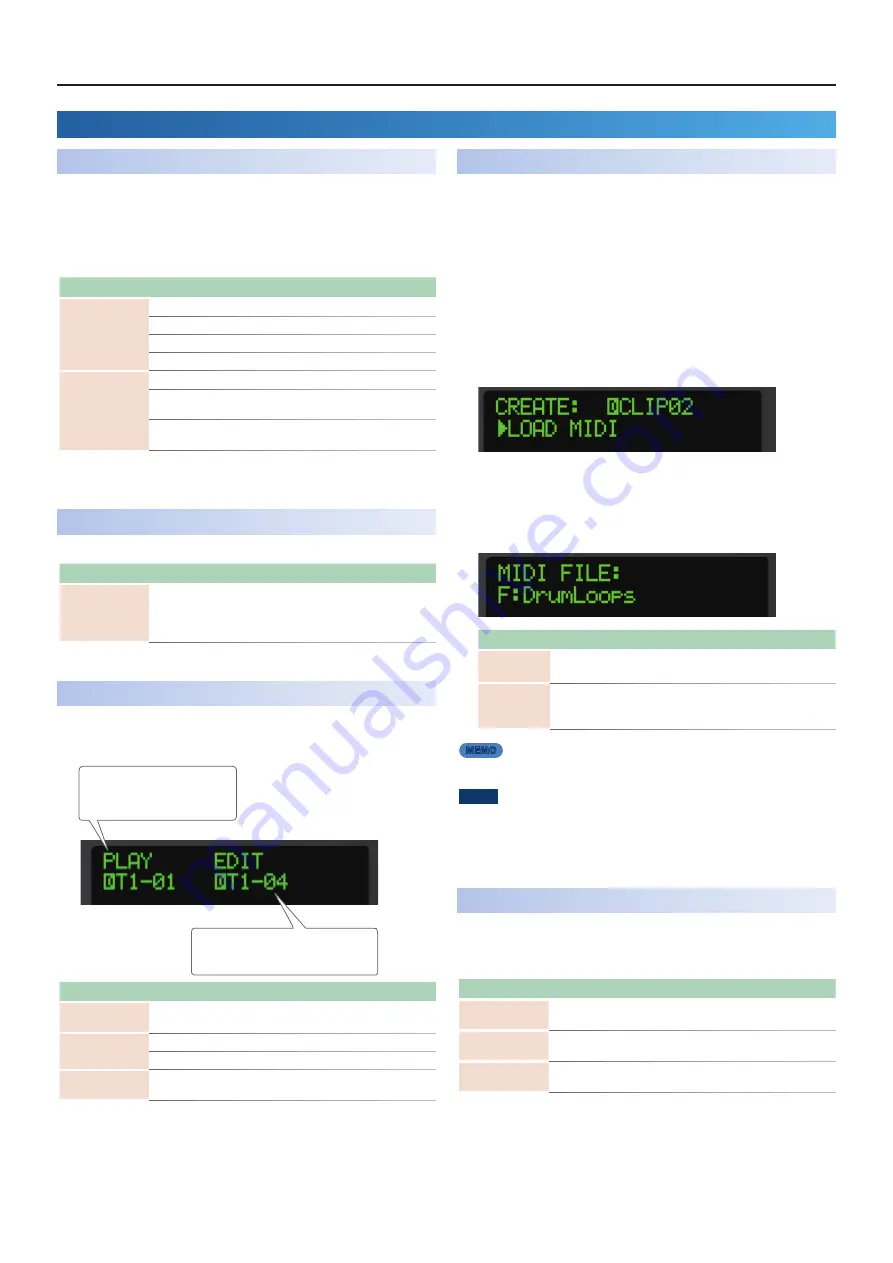
Added Functions for CLIP MODE
You can now edit clips other than the one being played.
The display of CLIP MODE has been changed.
Displays the clip currently being edited.
When switching clips to play, “NEXT” is
displayed.
Displays the clip currently playing.
While the unit is stopped, “STOP” is
displayed.
Action
Operation
Change the clip to
play or edit.
Press the pad [1]–[16].
Change the clip to
edit.
Hold down the [SHIFT] button and press the pad [1]–[16].
Turn the [VALUE] dial.
Delete the Clip.
Hold down the [SHIFT] and the [PROJECT] button and then press the
pad [1]–[16].
SMF Import Function Added
An SMF (Standard MIDI File) saved on an SD card can be imported into
a clip.
* SMF that you want to load must be placed in the ROLAND/
GROOVEBOX/MIDI folder of the SD card.
1.
Set PAD MODE to CLIP, and select the empty clip into which
you want to load the SMF (Standard MIDI File).
2.
Press the
[VALUE]
dial.
The CREATE screen appears.
3.
Select LOAD MIDI.
4.
Select MIDI FILE.
The MIDI/SMF file browser appears.
Controller
Explanation
[VALUE] dial
If a folder level is selected:
Moves to the next lower folder level.
If a file is selected:
Loads the sample.
[EXIT] button
If a folder level other than root is selected:
Moves to the next
higher folder level.
If the root folder is selected:
Exits the SMF browser.
MEMO
“F:”
shown at the beginning indicates a folder.
NOTE
All tracks included in the SMF are overwritten onto one clip.
5.
Press the
[ENTER] button
to load.
MIDI Input/Output Functions Added
How you can specify the numbers of the CC (control change) messages
that are transmitted by the [FILTER] knob, [MOD] knob, and [FX] knob.
The following items are added to the track settings (MIDI tab).
Parameter
Value
Explanation
Tx FILTER CC
Number
CC0, CC1, CC2…
CC119
Specifies the CC number transmitted by the
[FILTER] knob.
Tx MOD CC Number
CC0, CC1, CC2…
CC119
Specifies the CC number transmitted by the
[MOD] knob.
Tx FX CC Number
CC0, CC1, CC2…
CC119
Specifies the CC number transmitted by the [FX]
knob.


