Roland Corporation US page 4
Exploring the HP-203
11. RECORDING – (How to clone yourself!)
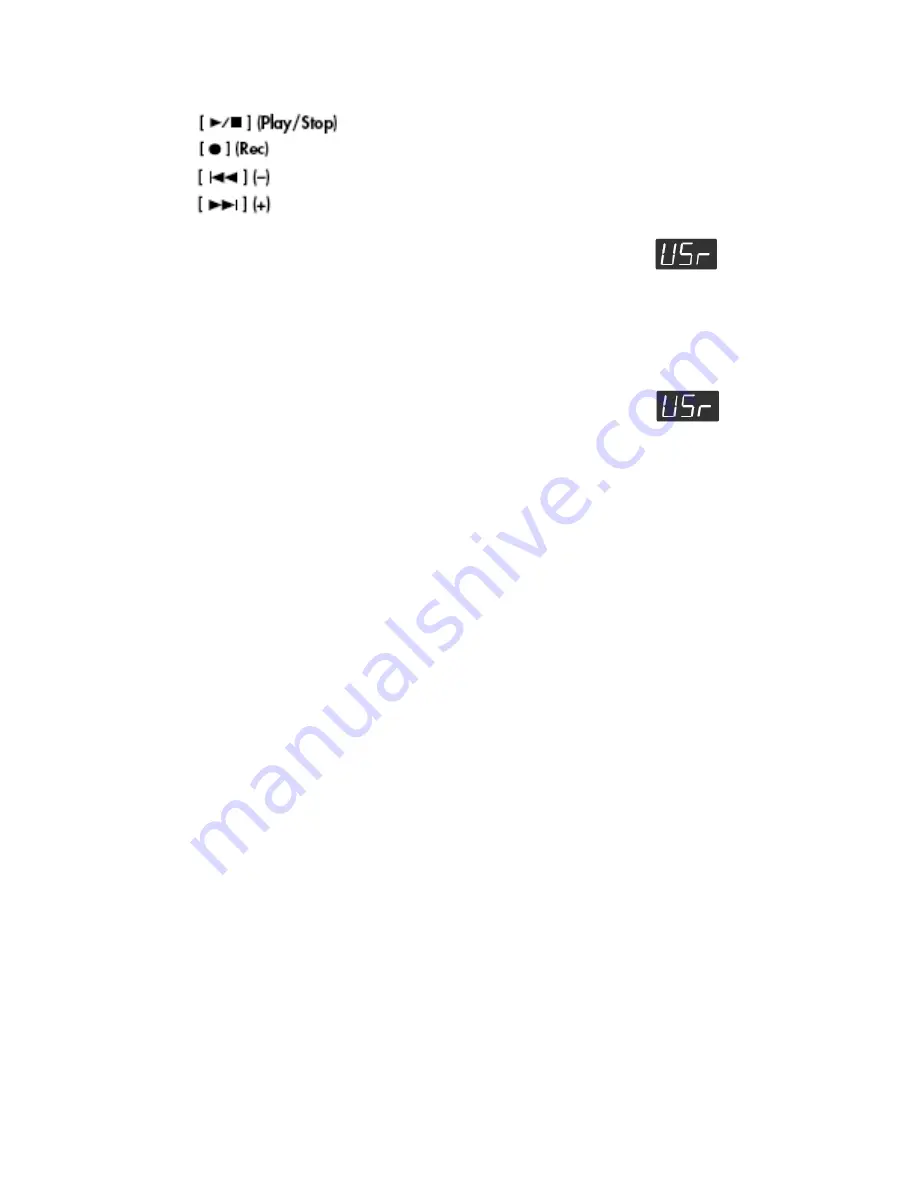
NOTE: The following controls are used to control recording and playback on the HP203
REWIND/RESET
FAST FORWARD
a. Basic recording (Single track)
i. Press the INT SONG/EXT SONG button. It will display
If it does not display USr, push the INT SONG/EXT SONG button until it does.
ii. Push RECORD.
iii. Play the piece.
iv. Push STOP.
v. Push RESET
vi. To hear your recording, push the PLAY/STOP button
b. Advanced (multiple part) recording
i. Press the INT SONG/EXT SONG button. It will display
If it does not display USr, push the INT SONG/EXT SONG button until it does.
ii. Push RECORD. Turn off the tracks to which you do NOT want to record by
touching the buttons. (For instance to record to the RIGHT TRACK, leave its
light illuminated, and turn off the lights for LEFT and ACCOMPANIMENT.
iii. If you are going to use a different tone, choose the new tone.
iv. Play the piece.
v. Push STOP
vi. Push RESET
vii. Push RECORD
viii. Press the button of the track that you want to record, that will illuminate the light
for that button and the light will be flashing. (For instance if you recorded the first
track as the RIGHT track part, you might now touch the LEFT TRACK button to
record to that track.)
ix. Begin playing the next part . . . the HP-203 will begin playback of your first part
as soon as you touch a key.
x. At the end, push STOP.
xi. Push RESET to send the song back to the beginning.
xii. Touch PLAY to hear both parts.
c. For the next part repeat steps vi through x above. The next part would make use of the
ACCOMP TRACK button.
d. You can record up to 3 parts, or tracks, for each song.
e. Record capacity on the HP-203 is approximately 30,000 notes.


