230
Recording Audio
Here’s how to record audio input from an audio device, mic, or CD
onto an audio track.
1.
Make sure that you’ve completed the preparations for
recording as described in “Selecting an Audio Track and
the Recording-start Measure” (p. 229).
2.
Press [REC].
*
This step is the same as step 4 on
The [REC] indicator will blink, and the Audio Rec Standby
window will appear.
In this window you can set various parameters related to audio
recording.
Pressing [F7 (Inp Setting)] will access the Input Setting screen
(p. 258), where you can make settings for the external input.
You can apply effects such as equalizer or compressor to the
audio input. Press [F7 (Inp Setting)] to access the INPUT
EFFECT screen, where you can make effect settings. For details
on the parameters that you can set, refer to
In the Realtime Rec Standby/Audio Rec Standby windows, you
can press [F6] to switch between recording MIDI and audio.
In the Realtime Rec Standby/Audio Rec Standby windows, you
can select the recording track in the “Recording Track Number”
field. If you want to change the recording track, make the
desired change in the “Recording Track Number” field.
3.
Use [CURSOR] to move the cursor to the desired
parameter, and turn the VALUE dial or use [INC] [DEC] to
set the value.
For details on each parameter, refer to
4.
If you’re recording from the AUDIO INPUT, turn the rear
panel LEVEL knob (p. 24) to adjust the input level from your
external source.
*
This adjustment is not needed if you’re using DIGITAL IN.
*
If the volume of the external input is too high, the PEAK indicator will
light. In this case, turn down the LEVEL knob until the PEAK
indicator no longer lights.
*
If the recording level is too high, the level meter in the screen will
indicate “CLIP.”
*
If an external device is connected to the DIGITAL AUDIO IN
connector, and you disconnect the cable or power-off your external
device, noise may subsequently be heard in the input from DIGITAL
AUDIO IN. If this occurs, re-connect the external device correctly, or
turn off the Fantom-G’s [MIX IN] switch.
5.
Press [PLAY] or [F8 (Start)].
The Audio Rec Standby window will close, the [REC] indicator
will change from blinking to lit, and recording will start.
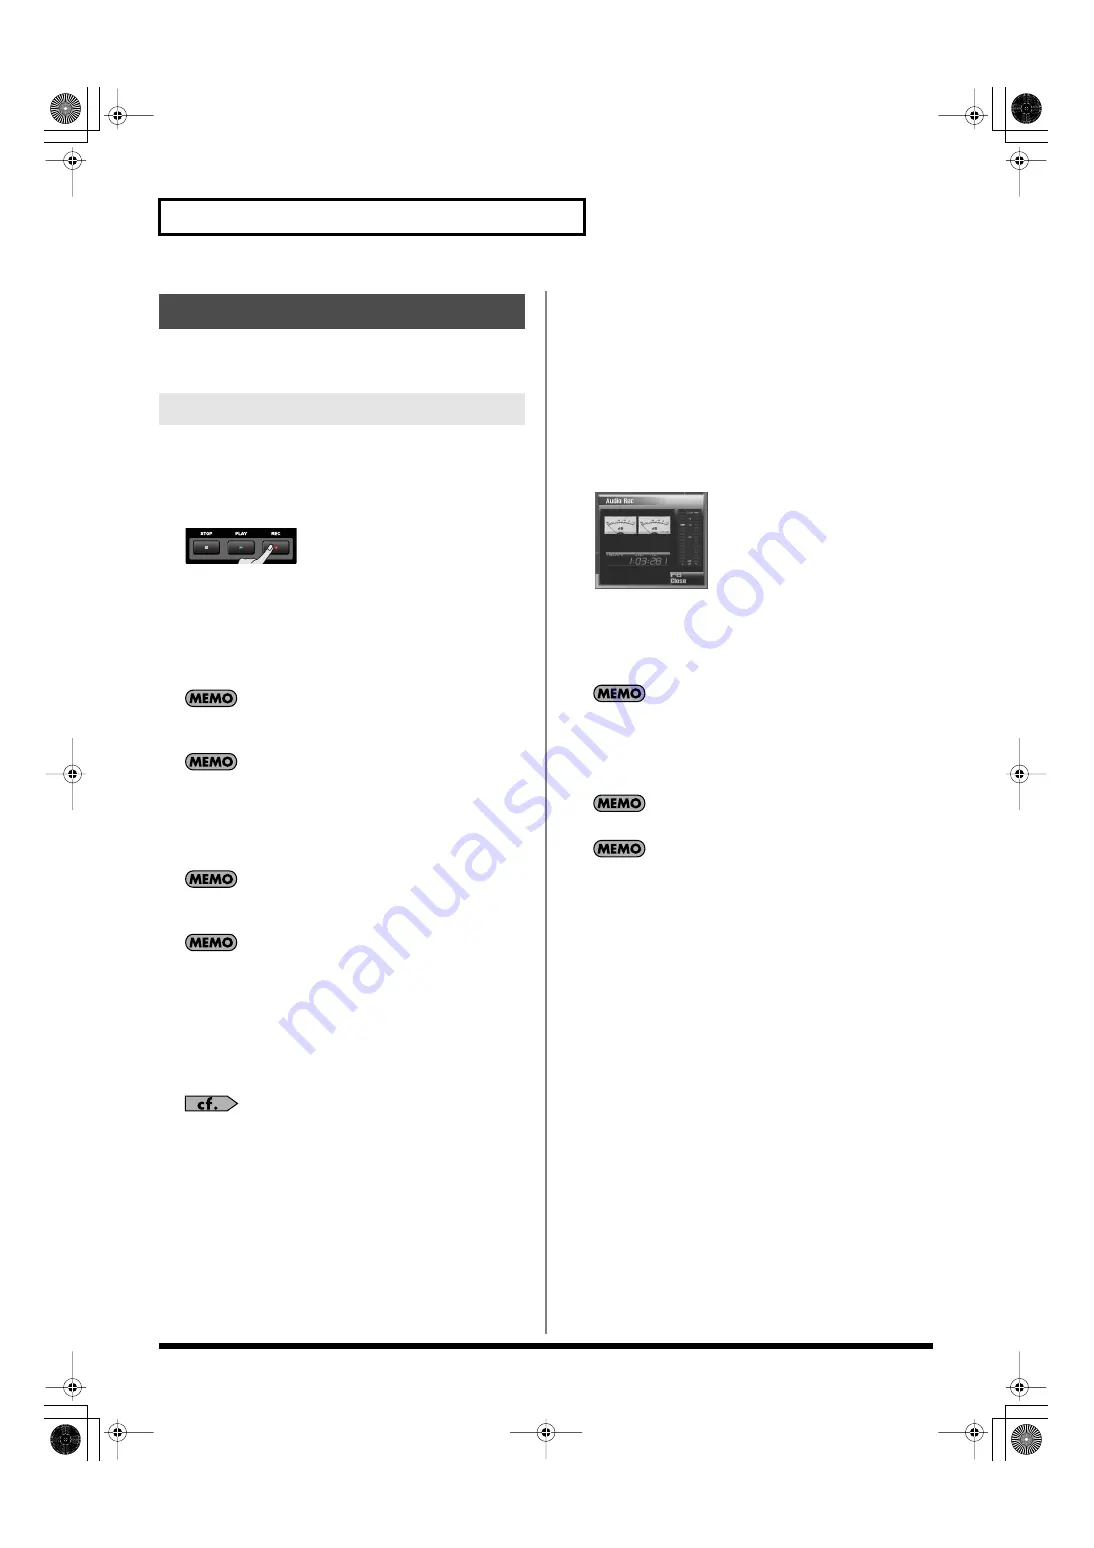
When recording starts, the Realtime Recording window will
appear.
fig.18-004_50
6.
When you’re finished recording, press [STOP].
7.
A window will ask you to confirm the recording. If you want
to keep the recorded result, press [F7 (OK)]. If you decide to
cancel, press [F8 (CANCEL)].
If you cancel, the recorded sample will not be pasted into the
song, nor will it be added to the sample list; it will be discarded.
The [REC] indicator will go dark.
The sample you recorded will be placed in the audio track.
You can Undo the result of recording (p. 217).
The recorded sample will be lost when you turn off the
power.
If you want to keep the sample, you must save it (p. 274).
Audio Recording
Basic Procedure for Audio Recording
Fantom-G_r_e.book 230 ページ 2009年7月2日 木曜日 午後2時55分


