48
Rockwell Automation Publication 6181P-UM003A-EN-P - May 2014
Chapter 4
Component Replacement
4.
Loosen the screw to release the carrier lever (B).
5.
Extend the carrier lever (C), then use it to slide the assembly out of the
drive bay (D).
6.
Remove the four screws that secure the drive to its carrier (E).
7.
Lift the cable connector end of the drive (F) and disconnect the power and
data cables (G).
8.
Remove the existing drive from its carrier
.
9.
Hold the new drive by its edge and remove it from its protective packaging.
10.
Align the new drive on the carrier (F).
11.
Connect the power and data cables to the drive (G).
12.
Secure the new drive to the carrier with the four screws (E).
Torque the screws to 0.452 N•m (4 lb•in).
13.
Use the extended carrier lever to slide the assembly into the drive bay (H).
14.
Retract the carrier lever (I) and tighten its screw to lock in place ( J).
15.
Secure the drive assembly with the one screw (K).
16.
Follow the steps for
.
Replace or Add Memory
Modules
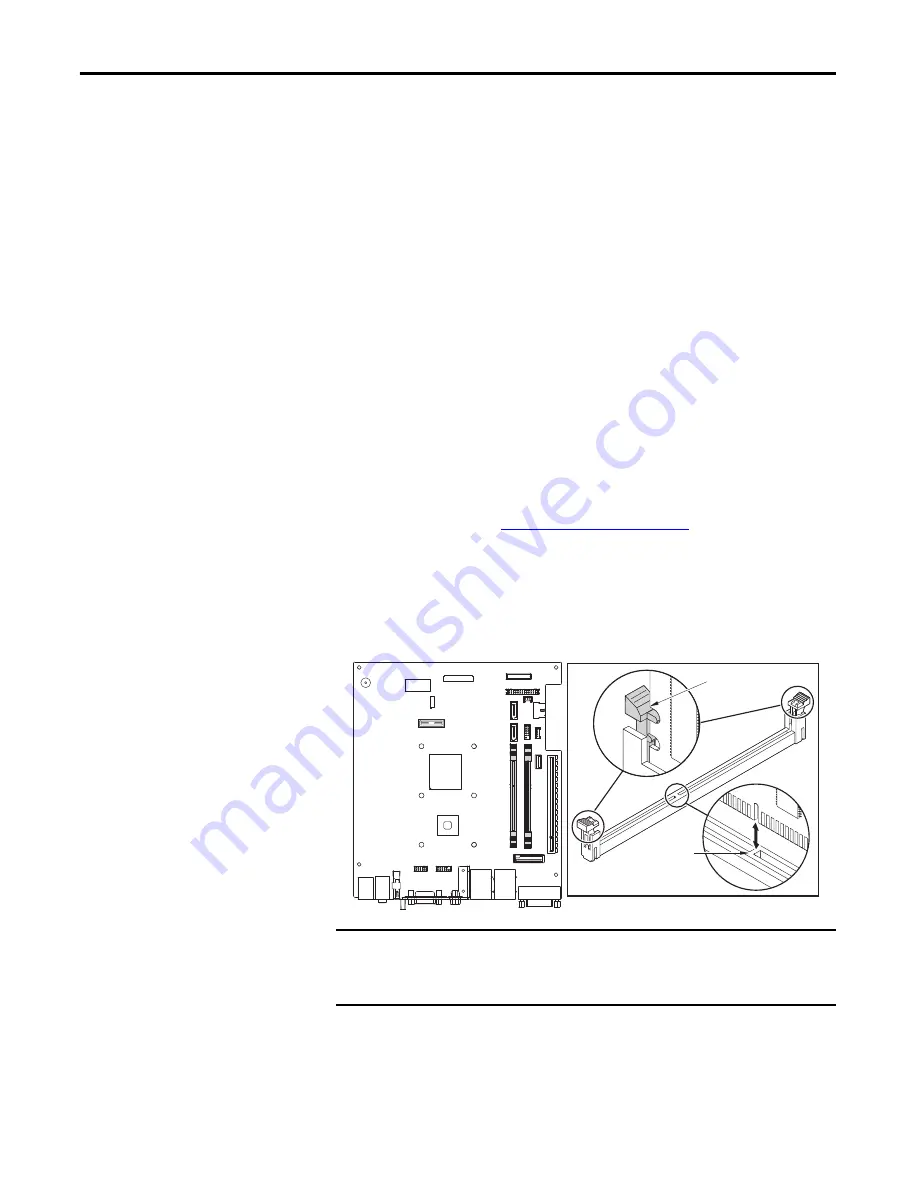
The computers have two dual-channel DDR3 SO-DIMM slots that support up
to 16 GB maximum system memory.
Figure 18 - Memory Module Slots and Module Alignment
IMPORTANT
Computer performance is optimized with both memory module slots
populated.
All 6181P computers ship with a dual memory module configuration.
Retaining Latch
Keyed Surface of
SO-DIMM Slot


