3
Assembly
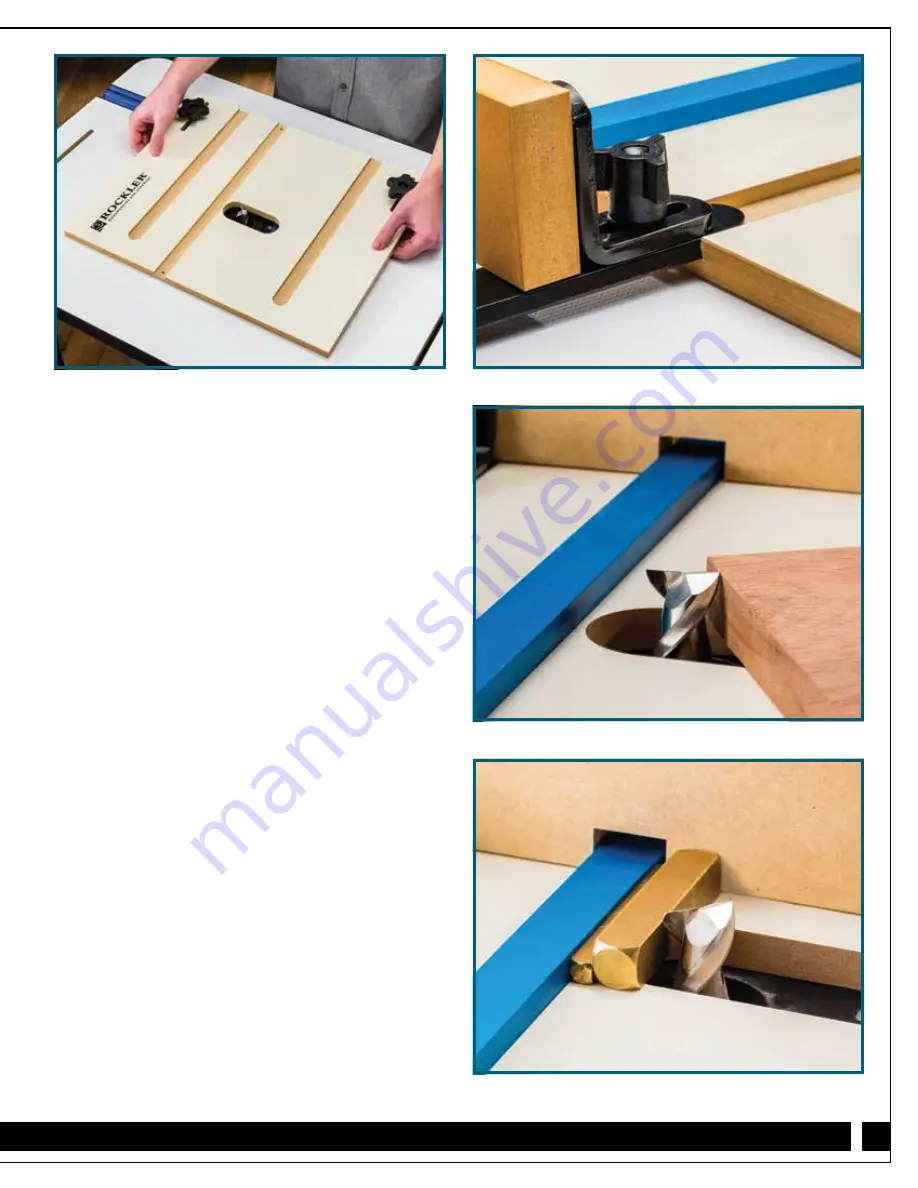
1. With the desired bit (1/2" or 3/4" in diameter) in your
router, position the jig on your router table so the bit
comes through the oblong hole. For best results, use
an up-cut spiral bit (57813 and 63008, sold separately).
Fig. 1.
2. Install the appropriate indexing key in the jig (i.e., the
1/2" key for 1/2" box joints and the 3/4" key for 3/4"
box joints). Be sure to install the key with the flat edge
toward the router bit.
3. Slide the backer sled assembly into the slots in the
MDF base. It might be a tight fit at first. To calibrate the
sled so it won’t bind, slightly loosen the socket head cap
screws at the top of the steel frame. Then gently push
and pull the sled in a slightly twisting motion and
retighten the hex screws. Repeat until the sled slides
smoothly.
Fig. 2.
Note: Make sure the washers are installed correctly
so that the screws don’t extend past the bottom of
the sled’s runners and grind into the MDF base. Also,
double-check that the sacrificial fences are not rubbing
too much on the jig, preventing a smooth glide.
Some slight sanding may be necessary.
4. Adjust the height of the router bit above the surface of
the MDF base to match the thickness of your stock plus
a little extra for sanding flush.
Fig. 3.
Note: If using the XL Box Joint Jig on a router table
equipped with a router lift, you can drill a hole in the
MDF base to provide access for the adjustment handle.
5. Adjust the gap between the bit and the indexing key to
equal the diameter of the bit. 1/2" box joints, for
example, would require a 1/2" gap between the 1/2"
router bit and the 1/2" indexing key. To adjust the gap,
move the jig side-to-side in the miter track. Then lock
it in place with the 5-star knobs. For best results, use
Rockler’s Precision Brass Setup Bars (36918, sold
separately).
Fig. 4.
Note: Use a test piece to be sure your settings are
correct and your joints fit tightly.
Fig. 4
Fig. 3
Fig. 2
Fig. 1


