background image

1


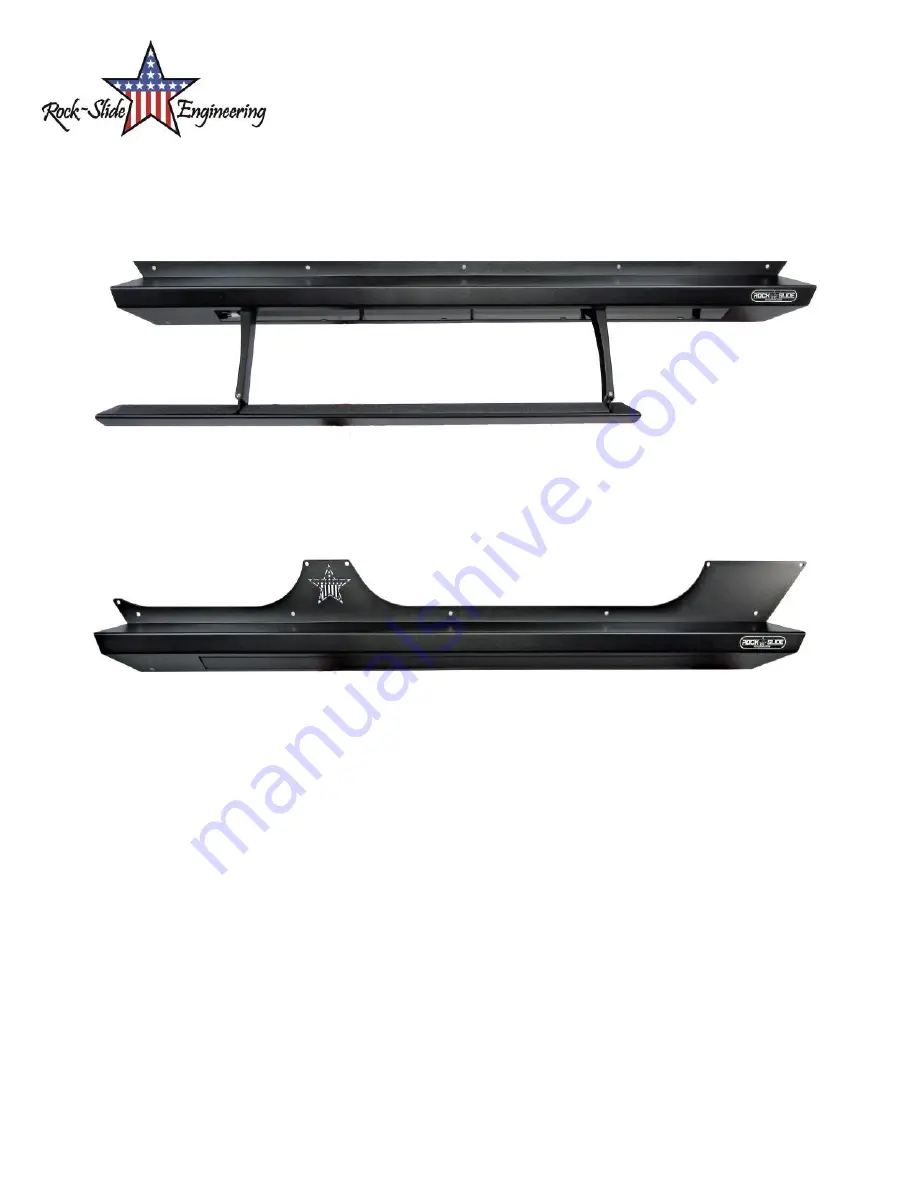
Next Gen Step Slider 

Made in the USA


BD

-

SS

-

200

-

JK4 

TOOLS REQUIRED FOR INSTALL


Congratulations on your purchase of the Next Gen Step Slider! 

Designed to be function, tough, and durable. 

These steps are rated for trails 5 and below.*


*If you plan on running higher rather trails, our optional Skid Plate are recommended

.  

AX

-

SS

-

SP

-

JK4

IMPORTANT NOTES 

No maintenance required. If the steps become jammed with mud/dirt, simply spray them off and let them
dry.  Harness is waterproof and the motors are water resistant.

Drilling is required for install of nutserts.

18 mm Socket and Wrench

19 mm Socket and Wrench

3/16” Hex Key / Allen Wrench

3/4” Step Drill

1/8” drill bits for pilot hole

Nutsert tool with 5/16” 

-

 18 Mandrel

**We recommend a Marson 325 or

 Four Wheel Parts Nutsert Tool Set 

-

 2834**


BD

-

SS

-

201

-

JK4 

Summary of Contents for BD-SS-200-JK4

Page 1: ...id Plate are recommended AX SS SP JK4 IMPORTANT NOTES No maintenance required If the steps become jammed with mud dirt simply spray them off and let them dry Harness is waterproof and the motors are w...

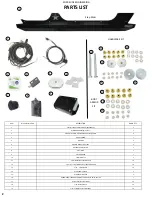
Page 2: ...TAPE 4 7 ROCKER CUTOFF SWITCH 1 8 ANTI SIEZE 1 9 CIRCUIT BOARD 1 10 130 MM BOLTS 2 11 5 16 STAINLESS STEEL WASHER 10 12 5 16 X 1 18 STAINLESS STEEL BUTTON HEADS 10 13 5 16 18 NUTSERTS 10 14 ALUMINUM S...

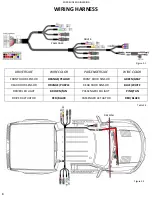
Page 3: ...OR ORANGE YELLOW FRONT DOOR SENSOR GREEN GRAY REAR DOOR SENSOR ORANGE PURPLE REAR DOOR SENSOR BLUE WHITE DRIVER LED LIGHT BROWN TAN PASSENGER LED LIGHT PINK TAN DRIVER ACTUATOR RED BLACK PASSENGER ACT...

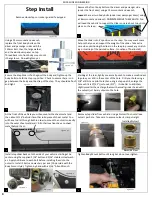
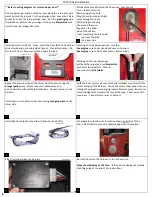
Page 4: ...ll indent to guide your drill in the center of the hole Drill your hole using a 1 8 drill bit as a pilot hole then using a step up drill enlarge the hole until it is 17 32 just under 1 2 It is better...

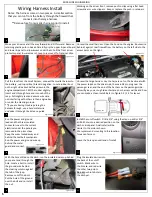
Page 5: ...the large harness Lay the harness out on the back seat with the power leads on the driver side the main 18 pin plug near the passenger rear and the end of the harness on the passenger side This will g...

Page 6: ...the rear passenger pull back the carpet and run blue white connector towards latch Connect door sensor to blue white Repeat the previous step on the driver side front door using the orange yellow wir...

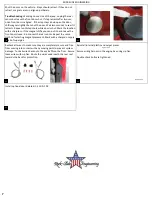
Page 7: ...t shifts you can put it back Leave the front door closed Re connect the rear sensor Repeat the same method for testing magnet placement Mark with a sharpie or apply a dab of superglue Recheck all wire...

Page 8: ...d the sensors individually and the system still won t work The steps don t even deploy unless I do it manually with 12V power In even rarer circumstances the circuit board that runs the system came fa...

Page 9: ...t be retained so Rock Slide Engineering can process a damage claim with the carrier WARRANTY POLICY Rock Slide Engineering warrants Rock Slide Engineering products to the original retail purchaser on...

Reviews: