13
02
Panel Introduction
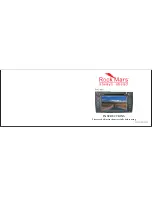
5. AUX
button
In any mode, press the button to access AUX mode.
6. MUTE
button
Press the button to close volume output, re-press it to resume
previous volume level.
7. IR
It can receive infrared signal of remote control.
8. AUX slot
To input external audio.
Warning :You can only use either front or rear AUX at a time.
Never connect both front and rear AUX at the same time.
9. USB slot
Connect USB device to read video and audio files.
10. RESET
Press this button can back to default mode.
11.
When this is a calling coning in, press this button to answer the
phone.
12.
After finished the calling, press this button to hang up the phone.
Warning :You can only use either front or rear USB at a time.
Never connect both front and rear USB at the same time! This
could cause malfunctions.
1 SRC/VOL
button
Press this button will turn on power, during working longer press
this button will turn off
power, on any mode, shortly press will
return main menu, rotate this button will adjust
volume level.
2. SEL
button
Press the button to enter into audio setup, work with VOL button
to set your favorite audio
effect.
3. FM
/
AM
button
In any mode, press the button to access radio mode.
Note: For certain machine model press the button in radio mode
to band switch.
4. DVD button
In any mode, press this button to read the disc.
.
Touch calibration
If touch calibration error occurs, you can adjust the touch coordinate by “Touch calibration”.
Click icon on setup interface, input password [888888] to confirm to access touch calibration interface, as shown in below diagram:
Touching methods
Use touch pen to click the center of “+” icon, and move along with center of “+” icon so as to calibrate the screen. It shall automatically
save data and exit after screen calibration.
Please accurately click all positions on screen, or the accuracy of touch calibration shall be affected.
Language
During use, you can select your familiar language to display menu by language setup.
setting
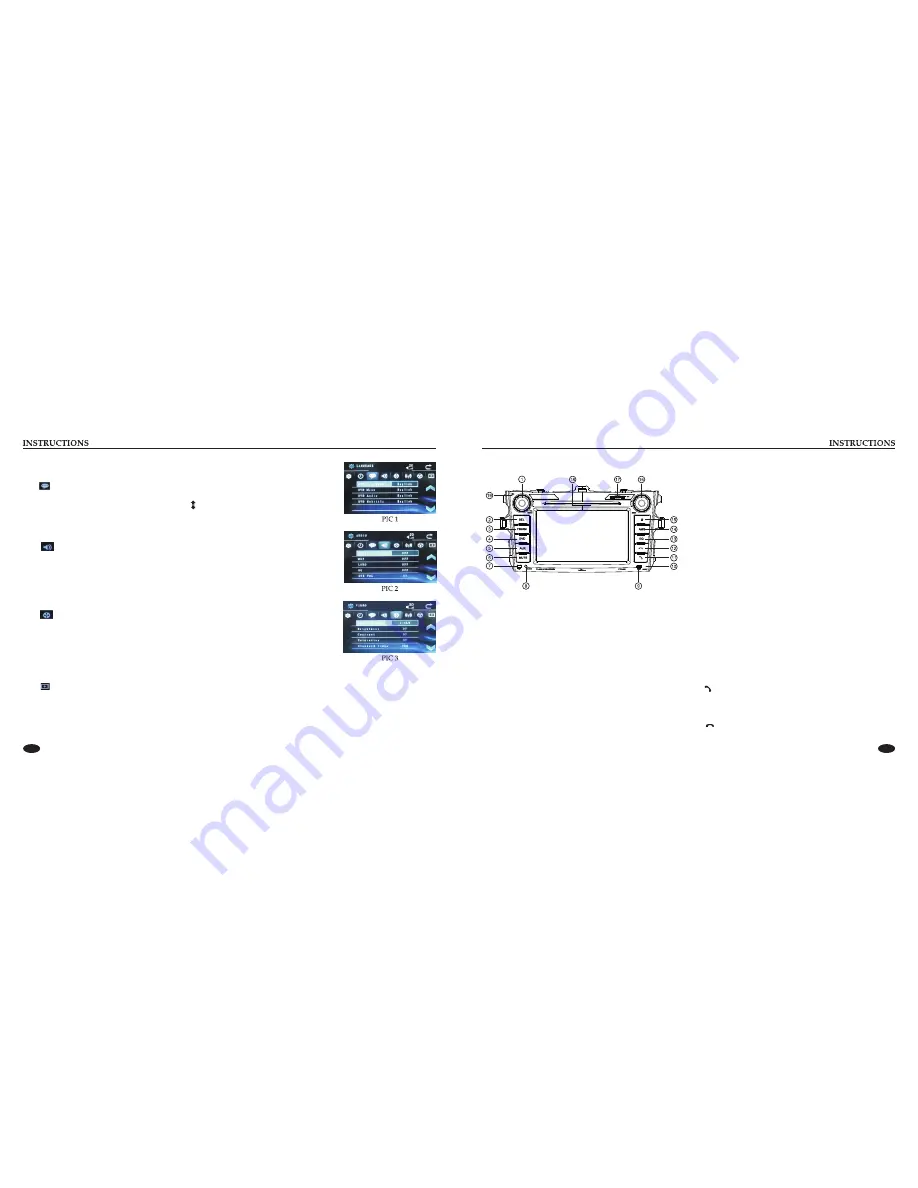
Click icon on setup interface to access language setting interface, as shown in right (PIC 1) diagram:
Click the corresponding [English] icon on the language bar desired to be set so as to switch the
language type, when there are more than 3 languages, direction icon shall pop up, click it to select
your familiar language.
Video setting
Click icon on setup interface to access video setting interface, as shown in right (PIC 3) diagram:
At video setting interface, you can adjust brightness, contrast, saturation and hue of the video.
Audio setting
Click icon on setup interface to access audio setting interface, as shown in right (PIC 2) diagram:
You can turn on or turn off the existing functions on audio setting interface and adjust the rearview
volume.


