background image

14

EN

Operating Instructions

The Juice Extractor is designed to separate juice and pulp. 

The pulp container will collect the pulp as the juice flows 

through into the juice jug. Always use the attachments 

included with this product when extracting juice.

1. Wash your selection of fruit and vegetables and prepare 

for juicing by peeling skin, cutting to size etc. Please refer 

to our handy hints section on page 7 for further details on 

how to get the most out of your Juice Extractor.

NOTE: Always check the stainless steel mesh filter 

before juicing for any signs of damage. Never use a 

damaged, cracked or bent mesh filter as it may fly 

apart causing personal injury. 

2.Plug the Juice Extractor in and switch on at the outlet. 

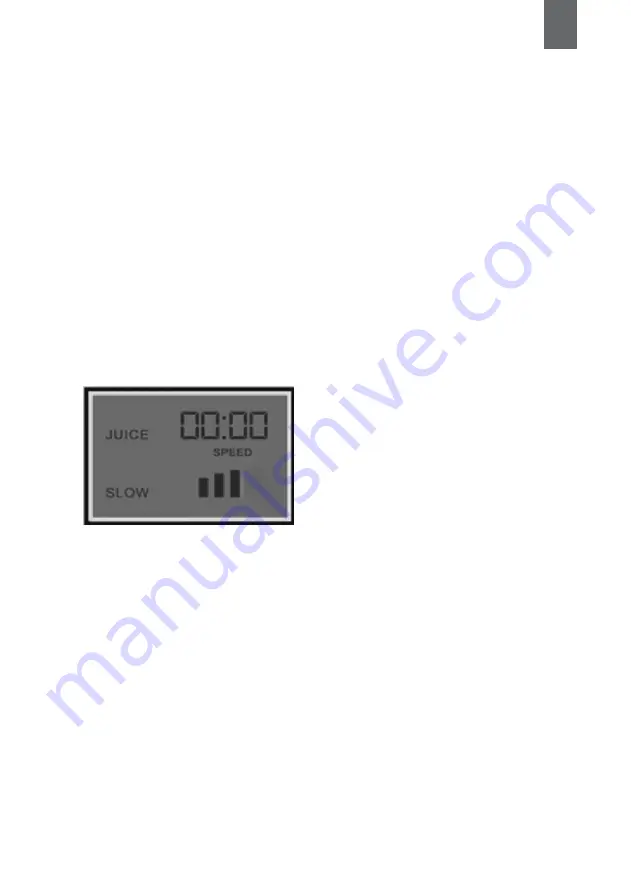
3.The LCD screen will turn on.

4.Activate the Juice Extractor by pressing either of the 2 

speed setting buttons, LOW or HIGH. 

The LCD Screen will illuminate blue, either showing “SLOW” 

on low speed setting, or “HIGH” on the high speed setting, 

and the timer will commence.   

LOW – Use this setting for softer fruits, such as tomatoes, 

pineapples, berries, melons etc. 

HIGH – Use this setting for harder fruits and vegetables, 

such as carrots, apples, celery etc.

5.Place 2 to 3 pieces of fruit into the feeding chute, then 

slowly push down with the food pusher. 

CAUTION: Never push food into the Juice Extractor 

by hand. Always use the pusher. Do NOT insert 

fingers or other objects into the Juice Extractor 

while it is operating. 

NOTE: If a piece of food becomes lodged, use the 

pusher to attempt to dislodge. If this does not 

work, then turn off the Juice Extractor, unplug 

it from the electrical outlet and disassemble the 

product to remove.

6.Continue until the desired quantity of juice is reached. 

Ensure you do not exceed 900mL of juice in the juice jug to 

prevent overflow. 

7.To pause or cease juicing, press the STOP button. The 

LED Backlight will switch off when you press STOP but the 

Juice Extractor will still be on, in stand-by mode.  

8.Switch off and unplug from the power outlet.

9.Remove the pulp container and discard the unused pulp. 

To continue juicing, place the empty pulp container in 

position, plug in and switch on again at the power outlet. 

Do not allow the pulp container to overfill. This may affect 

the intended operation of the juicer and also cause product 

damage in the long term. 

10.The froth separator in the juice jug will separate the 

froth from the juice when pouring from the juice jug.

NOTE: 

Never insert your hand or another object (e.g. a 

fork, knife, spoon or spatula) into the feeding 

tube. 

Only use the pusher supplied with the Juicer for 

this purpose. 

Wait until the mesh filter has completely stopped 

rotating before you remove the lid.

The standard processing time for all juicing jobs is 

30-120 seconds. Do not operate the Juice Extrac-

tor continuously for more than three minutes as it 

may cause the Juice Extractor to overheat.

A slight burning smell may be emitted during the 

first few uses. Do not be alarmed, this is normal.

Handy Hints

•All fruit and vegetables produce different amounts of 

juice. This can also vary between one batch of fruit and 

another (for example, one batch of oranges may produce 

more juice than the next batch). Since j uice recipes are not 

exact, the precise quantities of any juice .

•are not crucial to the success of a particular mixture.

•When juicing a variety of ingredients with varying 

textures, start with the softer textured ingredients on 

low speed then change to high speed for the harder 

ingredients.

Summary of Contents for TROPICO

Page 1: ...TROPICO robusta fr CENTRIFUGEUSE JUICE EXTRACTOR ENTSAFTER MANUEL D UTILISATION INSTRUCTION MANUAL BEDIENUNGSANLEITUNG...

Page 2: ...p It must be enclosed with the unit for all repairs under warranty or 2 The invoice must be enclosed with the unit for all repairs under warranty The unit must be returned in its original packaging Th...

Page 3: ...3 FR DE EN Mode d emploi partir de la page 5 Instruction manual starting on page 11 Gebrauchsanleitung ab Seite 17...

Page 4: ...vie avec les orduresm nag res mais d posez le dans un point de collecte appropri pour son recyclage Vous aiderez ainsi prot ger l environnement Note les produits lectriques et lectroniques contiennen...

Page 5: ...s l extracteur de jus lorsque le cordon d alimentation est branch sur une prise ou si l extracteur est sous tension Avant de d placer l appareil assurez vous qu il soit hors tension et qu il ait refro...

Page 6: ...3 Tamis en acier inoxydable 4 Centrifugeur 5 Dispositif de verrouillage de s curit 6 Socle du moteur 7 R servoir pulpe de 2 L 8 Corps principal 9 Panneau de contr le avec cran LCD 10 Patins antid rap...

Page 7: ...rez le tamis en acier inoxydable dans le centrifugeur et veillez ce qu il soit correctement positionn sur le socle du moteur REMARQUE Dans le carton d emballage le tamis est plac par dessus le centri...

Page 8: ...tracteur de jus d branchez sa prise lectrique et d montez le pour d loger le morceau bloqu 6 Poursuivez la proc dure jusqu obtenir la quantit de jus souhait e Veillez ne pas d passer la capacit de 900...

Page 9: ...ce manuel D pannage 1 D gagez le dispositif de verrouillage des rainures des deux c t s du couvercle en appuyant vers le bas 2 Retirez le r servoir pulpe puis le centrifugeur et le couvercle en un seu...

Page 10: ...mber to respect the local regulations hand in the non working electrical equipments to an appropriate waste disposal center Note electrical and electronic products contain Dangerous substances prethat...

Page 11: ...ill connected to the wall outlet or still on Always ensure it is switched off and has cooled down before moving the appliance 14 Never force the plug into an outlet 15 To reduce the risk of electrocut...

Page 12: ...2 Juicer Lid Feeding Chute 3 Stainless Steel Mesh Juice Filter 4 Juicer Bowl 5 Safety Locking Arm 6 Motor Base 7 2L Pulp Container 8 Main Body 9 LCD Display Control Panel 10 Anti Skid Feet 11 Juice Sp...

Page 13: ...h filter into the juicer bowl sitting firmly in place over the motor base NOTE The mesh filter will be attached to the juicer bowl in the packaging You will need to remove to wash prior to using for t...

Page 14: ...to remove 6 Continue until the desired quantity of juice is reached Ensure you do not exceed 900mL of juice in the juice jug to prevent overflow 7 To pause or cease juicing press the STOP button The L...

Page 15: ...e feel free to contact our customer support hotline number or email us at the address listed in the back of the manual Troubleshooting 1 Pull the locking arm back over the grooves on either side of th...

Page 16: ...in den Hausm ll F r die fachgerechte Entsorgung wenden Sie sich bitte an die ffentlichen Sammelstellen in ihrer Gemeinde Einzelheiten zum Standort einer solchen Sammelstelle und ber ggf vorhandene Me...

Page 17: ...schlossen oder in Betrieb ist Pr fen Sie immer ob das Ger t ausgeschaltet und abgek hlt ist bevor Sie es transportieren 14 Stecken Sie den Stecker nicht mit Gewalt in die Steckdose 15 Um das Risiko ei...

Page 18: ...s und Zuf hrungsschacht 3 Edelstahl Netzfilter 4 Entsafterschale 5 Sicherheitsverriegelungsarm 6 Motorbasis 7 2 Liter Fruchtfleischbeh lter 8 Hauptk rper 9 LCD Anzeige und Steuereinheit 10 Rutschfeste...

Page 19: ...die Entsaf terschale ein und achten Sie auf festen Sitz ber der Motorbasis HINWEIS Der Netzfilter wird an der Entsafter schale angebracht Sie m ssen ihn entfernen und waschen bevor Sie das Ger t zum e...

Page 20: ...Saftkrug nicht zu berschreiten um ein berlaufen zu verhindern 7 Wenn Sie das Entsaften unterbrechen oder beenden m chten dr cken Sie die Taste STOP Die LED Hintergrun dbeleuchtung schaltet sich aus we...

Page 21: ...h die Fehlerbehebungstabelle unten an Wenn das Problem dadurch nicht behoben wird kontaktieren Sie die Hotline des Kundendienstes oder senden Sie uns eine E Mail an die auf der R ckseite der Bedienung...

Page 22: ...22 robusta fr...

Reviews: