CNC MACHINE
TENDING KIT
T: 1.418.380.2788 ext. 3
robotiq.com/support
March 2021
X-990089-B
For installation on
e-Series
Universal Robots
6. DETECTING
GRIPPERS
1.
Initialize the robot.
2. On your Teach Pendant, tap
Installation > URCaps >
Gripper > Dashboard.
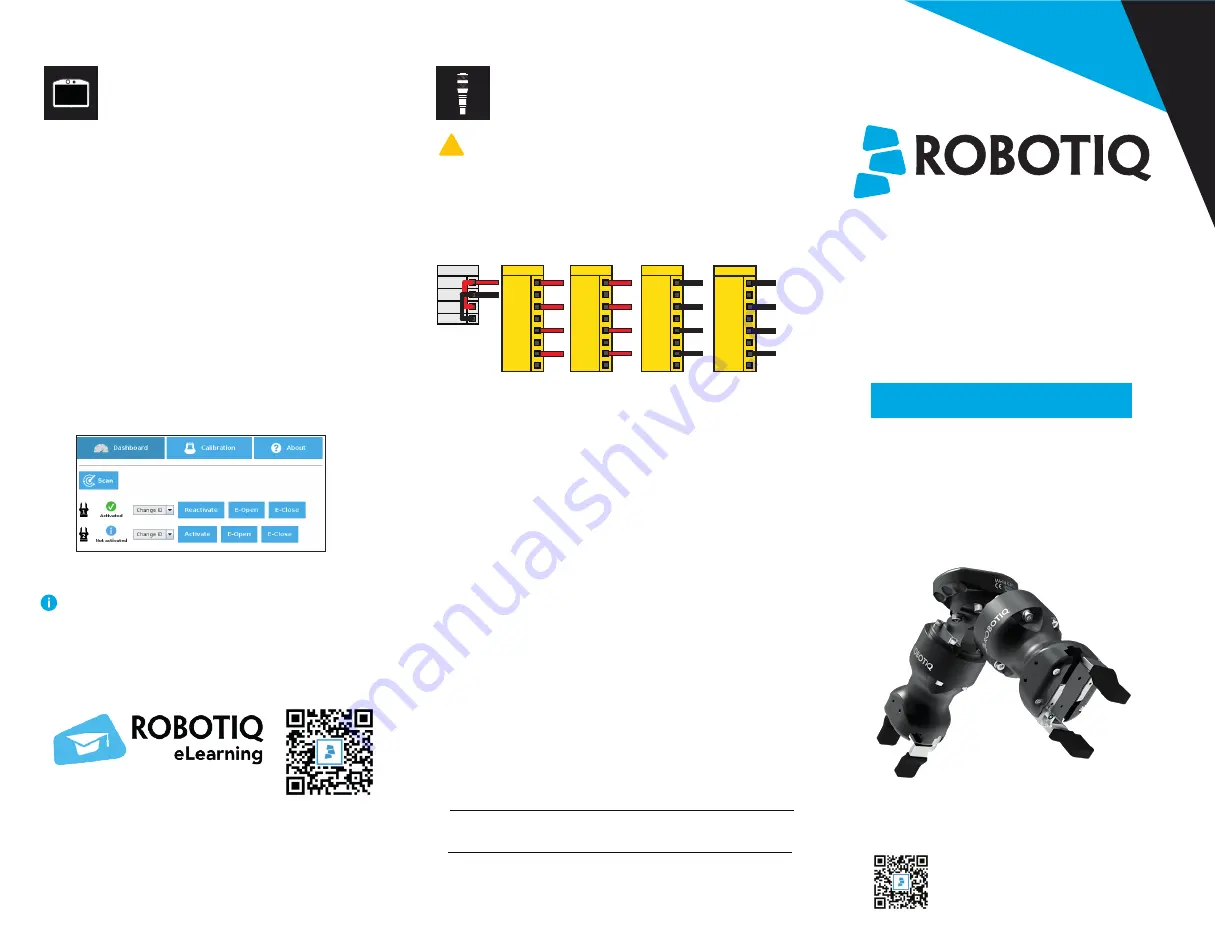
3. Connect a Hand-E gripper cable to the M8 splitter.
4. Tap
Scan
, select the dropdown list, and assign a new
gripper ID. Note the ID you just assigned.
5. Select
Activate
.
6. Disconnect your activated gripper from the M8 splitter,
and connect the second Hand-E gripper.
7. Repeat steps 5 and 6 for the second gripper. Make sure
to select a different gripper ID from the one used for the
first gripper.
8. Reconnect the first gripper to the M8 splitter.
9. To check that both grippers communicate properly with
the robot, select the
Activate
and
Reactivate
buttons,
located next to each gripper.
QUICK START GUIDE
QUICK START GUIDE
Figure 2. Activating two Hand-E grippers
on the Teach Pendant.
7.WIRING
(for Wrist Camera)
1. Connect the red wire of the device cable to a 24V pin
of the robot controller.
2. Connect the black wire of the device cable to a 0V pin
of the robot controller.
Power
PWR
GND
24V
0V
24V
CI0
24V
CI1
CI3
24V
CI2
24V
CI
24V
CI4
24V
CI5
CI7
24V
CI6
24V
CI
0V
CO0
0V
CO1
CO3
0V
CO2
0V
CO
0V
CO4
0V
CO5
CO7
0V
CO6
0V
CO
3. Connect the 4-port USB hub splitter to the USB port
of the robot controller.
4. Connect the Wrist Camera USB cable to the USB hub.
5. Make sure the following USB dongles are connected
to the USB hub splitter:
• Vision Server (server is packaged with the Wrist
Camera
.urcap
download; copy to a USB stick)
• Vision license
• Machine Tending Copilot license
Figure 3. Wiring the Wrist Camera to the robot controller.
!
A
2
MM
SLOTTED
SCREWDRIVER
IS
REQUIRED
FOR
THIS
STEP
.
X-990089-B
elearning.robotiq.com
To find out how to set each gripper tool center
point, as well as how to specify the overall payload
of your Kit, and much more, refer to the instruction
manual of the CNC Machine Tending Kit, or to the
Robotiq eLearning platform.


