- 2 -
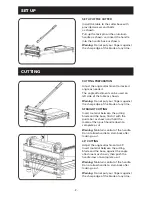
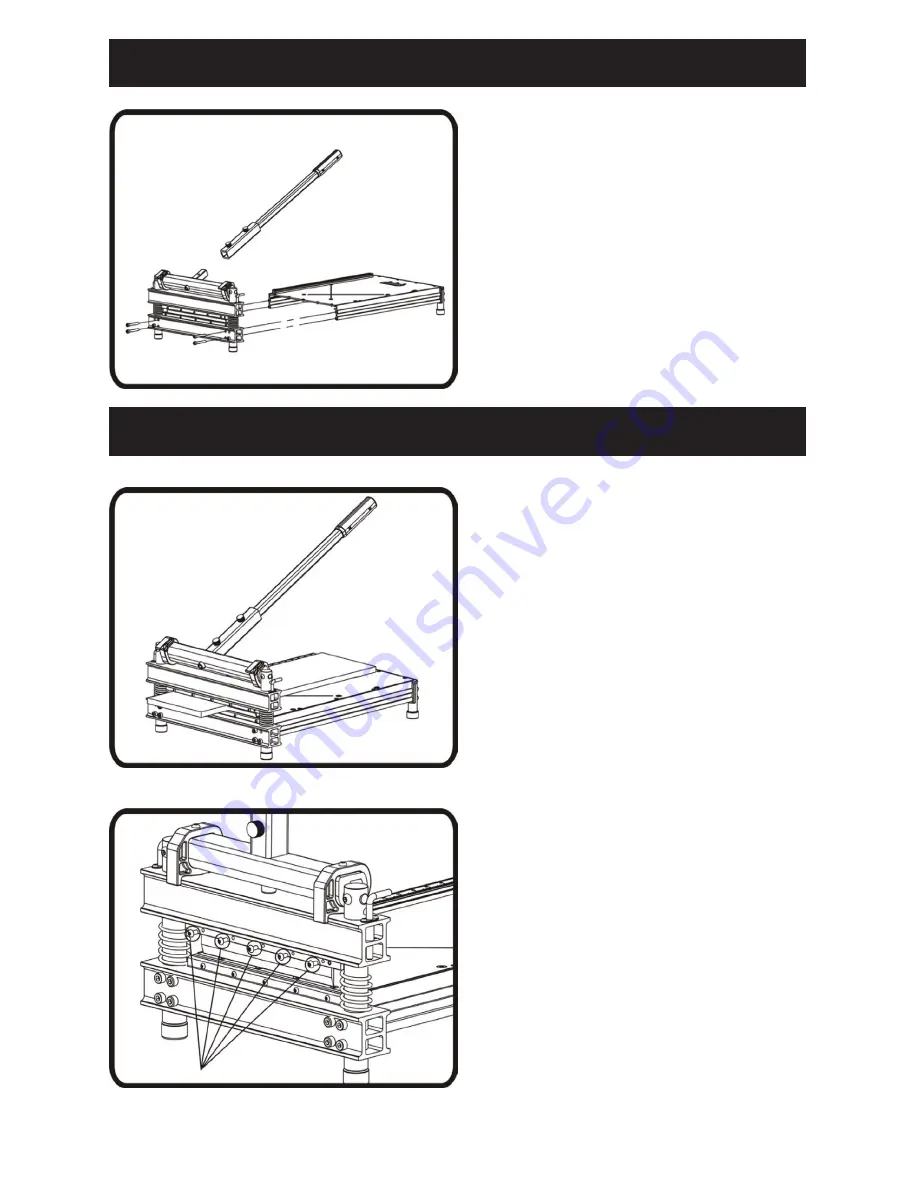
SET UP OF THE CUTTER
Install the table to the cutter base with
provided screws and bolts
as shown.
Pull up the lock pin on the aluminum
handle as shown and insert the handle
into the handle base as shown.
Warning: Do not put your fingers against
the sharp edge of the blade at any time.
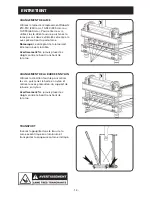
CUTTING PREPARATION
Adjust the angle attachment to desired
angle as needed.
The angle attachment can be used on
left side of the table as shown.
Warning: Do not put your fingers against
the sharp edge of the blade at any time.
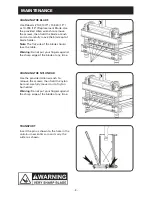
STRAIGHT CUTTING
Insert material between the cutting
blade and the base, flush it with the
guide bar as shown and hold the
material then push handle down to
complete a cut.
Warning: Maintain control of the handle.
Do not allow handle to slam back after
making a cut.
45° CUTTING
Adjust the angle attachment to 45°.
Insert material between the cutting
blade and the base, against the angle
attachment as shown, then push the
handle down to complete a cut.
Warning: Maintain control of the handle.
Do not allow handle to slam back after
making a cut.
Warning: Do not put your fingers against
the sharp edge of the blade at any time.
SET UP
CUTTING
Summary of Contents for 10-91
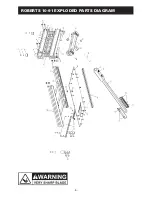
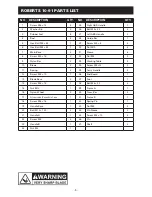
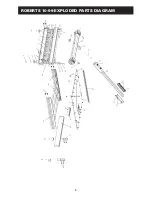
Page 5: ...4 ROBERTS 10 91 EXPLODED PARTS DIAGRAM...
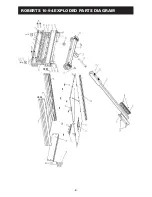
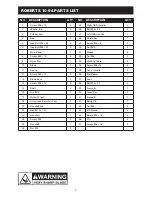
Page 7: ...6 ROBERTS 10 94 EXPLODED PARTS DIAGRAM...
Page 9: ...8 ROBERTS 10 99 EXPLODED PARTS DIAGRAM...
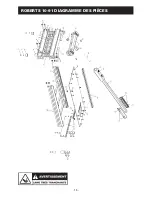
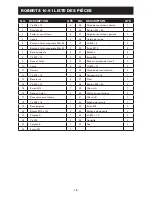
Page 16: ...15 ROBERTS 10 91 DIAGRAMME DES PI CES...
Page 18: ...17 ROBERTS 10 94 DIAGRAMME DES PI CES...
Page 20: ...19 ROBERTS 10 99 DIAGRAMME DES PI CES...
Page 27: ...26 ROBERTS 10 91 DIAGRAMA DE LAS PARTES...
Page 29: ...28 ROBERTS 10 94 DIAGRAMA DE LAS PARTES...
Page 31: ...30 ROBERTS 10 99 DIAGRAMA DE LAS PARTES...
Page 35: ...34 NOTES NOTES NOTAS...

