RME Audio DIGI 96 User Manual Download Page 5

User's Guide 

DIGI96  © RME

5

6. Hardware Installation

Important: Switch off the computer and remove the power cable from the power supply befo-
re fitting the 

DIGI96

. Inserting and removing the card while the computer is in operation

will more than likely lead to irreparable damage to the mainboard!

1. Disconnect the power cord and all other cables from the computer
2. Remove the computer's housing; further information on how to do this can be obtained from

your computer´s instruction manual

3. Neutralize the static build up by touching the computer's metal-chassis before unpacking the

DIGI96

 from the protective bag.

4. Insert 

DIGI96

 into a free PCI slot, press and ensure that the card is properly seated. Fa-

sten the screw (if any).

5. Re-place the computer's housing and tighten the screws (if any).
6. Re-connect the power cable and all other cables/connections.

7. Driver Installation

The 

DIGI96

 may be used with Macintosh Sound Manager applications by selecting the card

for Input and Output with the Sound Control Panel. When used in this way operation will be
restricted to 16 bits and 48 kHz.

Operation at 88.2, 96 kHz and 24 bit can only be achieved by using ASIO drivers with ASIO
applications.

It is not possible to use the 

DIGI96 series 

with the control panel 'Monitors and Sound'

of MacOS 8.x! This is a restriction of the operating system. Apple provide an optional control
panel 'Sound', found in the Apple Extras Folder. Please move this into the Control Panels
folder (e.g. by dragging onto the System folder) before installing our card and drivers.

MacOS9.x includes a new Sound panel which operates flawlessly with the DIGI96 series.

If you already installed an older version of the driver first make sure to remove all old files.
To do so open the 'Extensions' folder which is inside your 'System' folder. Remove all files
which have a 'DIGI96' at the beginning of their names. Remove every 'DIGI96 ASIO' file from
all 'ASIO Drivers' folders of your computer.

First fit the card (see 6. Hardware Installation), then switch on the computer and double-click
the 'm96_x.sit' archive to decompress it into separate files (using 'Aladin Stuffit Expander').

Drag the new driver 

DIGI96

 and

the file 

DIGI96 Sound Compo-

nent

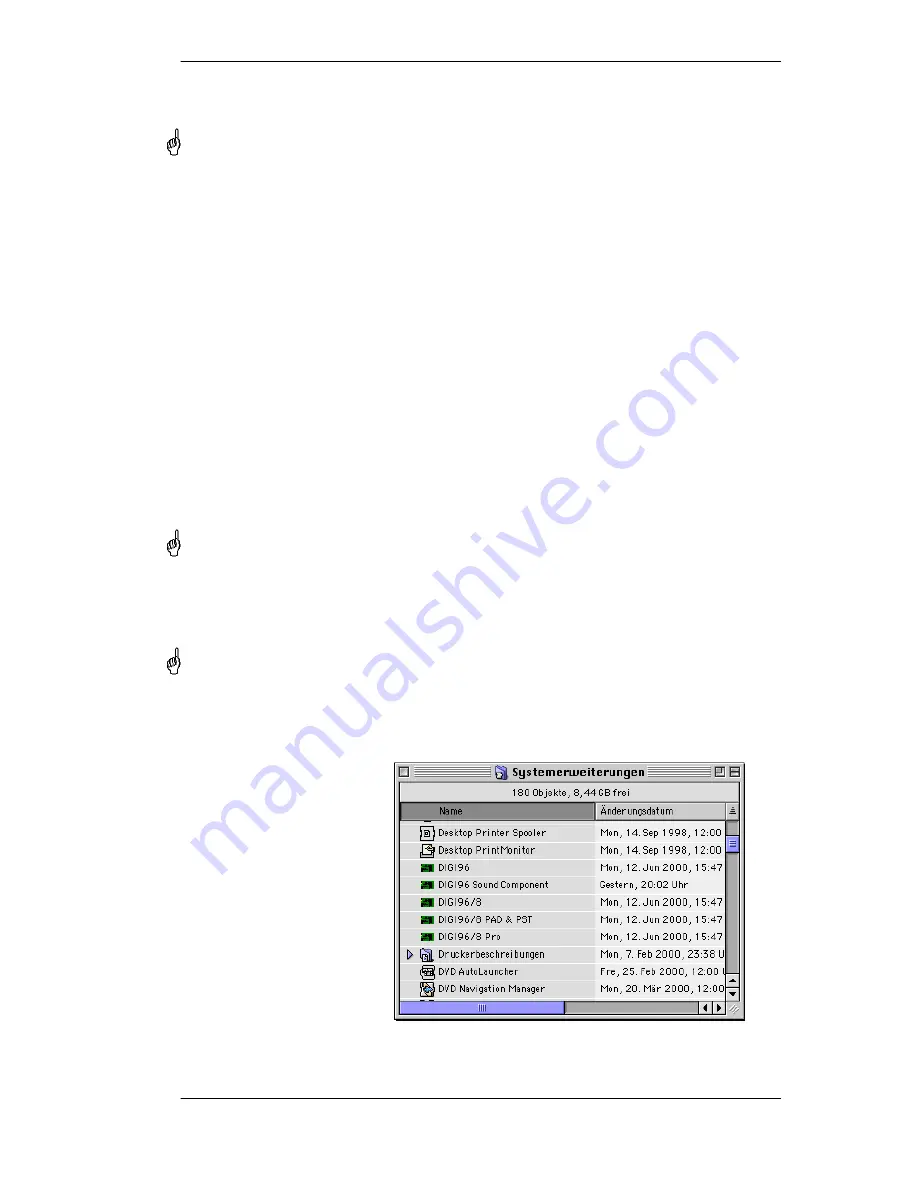
 to the System folder. They

will be installed automatically
into the 'Extension' folder. Con-
firm the system's message to
complete the installation. Now
the driver files should be found
in the 'Extension' folder, see
example to the right.

Summary of Contents for DIGI 96

Page 1: ...User s Guide Macintosh Version PCI Bus Audio Card 2 Channel Stereo Interface 24 Bit 96 kHz Digital Audio 32 96 kHz Sample Rate Board Rev 2 1 Hardware version 000 24 Bit 96 kHz SyncAlign ZLM...

Page 2: ...Installation 5 8 Operation and Usage 8 1 Connections 7 8 2 Playback 7 8 3 Digital Record 8 8 4 Record while Play 8 9 Configuring the DIGI96 9 1 General 9 9 2 Clock Modes Synchronization 10 10 Using m...

Page 3: ...series hard ware 2 Package Contents Please ensure that all the following parts are included in DIGI96 s packaging box PCI card DIGI96 Quick Info guide RME Driver CD Internal cable 2 core 3 System Requ...

Page 4: ...8 64 88 2 96 kHz and variable word clock 5 2 Digital Interface Inputs and outputs ground free transformer coupled Connectors optical TOSLINK coaxial phono internal CD ROM Sync In Sync Out Formats SPDI...

Page 5: ...kHz and 24 bit can only be achieved by using ASIO drivers with ASIO applications It is not possible to use the DIGI96 series with the control panel Monitors and Sound of MacOS 8 x This is a restrictio...

Page 6: ...te an Alias select RME DIGI Settings with the mouse cursor press and hold the Apple and Alt keys on your keyboard and drag RME DIGI Settings to the desired loaction With this all RME cards in the syst...

Page 7: ...are connected individually to the two pins of a pho no plug The cable shielding is only con nected to pin 1 of the XLR not to the phono plug The ground free design with transformers for digital input...

Page 8: ...the application s audio attributes or similar dialog It often makes sense to monitor the input signal or send it directly to the output The DIGI96 series includes a useful input monitor function which...

Page 9: ...ly whilst recording In this mode when starting a recording feedback occurs very often when using digital mixing desks Play only solves this problem by making sure that the input signal is never passed...

Page 10: ...er so synchronization breaks down To remedy this switch the card s clock mode over to Master Due to the outstanding clock control and PLL a synchronization of the output signal to the input signal is...

Page 11: ...rnal input and AutoSync mode Next connect the third card in the same way from the second s card Sync Out to the third s card Sync In Configure this card like the second one The necessary 2 wire cables...

Page 12: ...use Non Audio No copyright copy permitted Format Consumer or Professional Category General generation not indicated 2 Channel No Emphasis or 50 15 s Aux bits audio use Professional AES EBU equipment...

Page 13: ...Cubase mixer at a low latency setting 12 2 Buffer Size Latency The Buffer Size value in the RME DIGI Settings dialog determines the latency in this case the delay between the audio application and th...

Page 14: ...pensive SCSI hard disks in high speed audio workstations is over Today s cheap high capacity EIDE disks allow continuous transfer rates of well over 5 MB per second In practical terms this is more tha...

Page 15: ...ta synth UltraRecorder VocalWriter 1 0 yaSoundRecorder 13 2 Hardware Blue White G3 G4 with Sawtooth Board In Yosemite boards G3 cards of the DIGI96 series do not work in slot 11 next to the graphics c...

Page 16: ...t the input If so the Error LED on the hardware extin guishes and the current sample frequency is displayed in the Settings dialog If you are sure that a valid signal is being sent but the LED is stil...

Page 17: ...RME Driver CD in the rmeaudio web directory into your browser Distributor in Germany Synthax Am Pfanderling 62 D 85778 Haimhausen Tel 49 08133 91810 Manufacturer Ingenieurbuero Mueller Goethestr 22 D...

Page 18: ...User s Guide DIGI96 RME 18 Block diagram...

Page 19: ...subject to the following two condi tions 1 This device may not cause harmful interference 2 This device must accept any interference received including interference that may cause undesired operation...

Reviews: