Installing NICs in SteelHead xx50 Appliances | 99
Installing NICs in 1U xx50 appliances
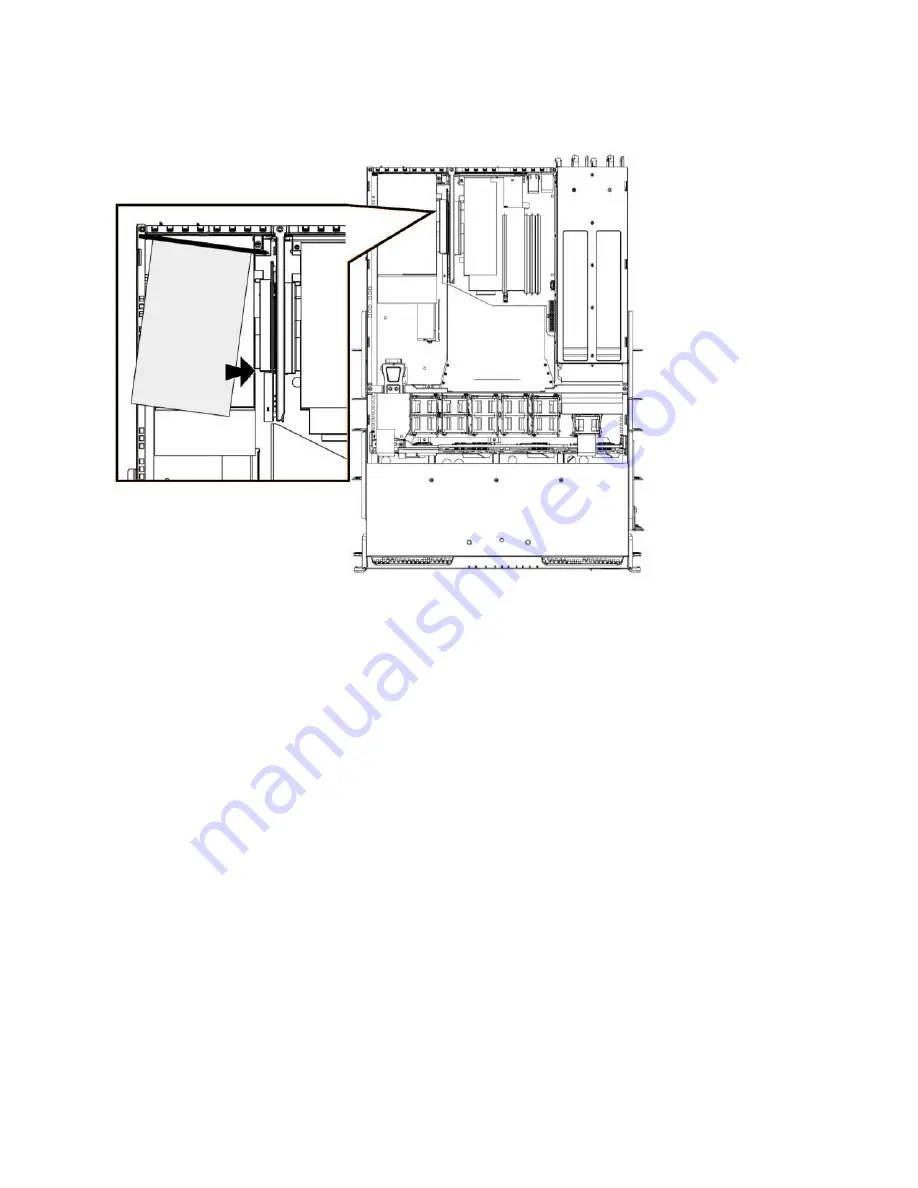
11. Plug the new NIC into the horizontal riser.
Figure 6-6. Installing the new NIC
Note:
Make sure the NIC and riser card are seated properly. If they aren’t seated properly, the NIC doesn’t function.
12. Insert and tighten the two screws that secure the NIC at the back of the appliance.
13. Close the top cover of the SteelHead.
14. Connect the power cords.
15. Connect the LAN and WAN cables.
Note:
Straight-through cables connect the LAN ports to the LAN switches; crossover cables connect the WAN ports
to the WAN routers.
16. Power up the SteelHead and check the status lights.
For a detailed figure of the NIC status lights, see
Appendix C, “NIC Status Lights for xx60, xx55, and
17. Connect to the SteelHead CLI.
For detailed information, see the
Riverbed Command-Line Interface Reference Manual
.
18. Enter enable mode.
At the system prompt, enter the following command:
amnesiac > enable
amnesiac #
19. Verify that the NIC is installed correctly.


