5 Setting up the machine
Ritta l electrical crimping machine R8 E
We reserve the right to make technical m odifications.
13
EN
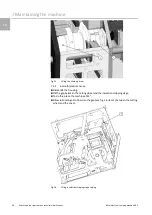
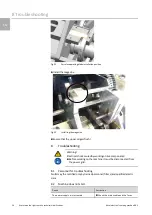
Fig. 5:
Feeding in the wire end ferrules
◼
Close the flap via the twist lock.
◼
Roll up the loose wire end ferrule belt.
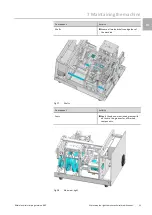
Fig. 6:
End position
5.4
Cross-section setting
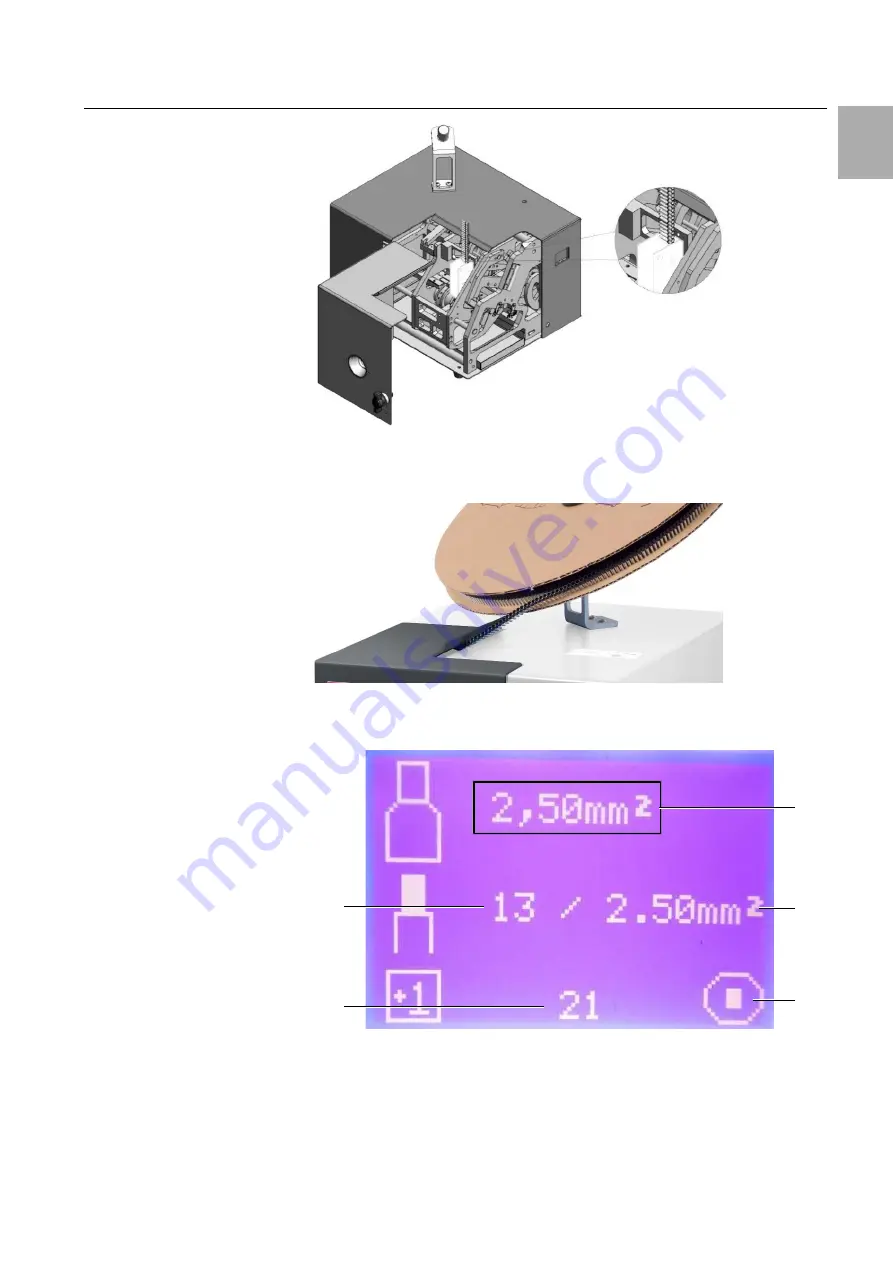
Fig. 7:
"Display" menu display
Key
1
Die size
2
Insulation stripping stage
3
Conductor cross-section
4
Day quantity counter
5
Initial position symbol
2
1
3
5
4


