Step 9: Setting the Scan Parameters
• Depending on the administrator settings, other scan parameters
might or might not be required.
• The Scan Settings and Scan Size screens can be customized
by the administrator, thus the settings that are available might
vary.
Document Name
This name identifies the e-mail attachment or file.
From the Service Menu (Fig. 8), proceed as follows:
1. Press [
Document Name
].
2. Enter a name, and then press [
OK
]. The "Document Name"
field is automatically populated.
• The administrator can preset the names. Editing is possible,
unless the document is set to read-only.
Scan Settings/Scan Size
From the Service Menu (Fig. 8), proceed as follows:
1. Press [
Scan Settings
].
2. Press [
Scan Settings
] or [
Scan Size
].
3. Configure the settings as necessary, and then press [
OK
].
• For details about Scan Settings and Scan Size, see
GSNX
User’s Guide
.
Filters
For details about how to specify other filters, see
GSNX User’s
Guide
.
Step 10: Start the Scan
1. Confirm that the destinations are correct. If necessary, open
the Service Menu screen, and then press [
Details
]. To close
the [
Details
] screen, press [
Summary
].
2. Confirm that the control panel [
Start
] key is lit green. If it
is not, check that all the necessary settings and values have
been selected or entered, and that an original is placed in the
ADF or on the exposure glass.
3. Press [
Start
].
The original is scanned and the resulting scan file is distrib-
uted.
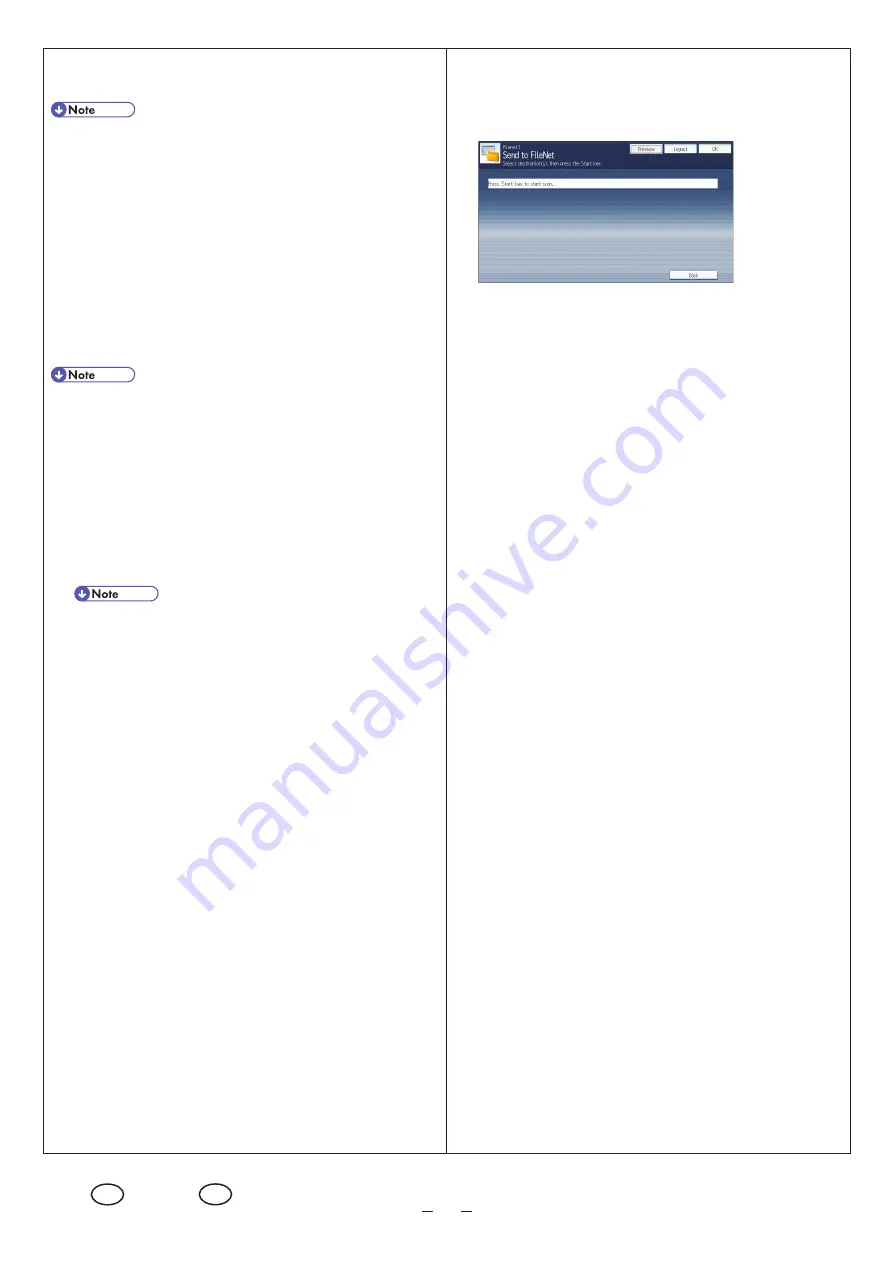
Step 11: Exit the Project
When scanning finishes, press the [
Logout
] button (see Fig. 12).
The Group/Project screen (Fig. 5) will appear.
Fig. 12:
Scanning Screen
Step 12: Review the Job Log
The Job Log provides details about each scanned document, such
as Date/Time, Project Name, Document Name, User Name, Job
Status, etc.
The content of the Job Log is determined by the administrator.
Depending on the administrator's settings, you will be able to view
the job log of every project or a specific project only.
To view the Job Log, proceed as follows:
1. Press [
Job Log
].
2. Check the job log.
3. When finished, press [
OK
].
© 2013 Ricoh Co., Ltd.
EN
GB
EN
US
D488-5421


