


Placing Originals
27
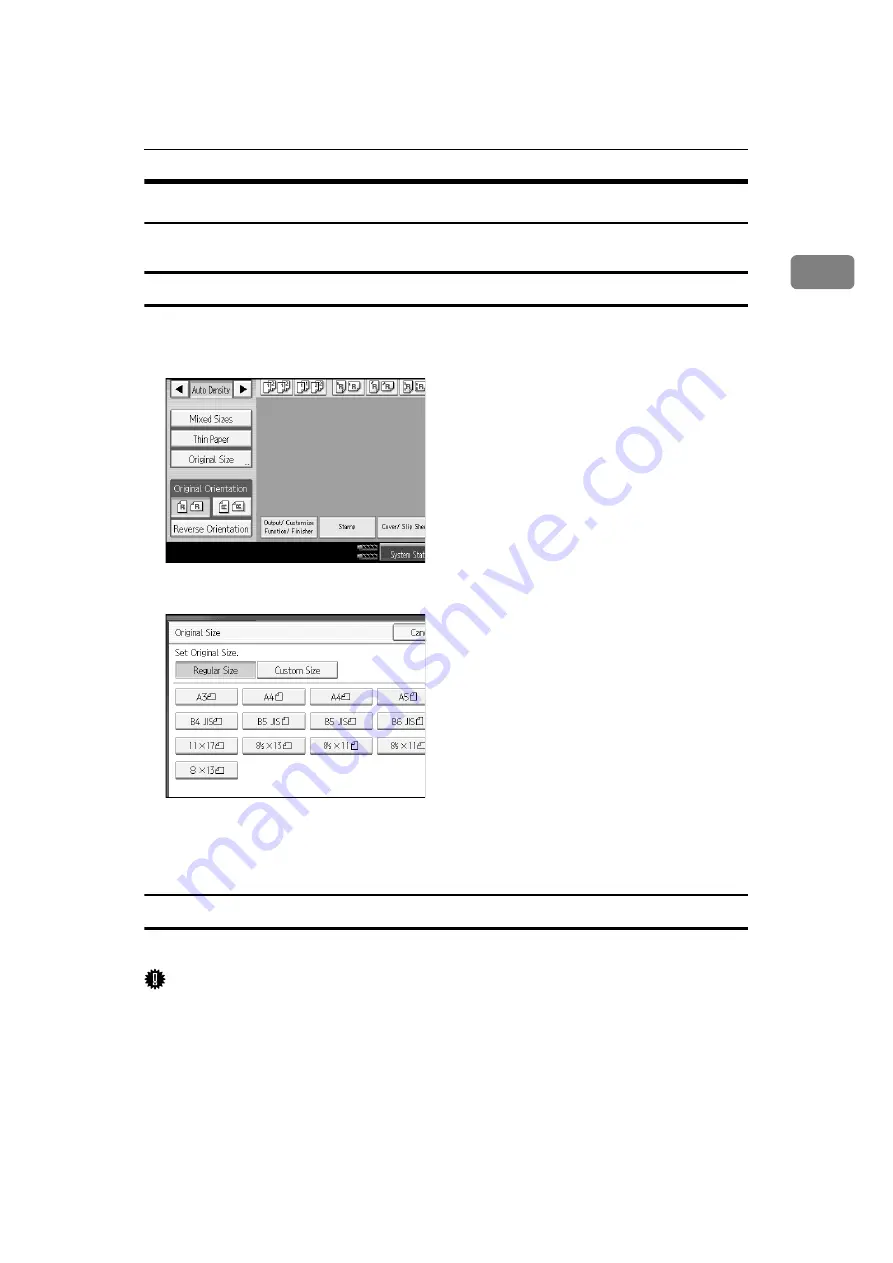
1
Original size
Specify the size of the originals.
Regular sizes
Select the size of the originals from the regular sizes.
A
Press
[
Original Size
]
.
B
Press
[
Regular Size
]
.
C
Select the size of original, and then press
[
OK
]
.
D
Place the original, and then press the
{
Start
}
key.
Custom sizes
When placing custom size originals in the ADF, specify the size of the originals.
Important
❒
Paper that has a vertical length of 128–297 mm (5.1"-11.6") and a horizontal
length of 128–432 mm (5.1"-17") can be placed with this function.
Summary of Contents for Gestetner DSm7110
Page 20: ...xviii...
Page 32: ...12...
Page 230: ...210 GB GB B235 7600...
Page 232: ...Operating Instructions Copy Document Server Reference GB GB B235 7600...