


48
2
Press the shutter release button.
Shooting will start.
Press the shutter release button again to stop
recording.
Follow the procedure below to record sound. The possible
recording time is displayed according to the remaining space in
the recording destination.
■
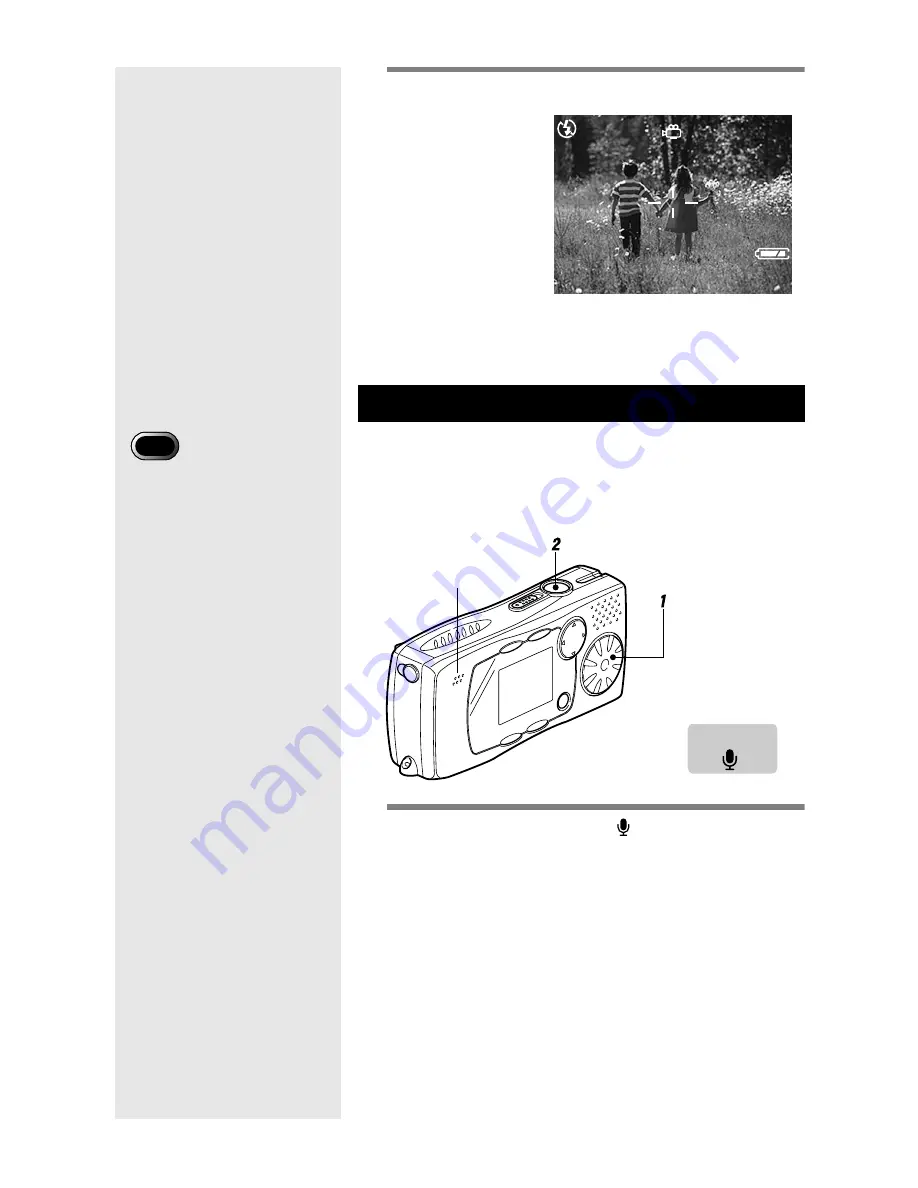
Operation Map
1
Set the mode dial to [ ].
The possible recording time will be displayed on the
LCD monitor.
Voice Memo Mode
START:RELEASE
00:00
320
10:12
2001/07/15 11:25
• The microphone is located
on the top left of the
operating parts. Aim the
camera to obtain the
optimum recording
conditions.
Important
Recording mode
Microphone


